Context (History and/or Artists)
Color theory was developed in the 1600s around three “primary” colors – red, yellow and blue, because they were believed to be the basis of all other colors through mixing. Color theory was used by painters, dyers and printers who used pure pigments in their work.
Advanced Preparation
Prepare ½ to 1 inch pieces of Model Magic clay and store in an airtight container. (Prep extra pieces of yellow since it will be used by itself and also to create both orange and green.) Do this step as close to the lesson as possible as the air-dry clay dries out quickly once the container is opened.
Tips & Tricks
- It helps to have someone who is a bit of a “showman” for the demo. We are showing students how to create magic, so wear a top hat or a colorful scarf or be willing to make up ‘magic’ words. With a little theatre, you can keep the kids mesmerized by making colors.
- Have a color wheel displayed during this lesson so students become familiar with it.
Instructions for Lesson
- Ask students if they are ready for the magic of color.
- Show students the acetate, have them name the primary colored sheets.
- Ask “what color do you think I will get if I mix yellow and red?”
- Put the two sheets on top of each other, hold them up to the light and ask: “What color did I make?” Continue through remaining colors.
- Show the students the cup of water, then add 1 drop of yellow food coloring, swirl to mix well. (You could add a scarf and some magic words here) Then do the same for red.
- “Here comes the magic, what color do you think I will get?”, add some of red food water to the yellow water, swirl to mix. “What color did I make?”
- Notice it is the same as the combined acetate.
- Continue through remaining colors (1 yellow + 1 blue, 1 blue + 1 red).
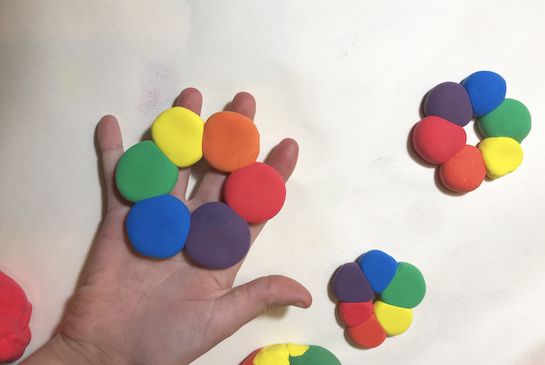
- Hand out the ½ inch balls of Model Magic (1 red, 1 blue and 2 yellow) and show the class a color wheel, explaining that it is a tool for teaching about color theory and how colors relate to one another.
- Tell students they will be making their own color wheels. Have the students make a ball from approximately half of their yellow clay and about half of their red and blue clay (setting the extra aside for the moment) then ask them to place those colors on their plates in the same orientation as they appear on the color wheel.
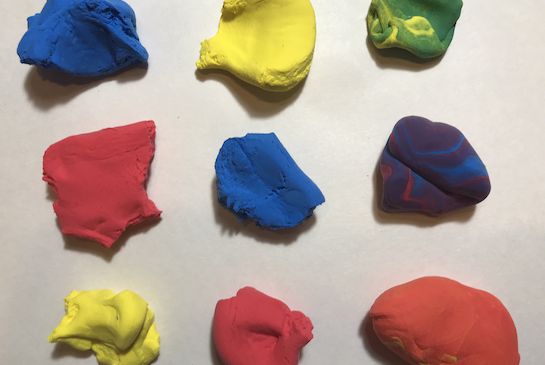
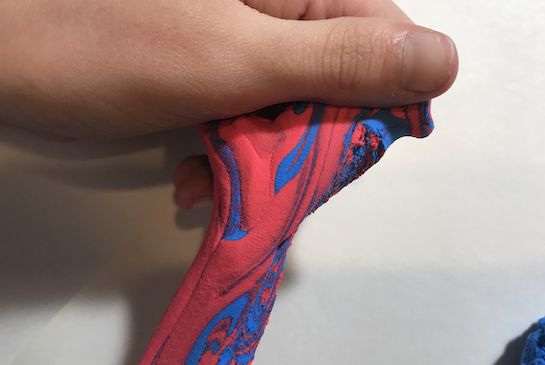
- Next, have them take half of the remaining yellow and a pinch of the red clay. Ask, “If I mix this clay together really well, what color do you think I am going to get? Orange, are you sure?” Show them how to press and pull the air-dry clay together to create orange.
- Continue through the remaining colors to mix green (yellow + a small bit of blue) and purple (about equal parts blue and red). Explain that it’s a good idea to start with a small amount because they can always add more but it’s not possible to remove the color once it’s mixed in.
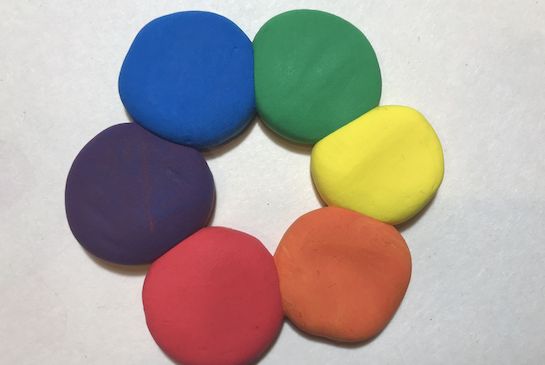
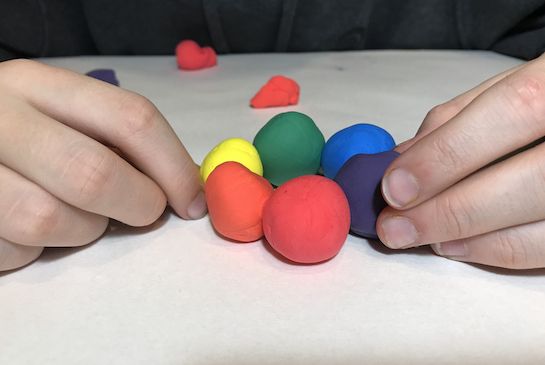
- As they make each secondary color, guide them to place it between the two colors used to create the color. Orange gets placed between the red and yellow balls, green is placed between the yellow and blue balls, and purple is placed between the blue and red balls.
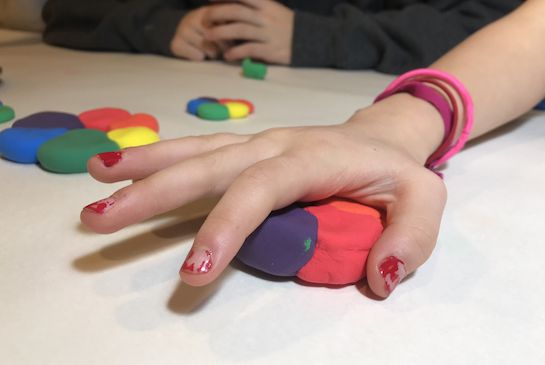
- Once all 6 balls are placed in a circle (gently touching), in the right order on the paper plate, have students press down on the circle of balls to finish their own color wheel sculptures.
- Make sure students have written their names on their paper plates then place them in an open area to dry (it takes approximately 3 days for them to dry).
Reflection Point (Assessment of Learning Objectives)
Ask students to identify and name the primary and secondary colors in their sculptures. Ask them how they made orange, green or purple.
References and Attributions
Lesson written by Juliette Ripley-Dunkelberger.
Notes For Educators
21st Century Thinking Skills
Observing, making connections, visualizing, sequencing, predicting, classifying, comparing/contrasting, finding evidence, cause and effect, analyzing.
Habits of Mind
Thinking flexibly, persisting, questioning, creating, innovating, taking responsible risks, reflecting.
WA State Learning Standards
(VA:Cr1.1.1) a. Engage collaboratively in exploration and imaginative play with materials.
(VA:Cr1.2.1) a. Use observation and investigation in preparation for making a work of art.
(VA:Cr2.1.1) a. Explore uses of materials and tools to create works of art or design.
(VA:Cr2.2.1) a. Demonstrate safe and proper procedures for using materials, tools, and equipment while making art.
(VA:Cr3.1.1) a. Use art vocabulary to describe choices while creating art
Arts Integration Opportunities
Color matching game: group students into 3 groups (primary color teams). Give them a primary colored material (crayon, marker or oil pastel). Have them find ways to create secondary colors by picking a partner from another group and stating the color they can make.
Please note: These lesson plans are intended for non-profit use only. Use of these plans for commercial purposes should give attribution to the Issaquah Schools Foundation and be accompanied by a nominal donation at www.isfdn.org/donate. Thank you.
Donate Now