Color: the visible range of reflected light. Analogous colors are next to each other on the color wheel. Eg: yellow, yellow-green and green; violet, red-violet and red.
Form: a 3-dimensional figure that exists in space instead of flat on paper. It has height, width and depth. A drawing has height and width, but no depth.
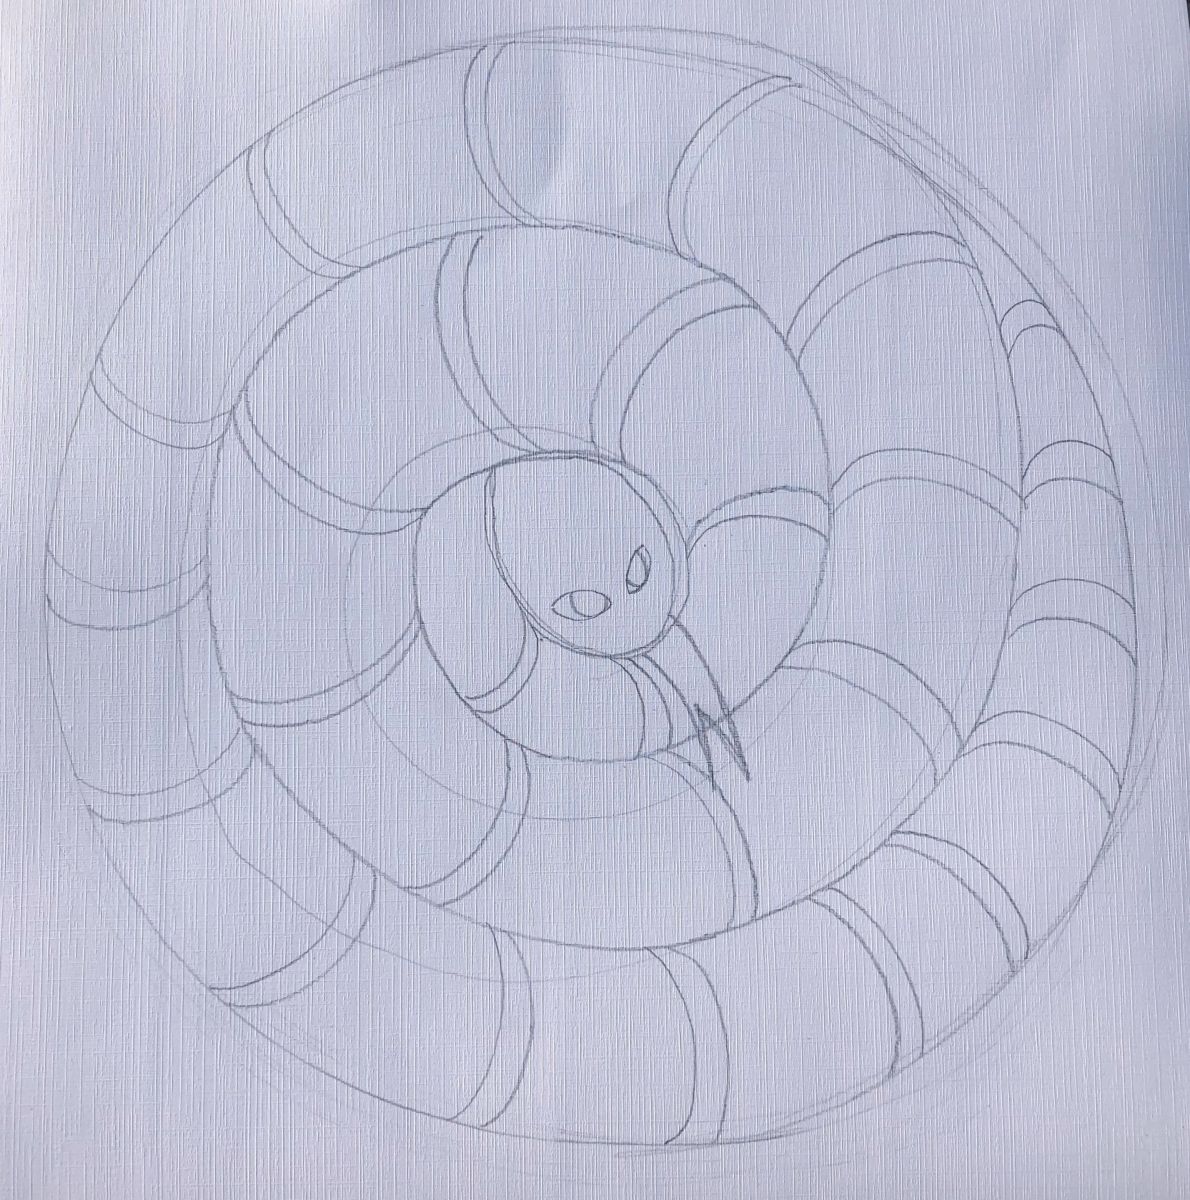
Line: a mark between two points. Lines may be straight or curved. Contour lines define edges of shapes.
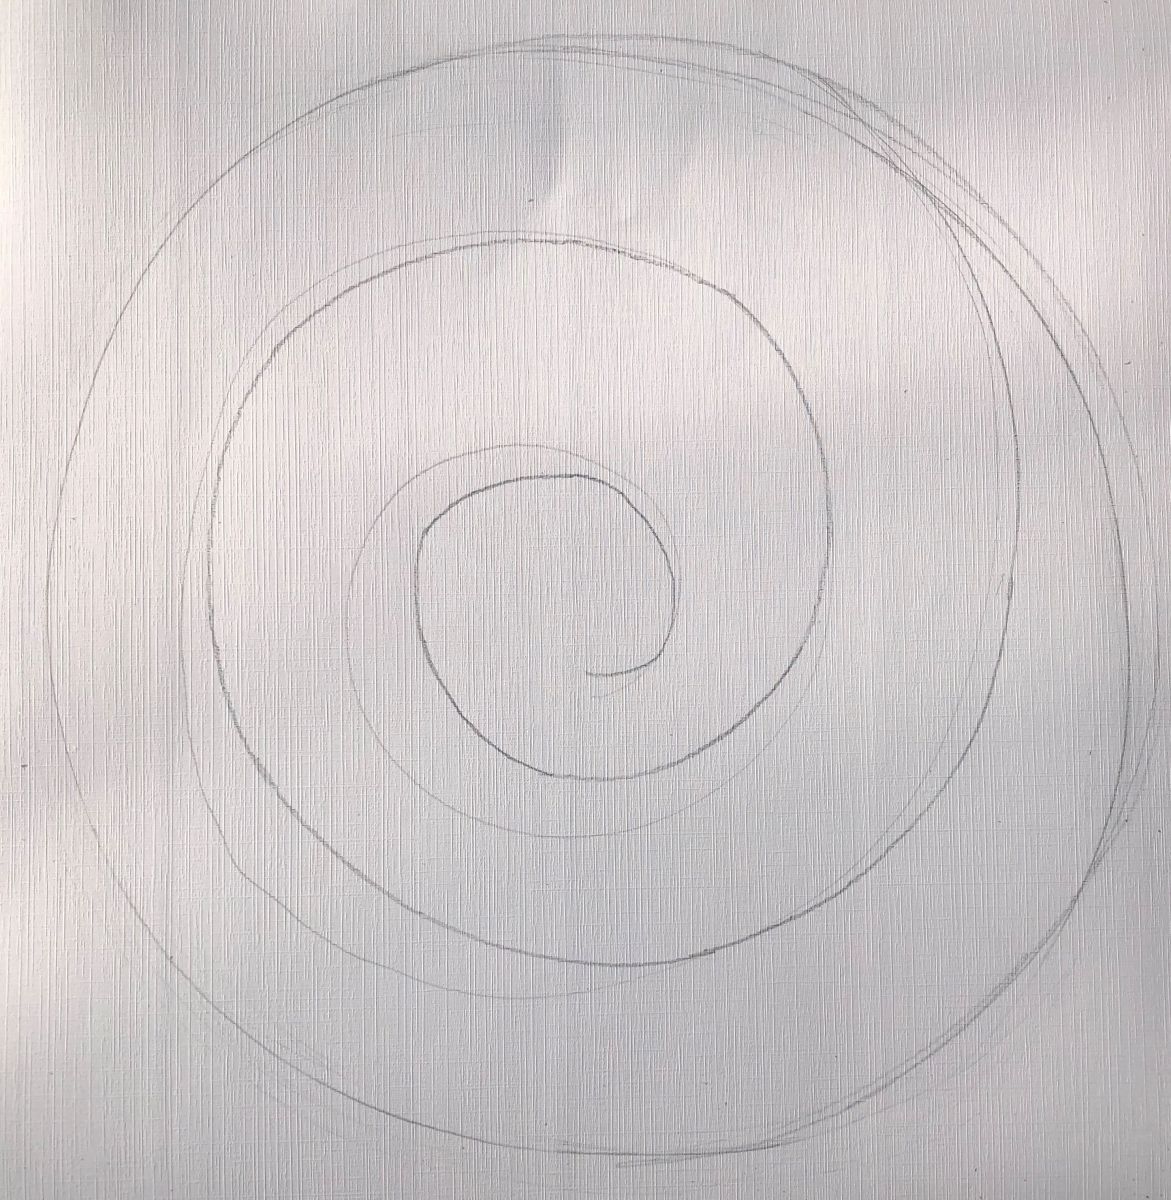
Balance: the arrangement of elements that makes individual parts of a composition appear equally important; an arrangement of the elements to create an equal distribution of visual weight throughout the format or composition. If a composition appears top- or bottom-heavy and/or anchored by weight to one side, it is not visually balanced. This lesson demonstrates both Symmetry (formal balance), the exact appearance on opposite sides of a dividing line or plane and Radial Symmetry: a type of balance that is equally symmetrical from the center point throughout. All elements radiate from the center point.
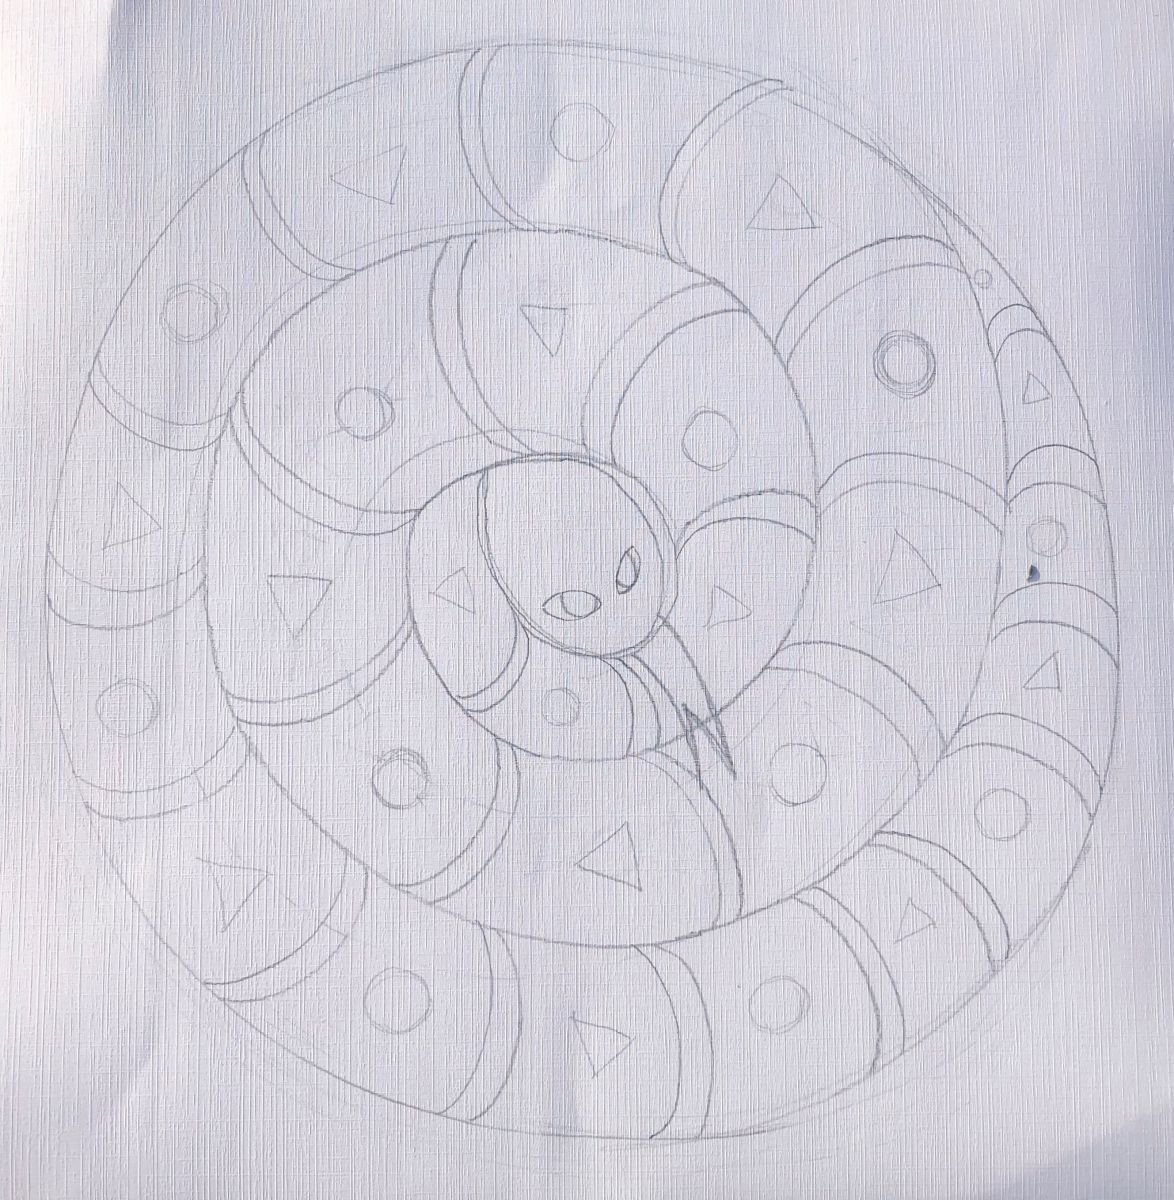
Pattern: uniform repetition of any element of art: in this case: color, shape & line.
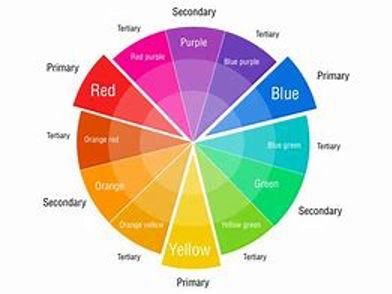
Color Wheel: a tool on which colors are arranged in a specific order in a circle; used to explain color theory and show how colors relate to one another.
The color wheel is a traditional artist’s tool, developed in the 1600s. Colors are logically arranged around it in categories. Artists learn how to ‘read’ the color wheel and it helps them create the colors they need. Color wheels can include either primary and secondary colors or they may include tertiary colors (see below). Primary colors are the 3 colors that can’t be mixed or formed by any color combinations. All other colors come from these 3 hues. Each secondary color fit in between the 2 primaries that make it. Tertiary colors fit between the secondary and primary that mix to make them. Analogous colors are any 2 or 3 colors that lie next to each other and creates a rich, monochromatic (one color) look. It lacks contrast, creates harmony. These color schemes are most often seen in nature.
Post and briefly discuss the vocabulary words. Refer to these words during the lesson.
Using the context information above when looking at the color wheel. Have 3 or 4 students approach the color wheel and point out 3 analogous colors.
Students will:
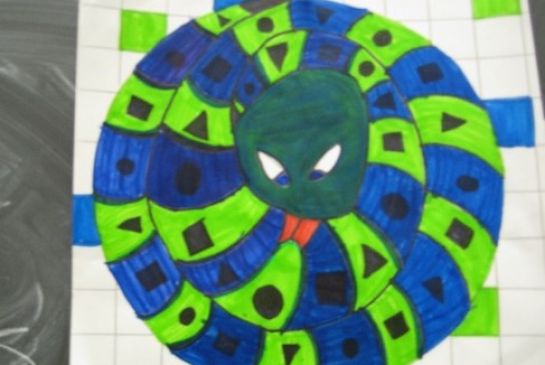
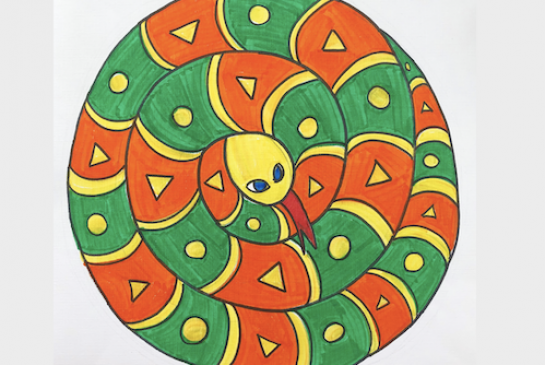
Post vocabulary words and color wheel on the board. Also post images of striped snakes.

Lesson written by Cynthia Moring.
21st Century Thinking Skills
Goal setting, creating, innovating, taking responsible risks, reflecting, observing, making connections, sequencing, predicting, comparing/contrasting, determining main idea, problem solving, cause and effect, evaluating.
WA State Learning Standards
(VA:Cr2.1.3) a. Create personally satisfying artwork, using a variety of artistic processes and materials.
(VA:Cr2.2.3) a. Demonstrate an understanding of the safe and proficient use of materials, tools, and equipment for a variety of artistic processes.
(VA:Cr3.1.3) a. Elaborate visual information by adding details in an artwork to enhance emerging meaning.
(VA:Re8.1.3) a. Interpret art by analyzing use of media to create subject matter, characteristics of form, and mood. This happens when analogous colors are chosen to create harmony.
(VA:Re9.1.3) a. Evaluate an artwork based on given criteria.
(VA:Cn10.1.3) a. Develop a work of art based on observations of surroundings. This happens when using contour drawing techniques and when observing snakes.
Arts Integration Opportunities
Math: use sequenced patterns of numbers as markings.
Spelling: use spelling words repeated as circles radiating from central point. Use art vocabulary as part of the spelling words.
Science: Copy specific snake species’ markings but in analogous colors.
Please note: These lesson plans are intended for non-profit use only. Use of these plans for commercial purposes should give attribution to the Issaquah Schools Foundation and be accompanied by a nominal donation at www.isfdn.org/donate. Thank you.
Fueling Success for Every Student, Every School