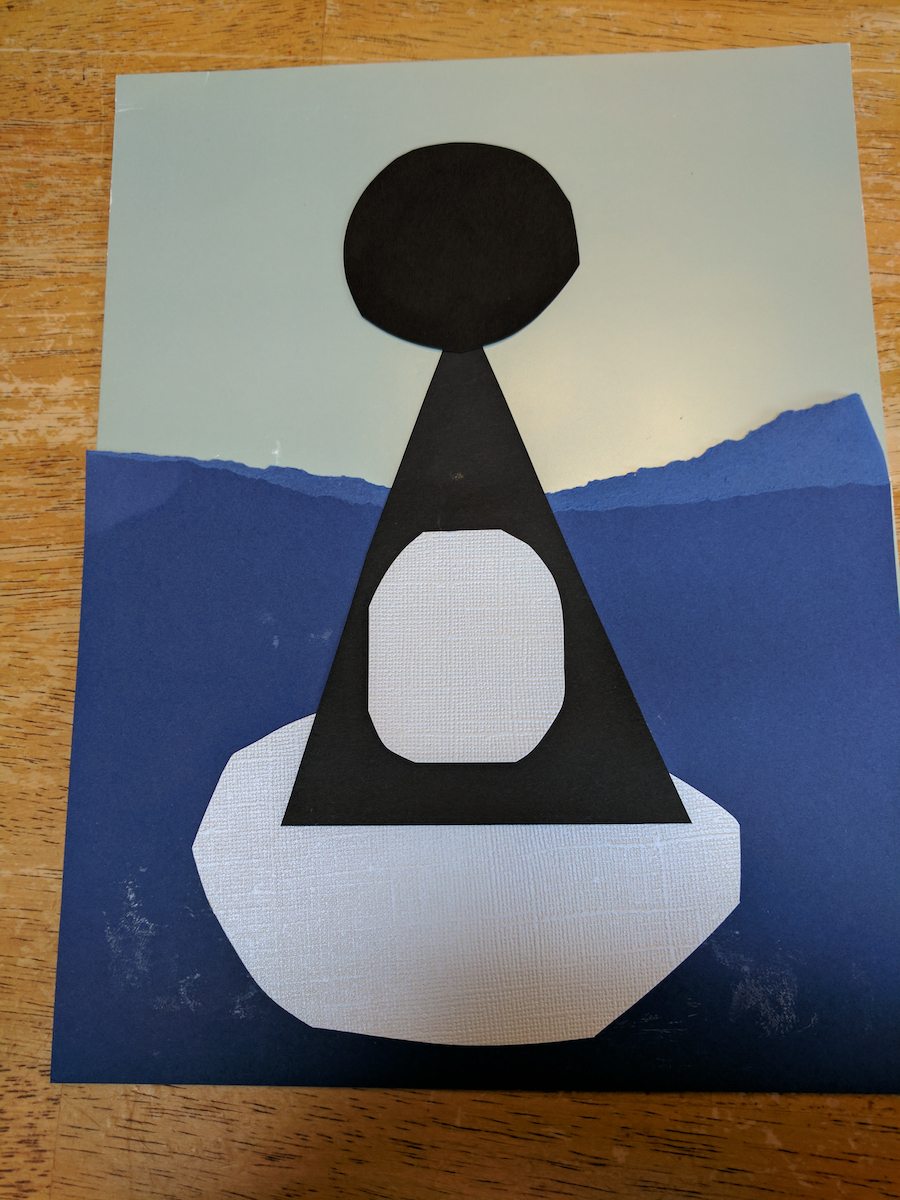
Shape: an element of visual arts; a two-dimensional (flat) area enclosed by a line.
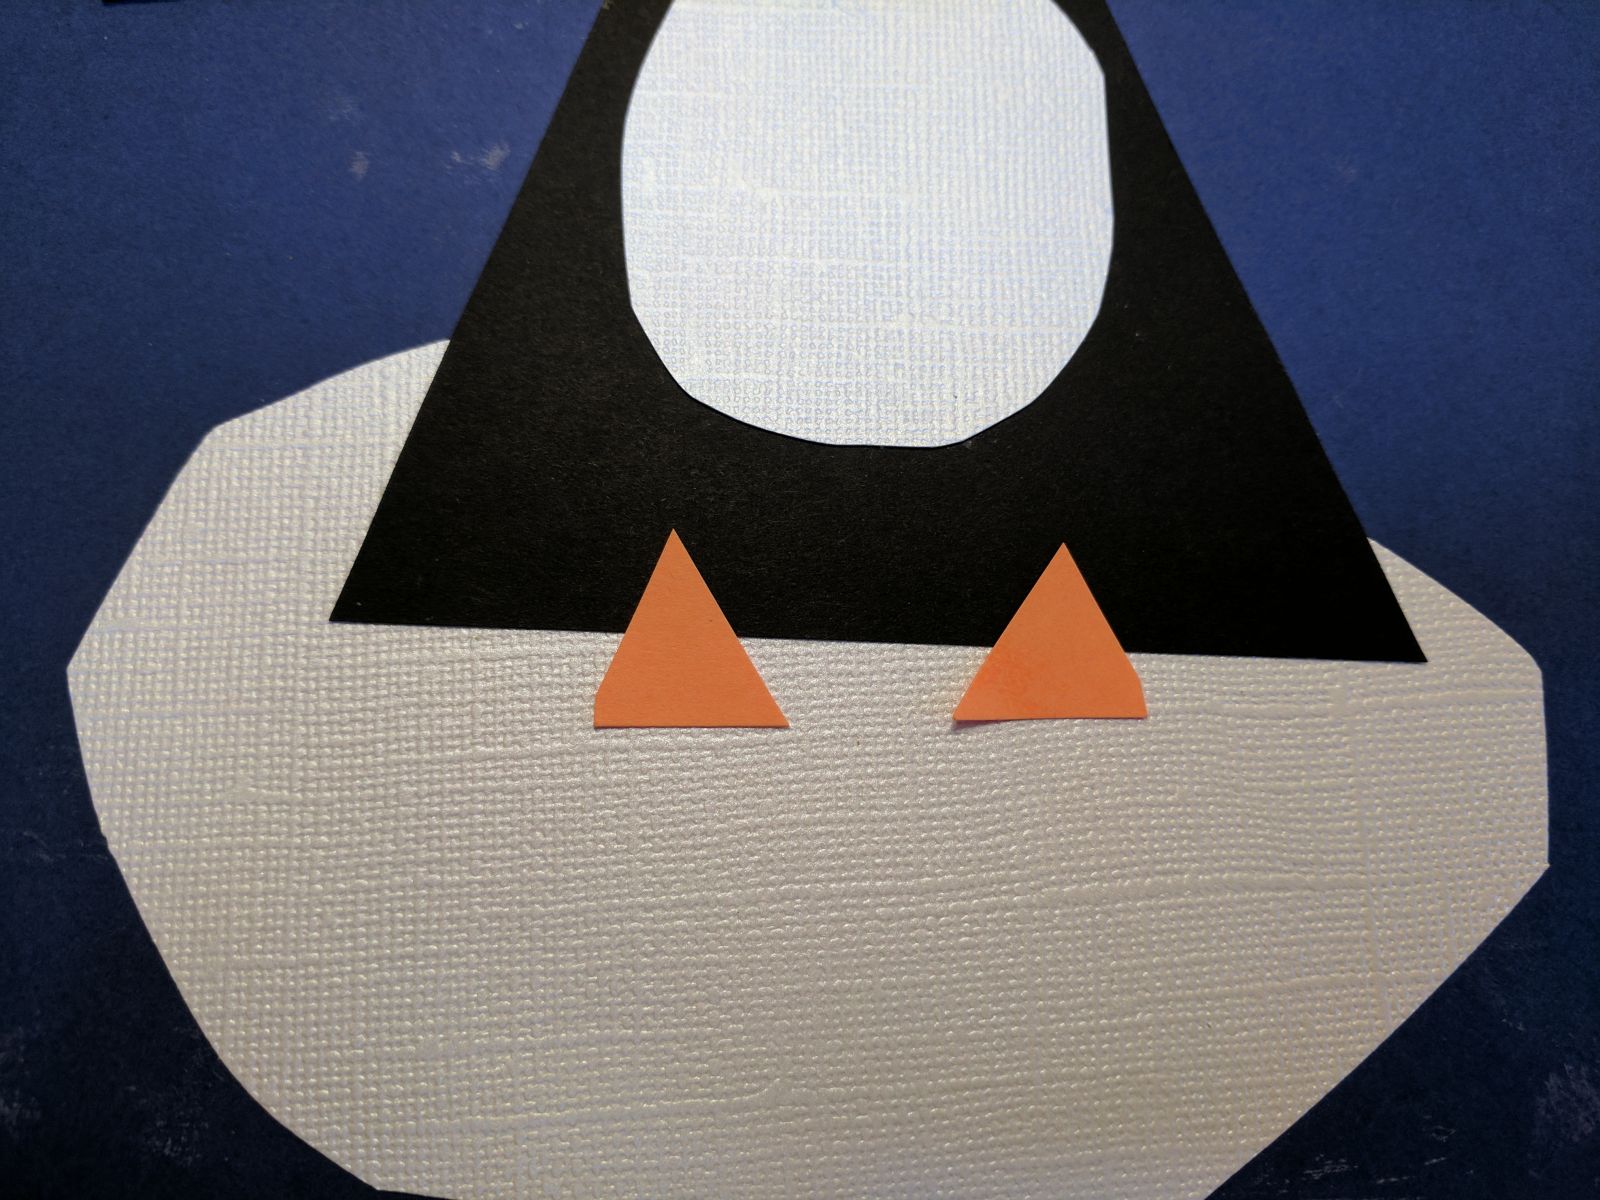
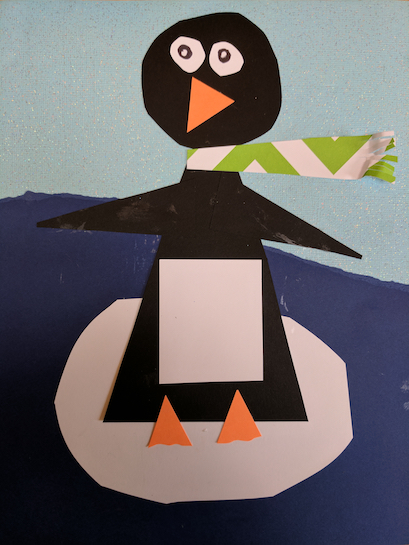
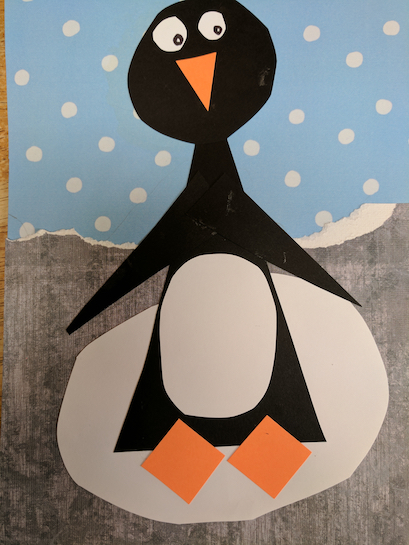
Geometric Shapes: shapes and/or forms that are based on mathematical principles, such as a square/cube, circle/sphere, triangle/cone, or pyramid.
Circle: a round figure with all sides the same distance from the center.
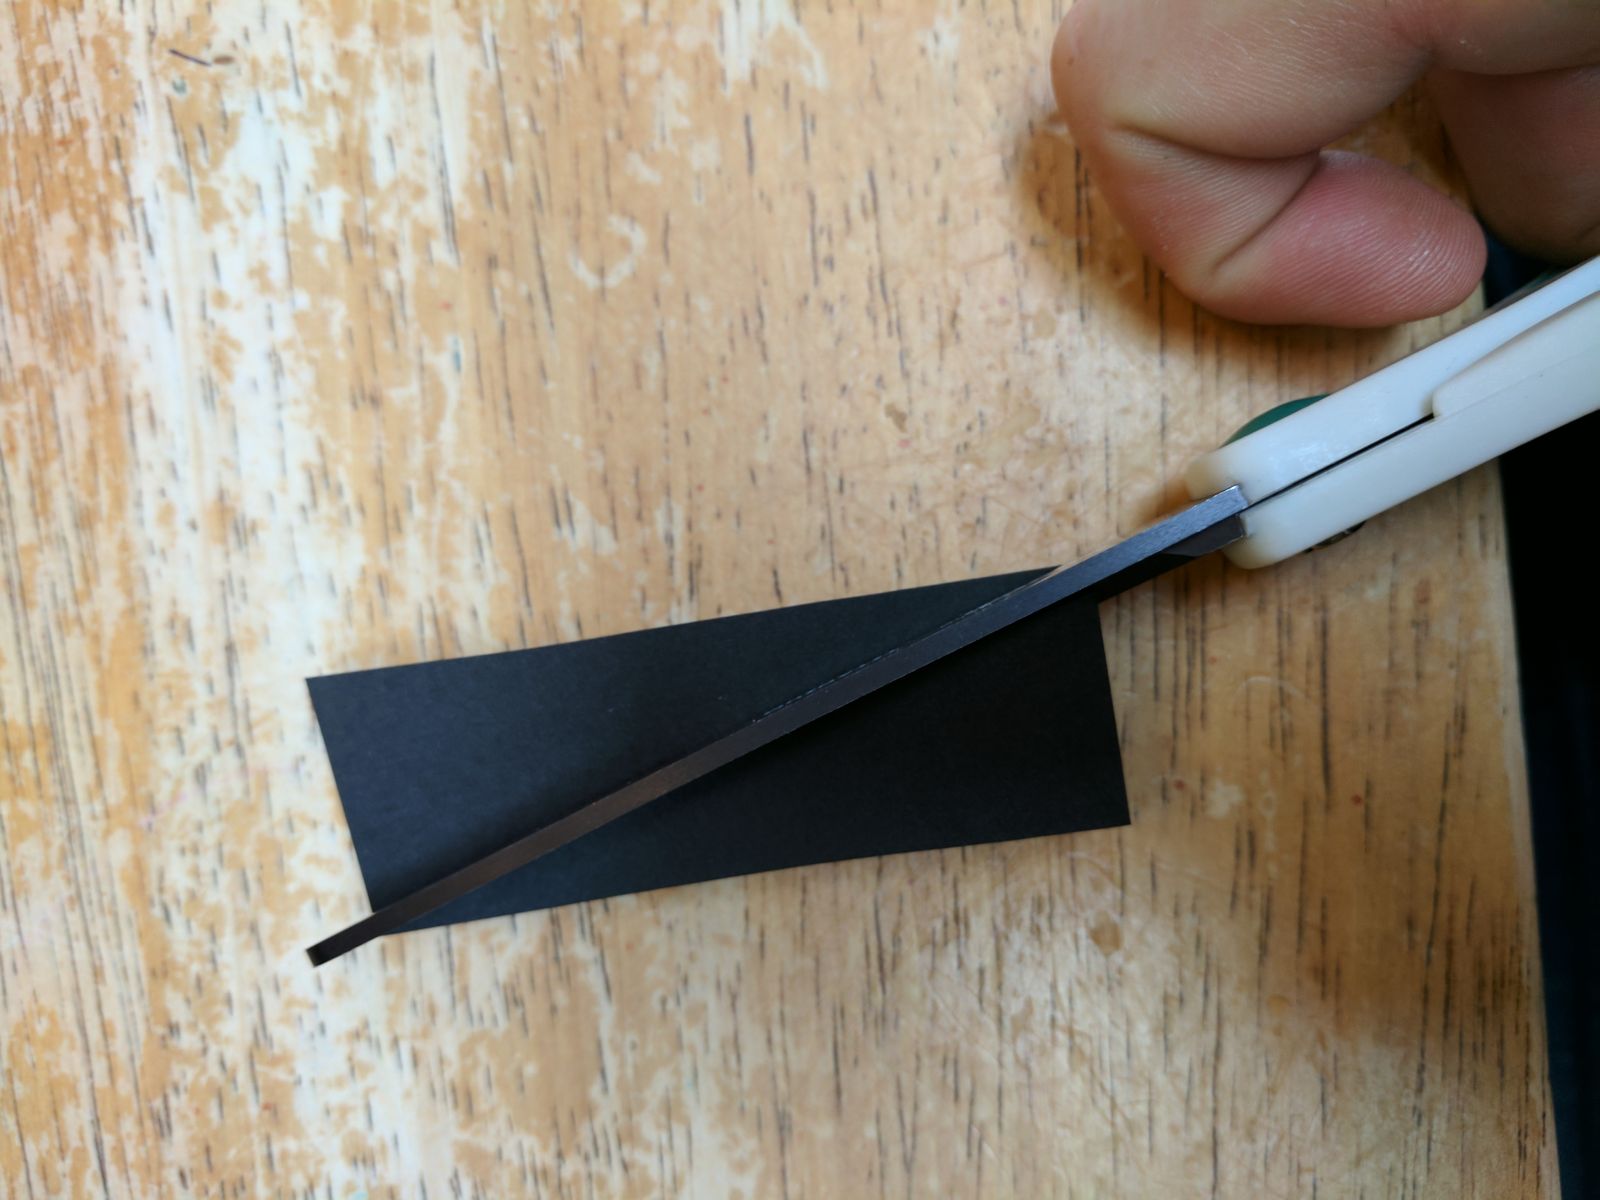
Collage: a way of making a work of art by gluing different objects, materials, and textures to a surface.
Oval: a shape that is curved and resembles an egg-shape.
Rectangle: a four-sided figure with opposite sides the same length.
Square: a four-sided figure with all sides the same length.
Triangle: a three-sided figure.
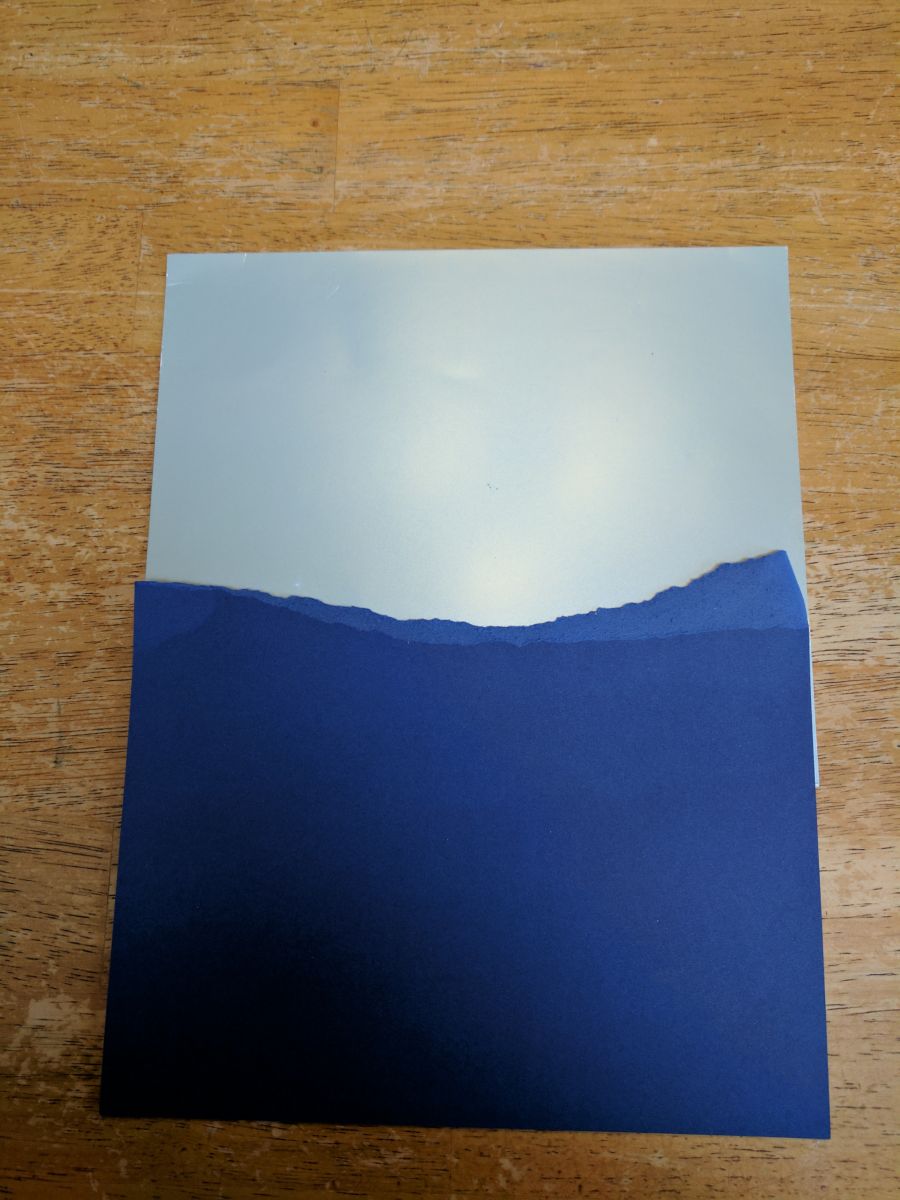
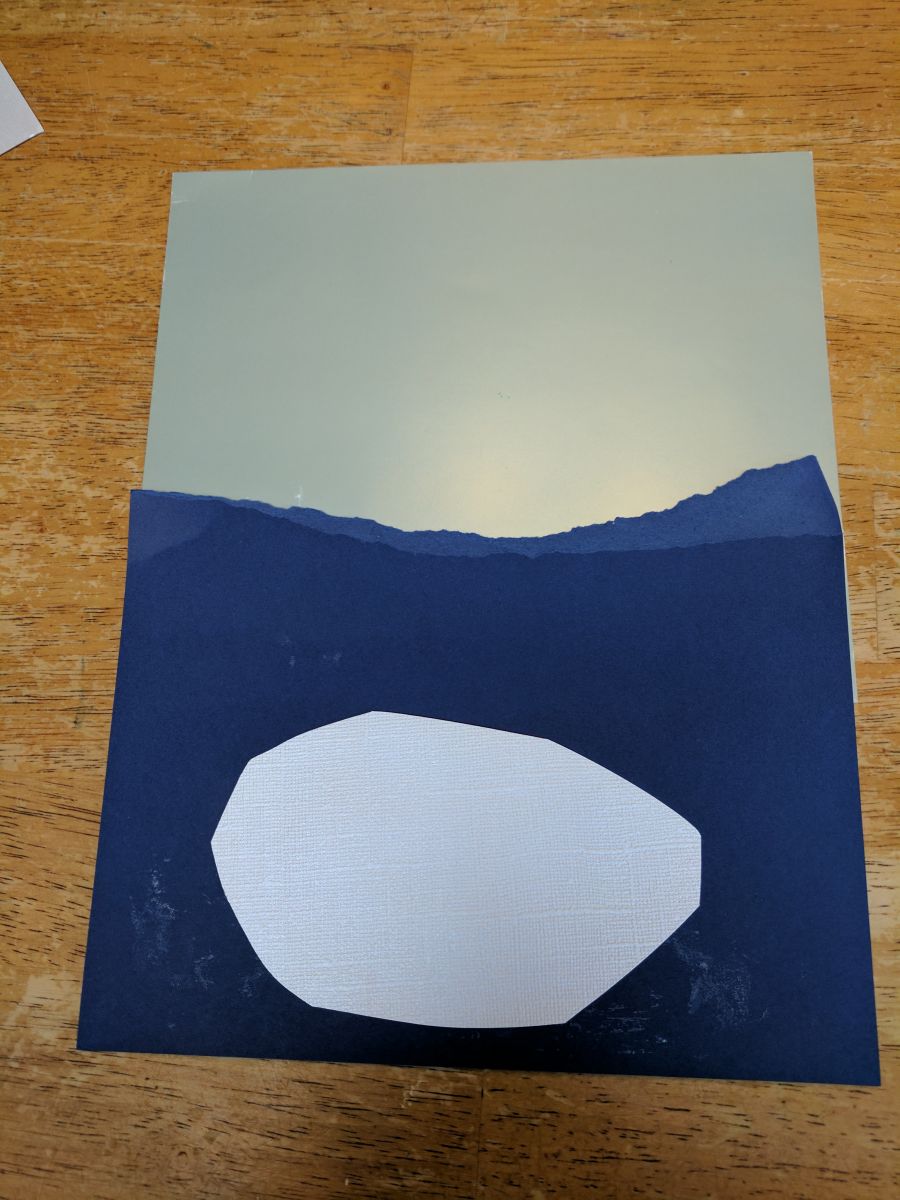
For the Background:
1 per student of each of the following:
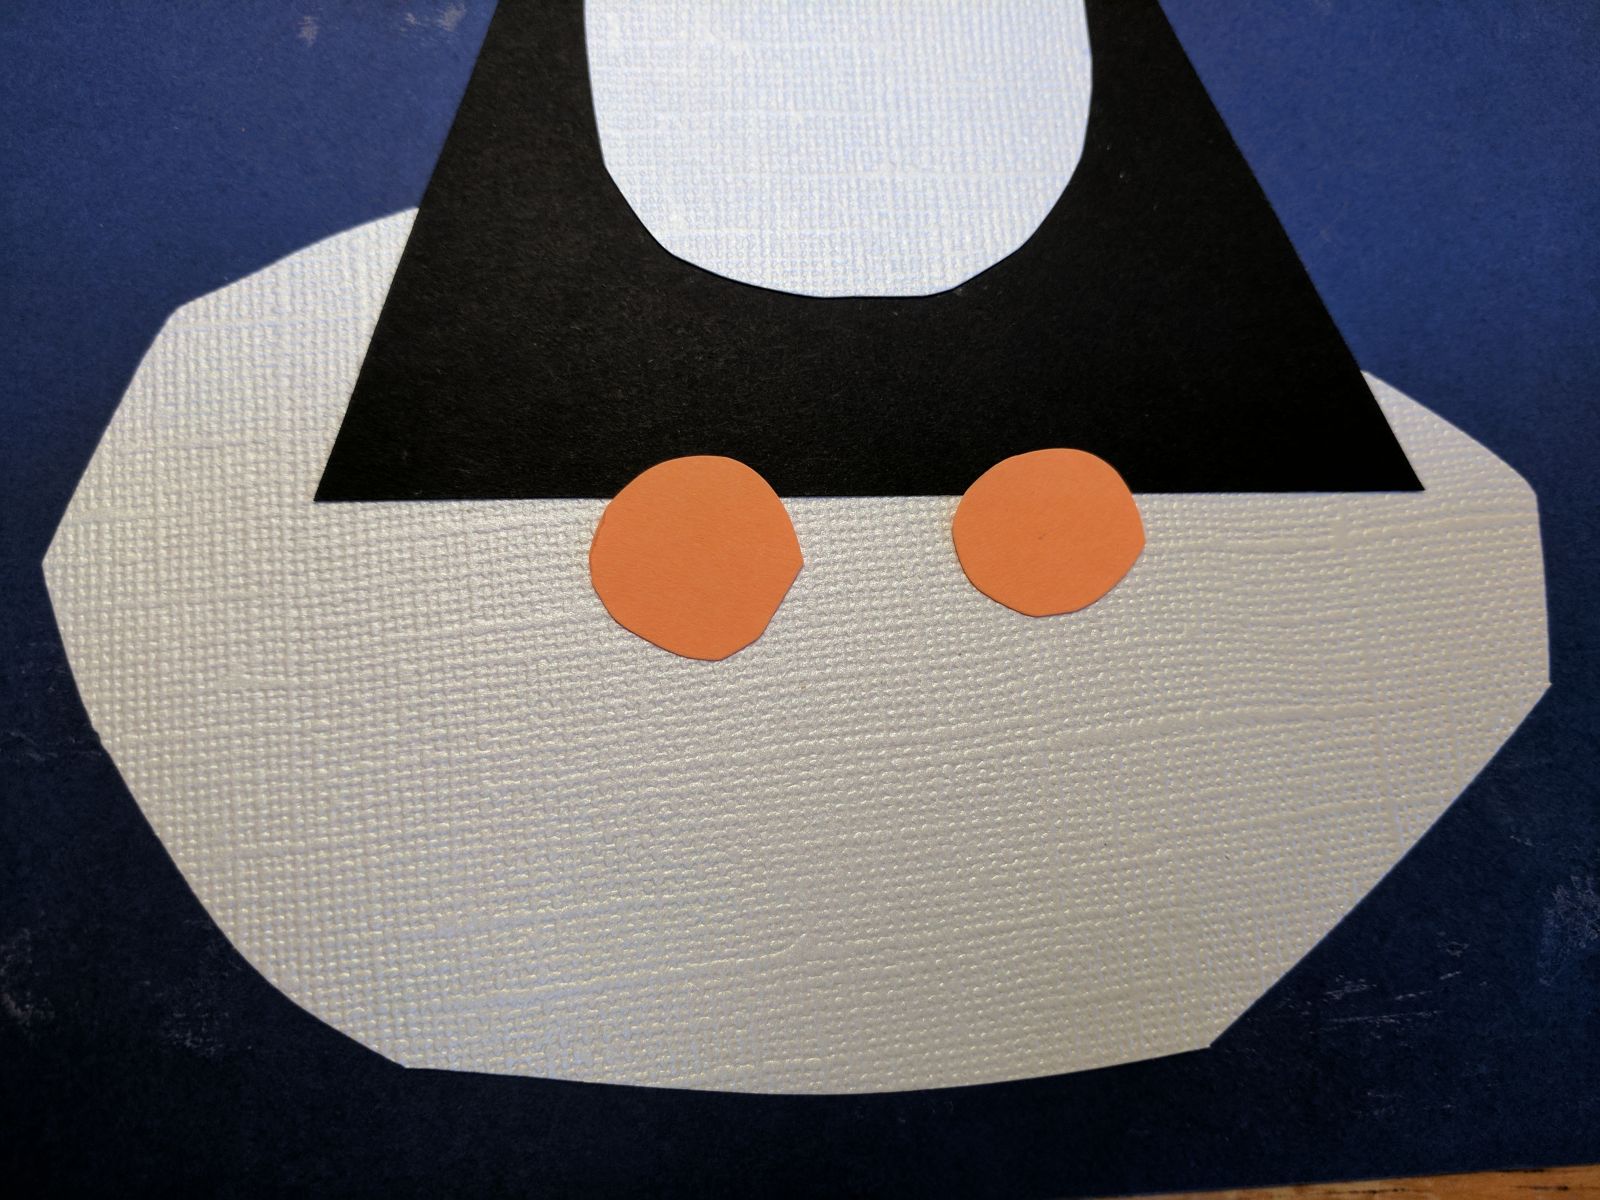
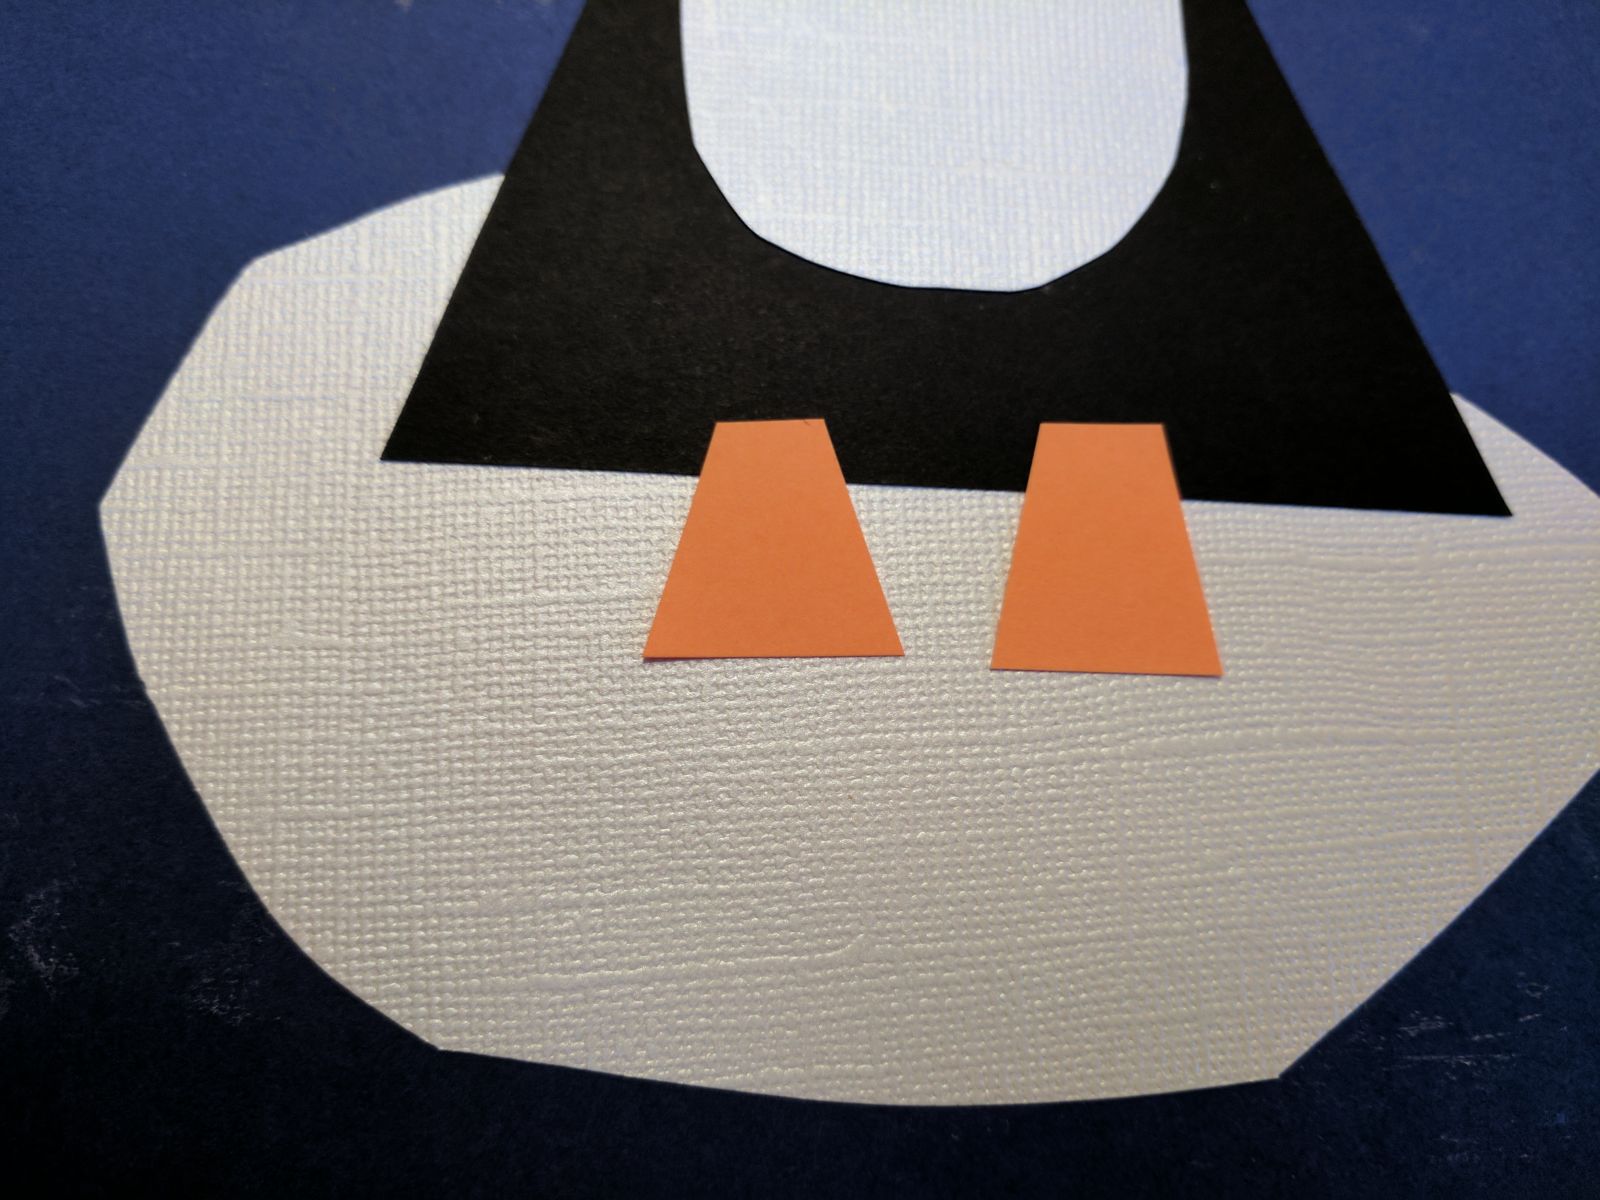
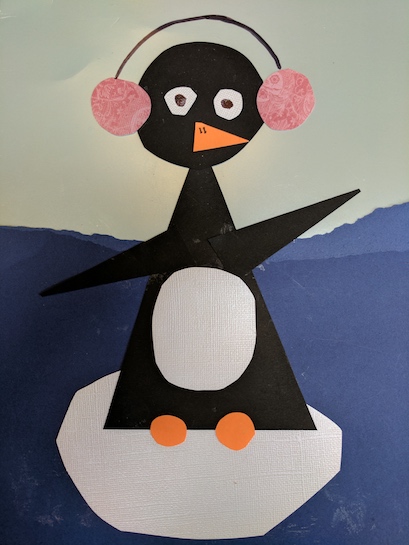
For the Penguin:
1 per student of each of the following:
Charlie Harper: (August 4, 1922-June 10, 2007) An American artist best known for his highly stylized wildlife prints and paintings. He called his style “minimal realism.” His artwork was bold and colorful and often used simple geometric shapes. Fun fact: His wife Edie was also an artist and they met at the Art Academy of Cincinnati. Lois Ehlert could also be used.
Pre-cut paper and organize pieces for distribution to students as described above under Materials & Supplies.

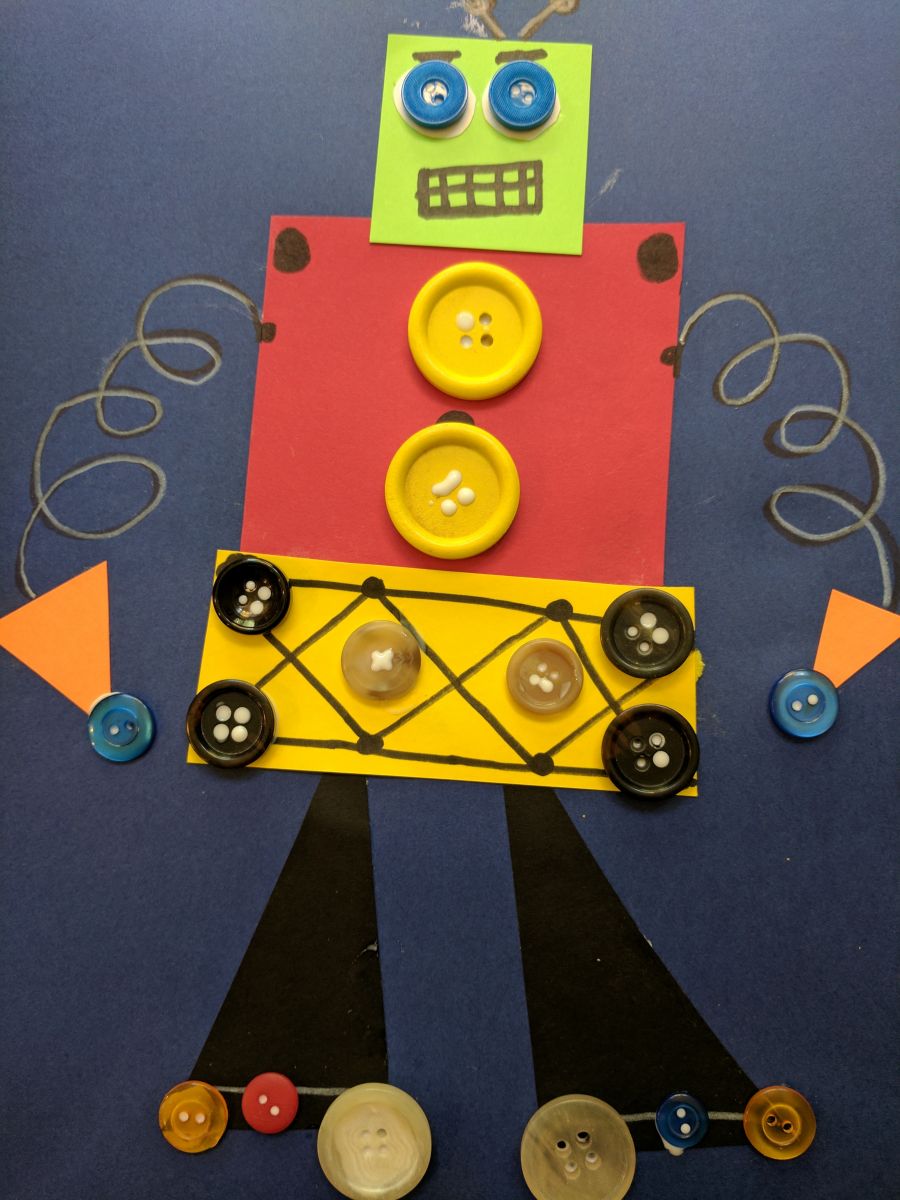
Shape Robot: Read the The Robot Book by Heather Brown or Little Robots by Mike Brownlow. Review shapes as you read the book. Have students create their own robots by cutting shapes out of paper. Use cups or lids to trace and cut circles. Embellish with beads, buttons and googly eyes (using white glue).
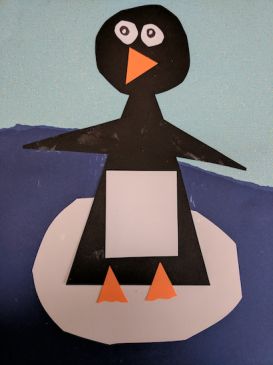
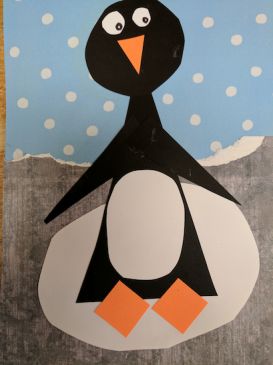
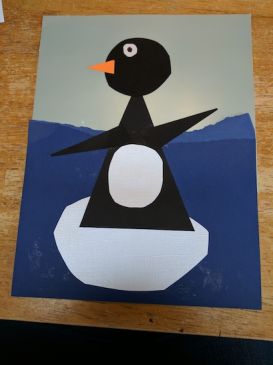
Students created an image from nature using geometric shapes.
Students balanced the imagery within the space.
Students can identify circles, squares and triangles and cut paper into these shapes.
"About Charley." Charley Harper Art Studio. N.p., n.d. Web. 28 Apr. 2017. https://charleyharperartstudio.com/shop/AboutCharley.
Harper, Charley, and Todd Oldham. Charley Harper: an illustrated life. Los Angeles, CA: AMMO, American Modern, 2011. Print.
21st Century Thinking Skills
Observing, making connections, visualizing, sequencing and decision making.
WA State Learning Standards
(VA:Cr1.2.K) a. Engage collaboratively in creative art-making in response to an artistic problem.
(VA:Cr2.2.K) a. Identify safe and non-toxic art materials, tools, and equipment.
(VA:Cr2.3.K) a. Create art that represents natural and constructed environments.
(VA:Re7.2.K) a. Describe what an image represents.
Arts Integration Opportunities
Science, Geography, Writing prompt.
Please note: These lesson plans are intended for non-profit use only. Use of these plans for commercial purposes should give attribution to the Issaquah Schools Foundation and be accompanied by a nominal donation at www.isfdn.org/donate. Thank you.
Fueling Success for Every Student, Every School