loading Skip to Main Content

Blown Trees Landscape

Students will create a painting with atmospheric perspective and blown trees in the foreground. Recommended for 4th Graders.

Elements of Art

Color: the visible range of reflected light. Hue: The pure color. If black or white is added to the hue, it changes its ‘value’ or darkness/lightness.
Spacea two-dimensional (flat/height and width) area enclosed by a line. Real space contains three dimensions: height, width and depth. An illusion of depth can be created in two-dimensional art formats, using certain techniques.
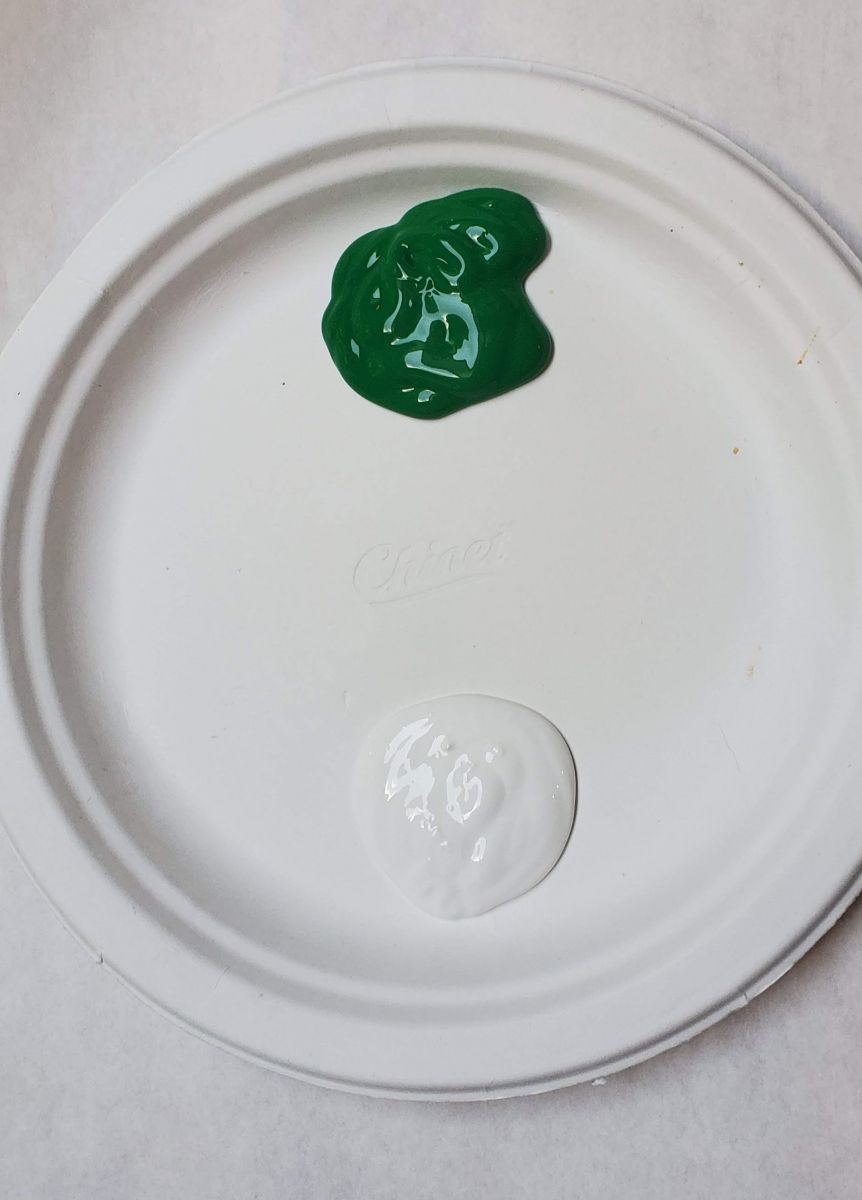
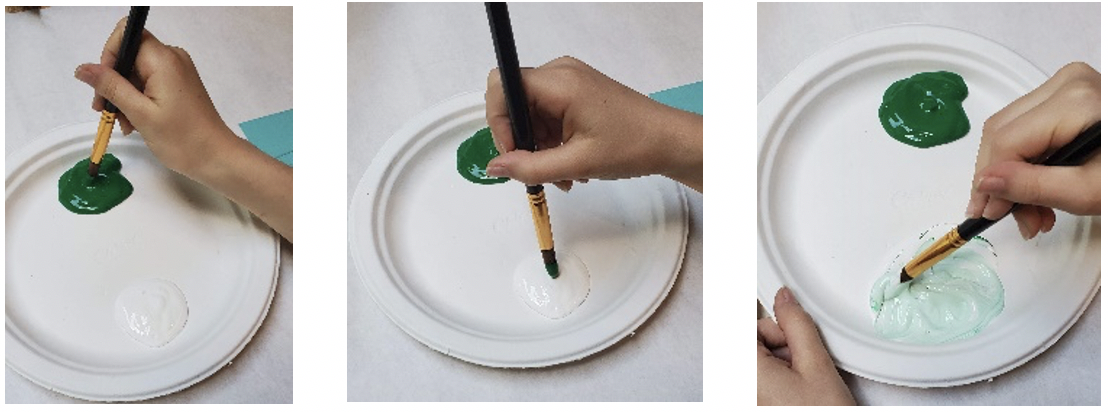
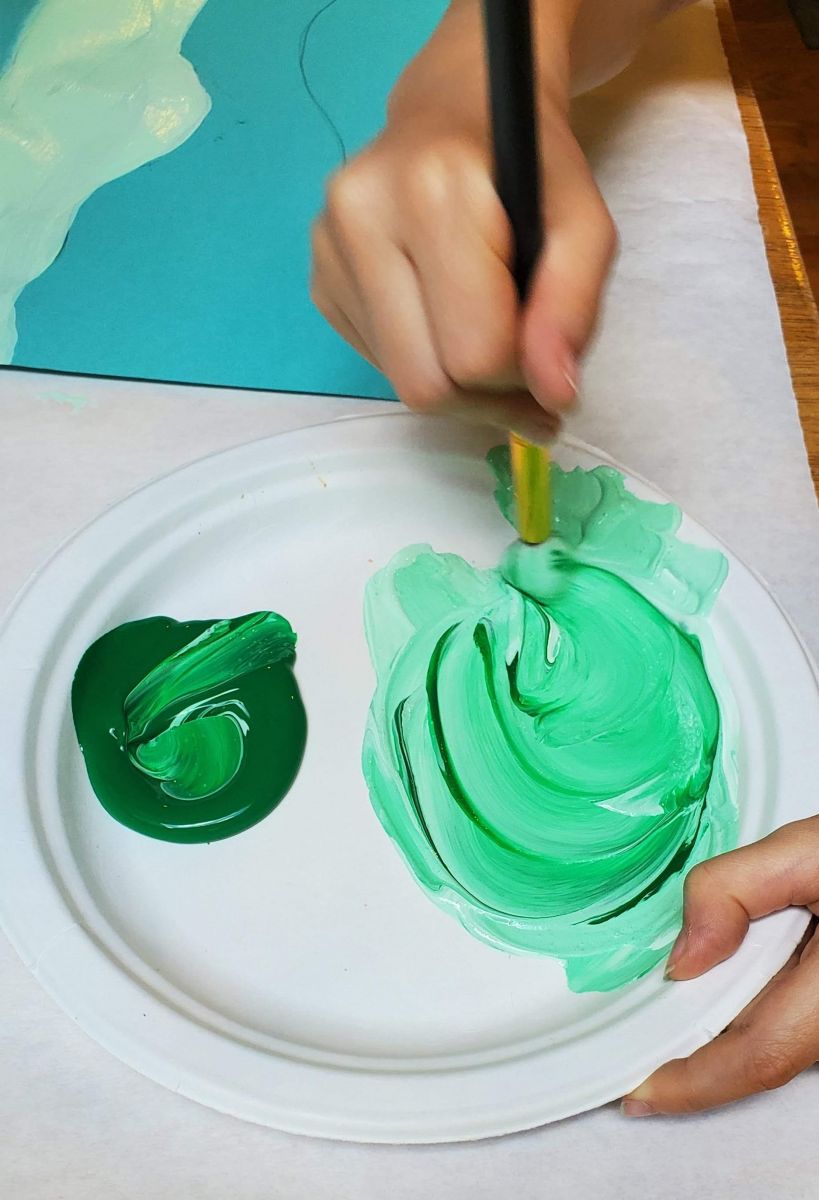
Value: (Hue/Shade/Tint): Color (Hue) and variations of the color. Shades are color+black, tints are color+white. Muted colors have gray added.

Principles of Design

Movement: How the artist makes the viewer’s eye move around the composition. In this lesson, the viewer’s eye is moved into the ‘distance.’

Additional Vocabulary

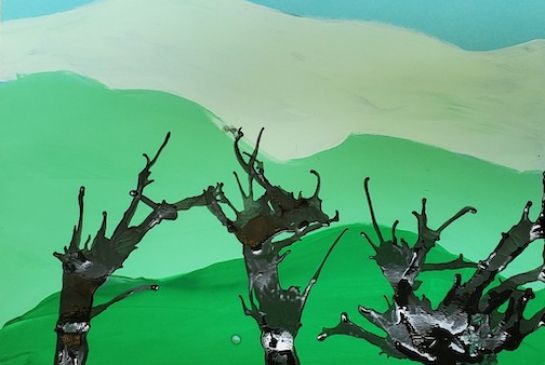
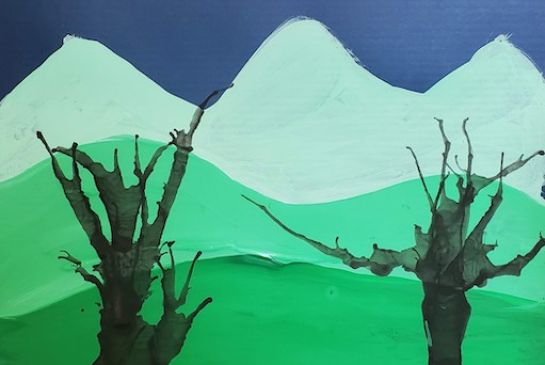
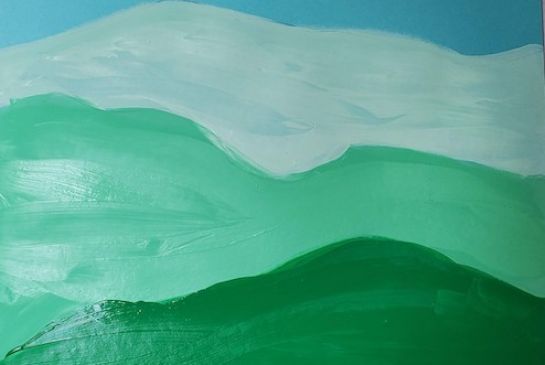
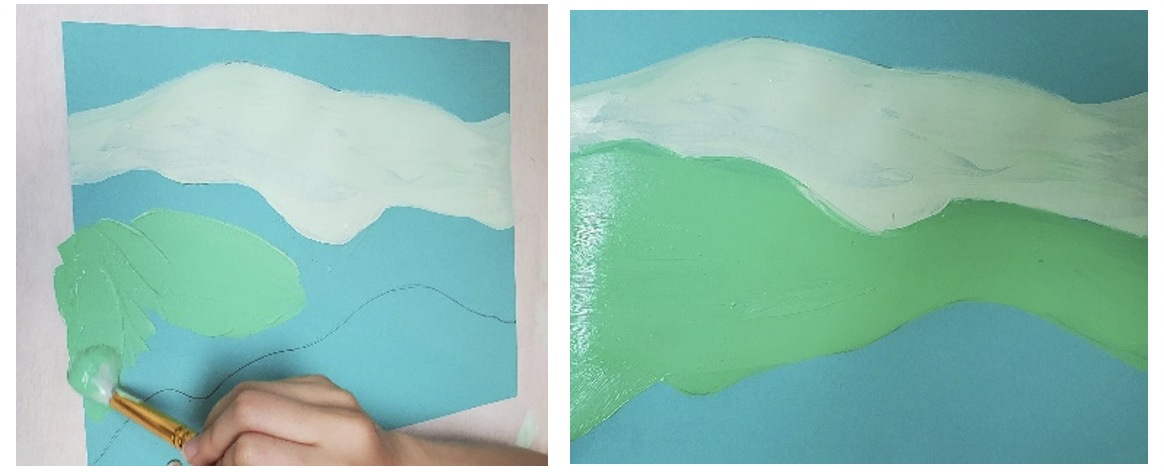
Atmospheric Perspective:  the way things look differently if they are further away: in the foreground, colors are warmer and more intense and darker, crisper shades; in the distance, the details disappear, colors appear cooler and less intense, and values lighten and fade.
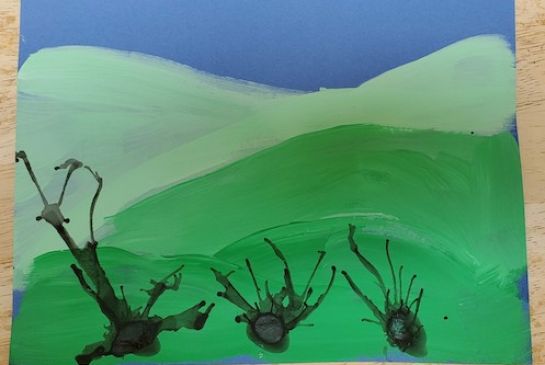
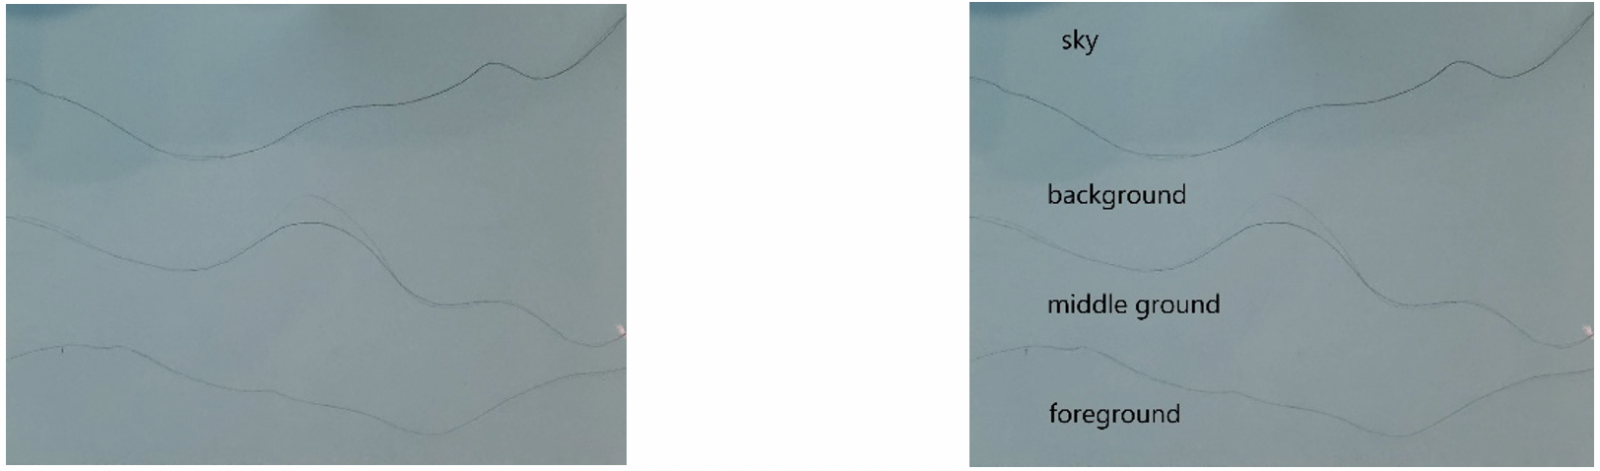
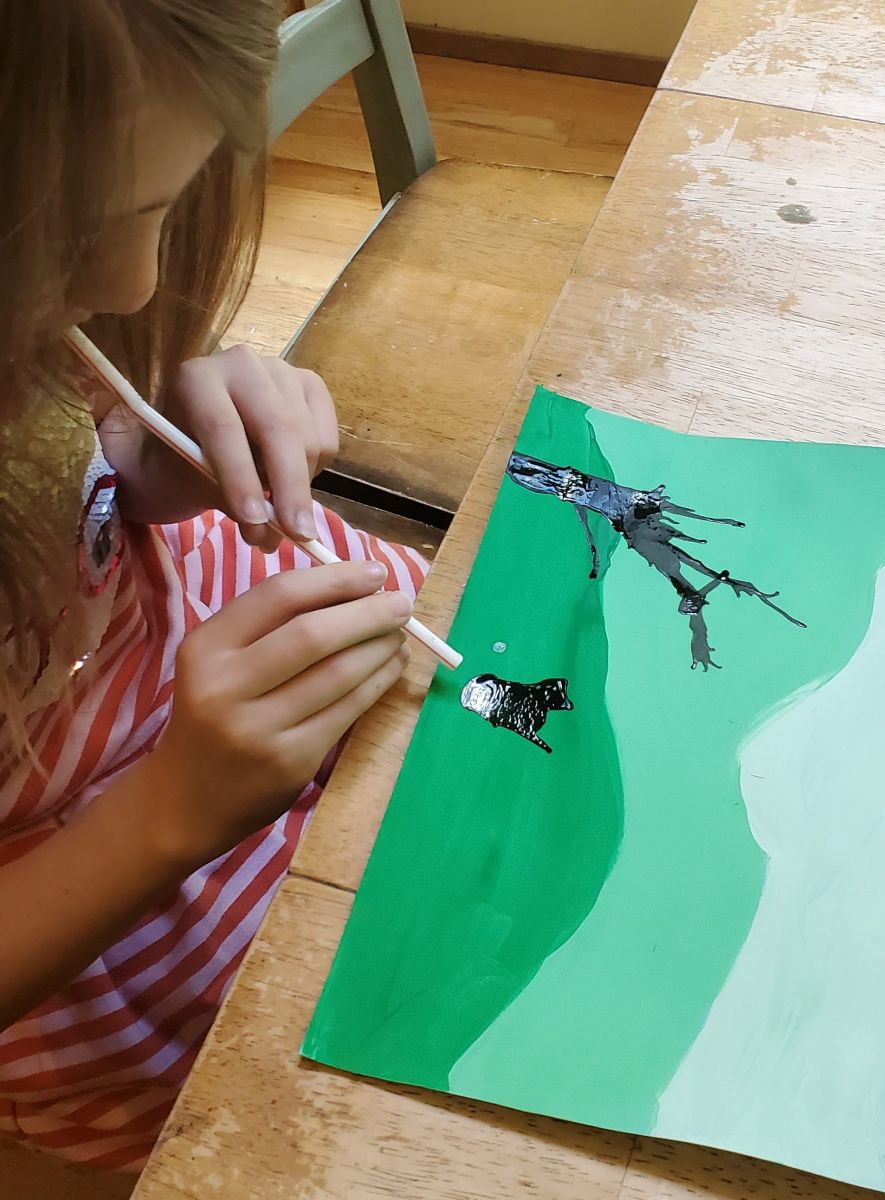
Background, Middle Ground & Foreground: Within the picture plane, objects that are closest are in the foreground, farthest from the horizon line. Objects that are farthest are in the background, closest to the horizon line. Middle ground is somewhere in between the 2.
Craftsmanship: a way of working that includes following directions, demonstrates neatness and the proper use of tools.​​​
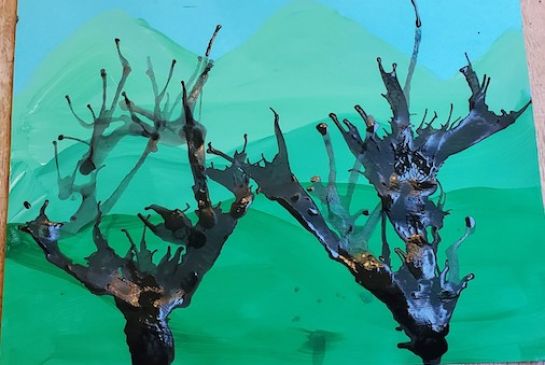
Gradation: a gradual changing from one color hue, or shade, or texture to another. Space, distance, atmosphere, and curved or rounded ‘forms’ are some of the visual effects created with gradation.
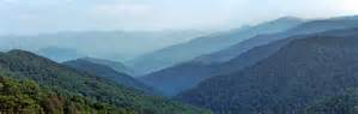
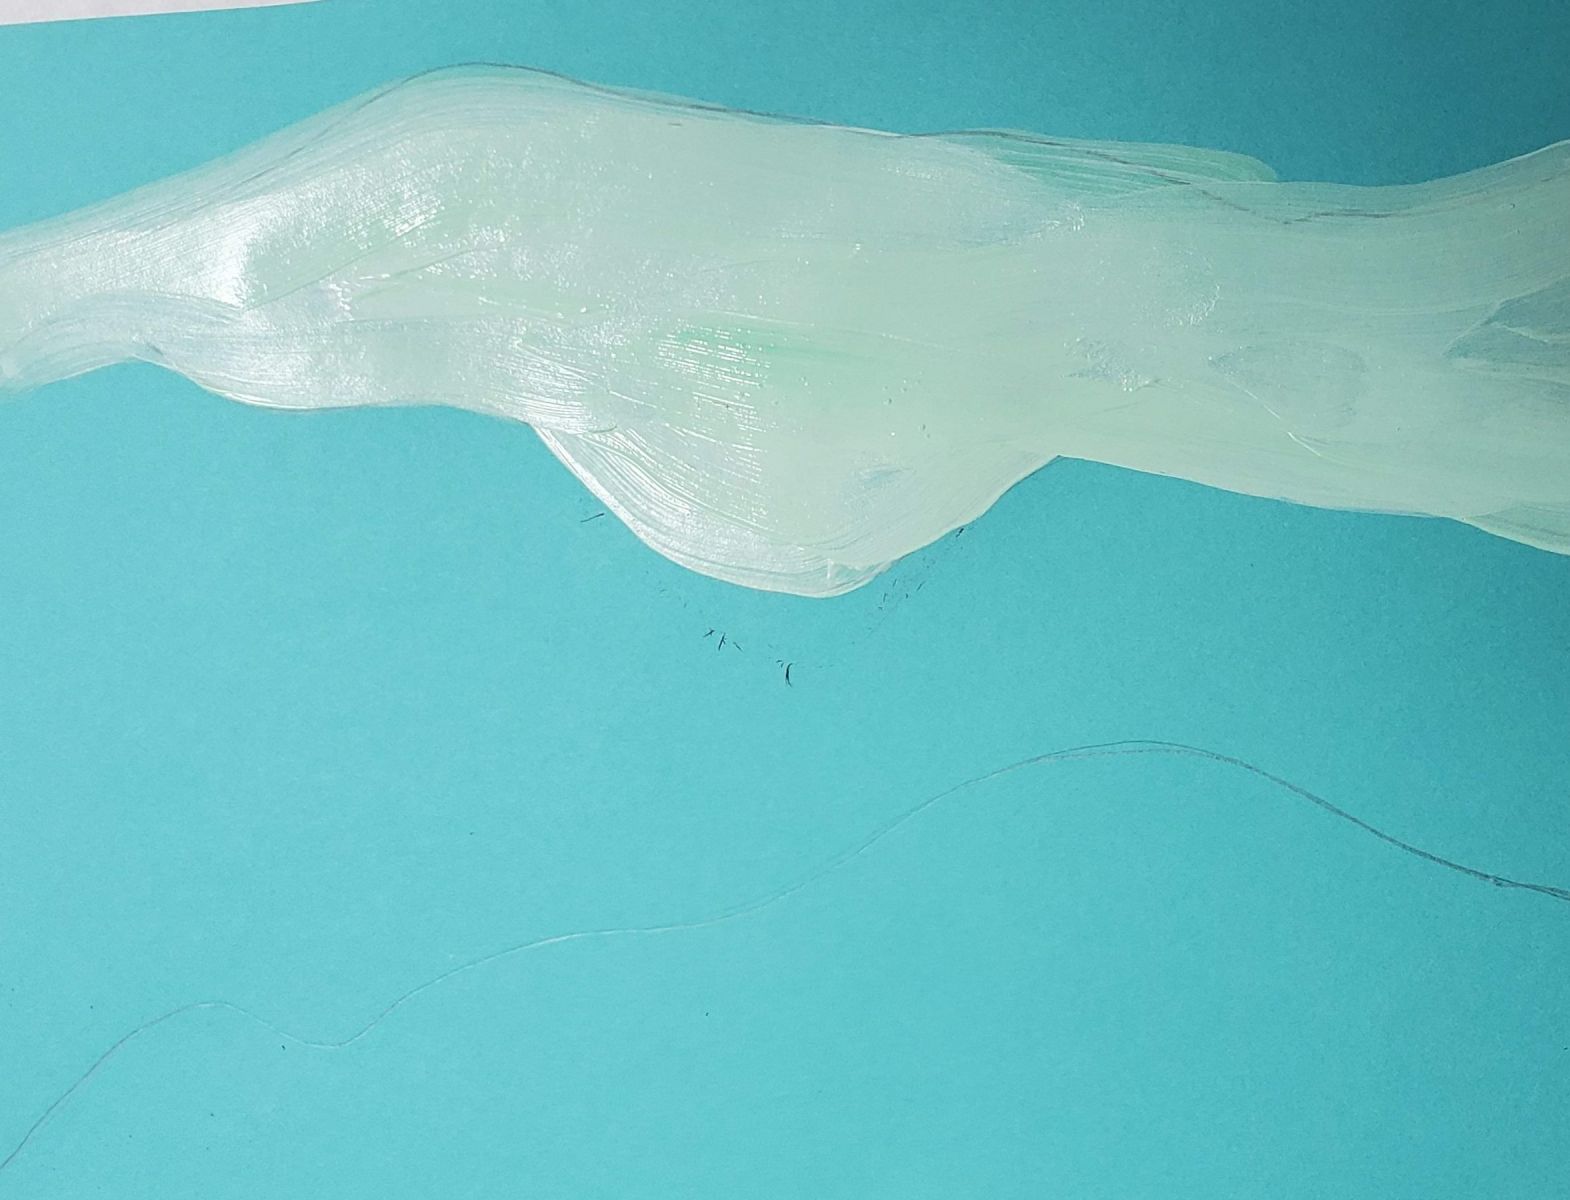
Horizon Line: A horizontal line where the land (or sea) ’meets’ the sky. It is the most distant spot we can see.
Linear Perspective: a technique to simulate depth in a 2-dimensional picture plane. Objects that appear to recede get smaller, nearer the horizon, and are overlapped.
Overlapping: A technique to create depth in a 2-dimensional image. When shapes overlap, the partially obscured one appears to move back into the distance.

Materials & Supplies

  • class set 9”x12” blue construction paper
  • Eye droppers (optional)
  • Green and white tempera paint
  • Flat 2” wide paintbrushes
  • Tiny detail paintbrushes
  • Pallet for mixing paint
  • Pencils
  • Scrap paper 
  • Straws
  • Water containers
  • Watered down black tempera paint

Context

Albert Bierstadt was born in 1830 in Germany. His family moved to America when he was 2 years old.  He moved back to Germany when he was 23 to study painting. He studied there for four years but then returned to America.  He is part of the Hudson River School and loved painting landscapes.  One of his landscape paintings, Valley of the Yosemite was on a postage stamp in 2008. He died in February 1902. 
Albert Bierstadt beside painting Valley of the Yosemite
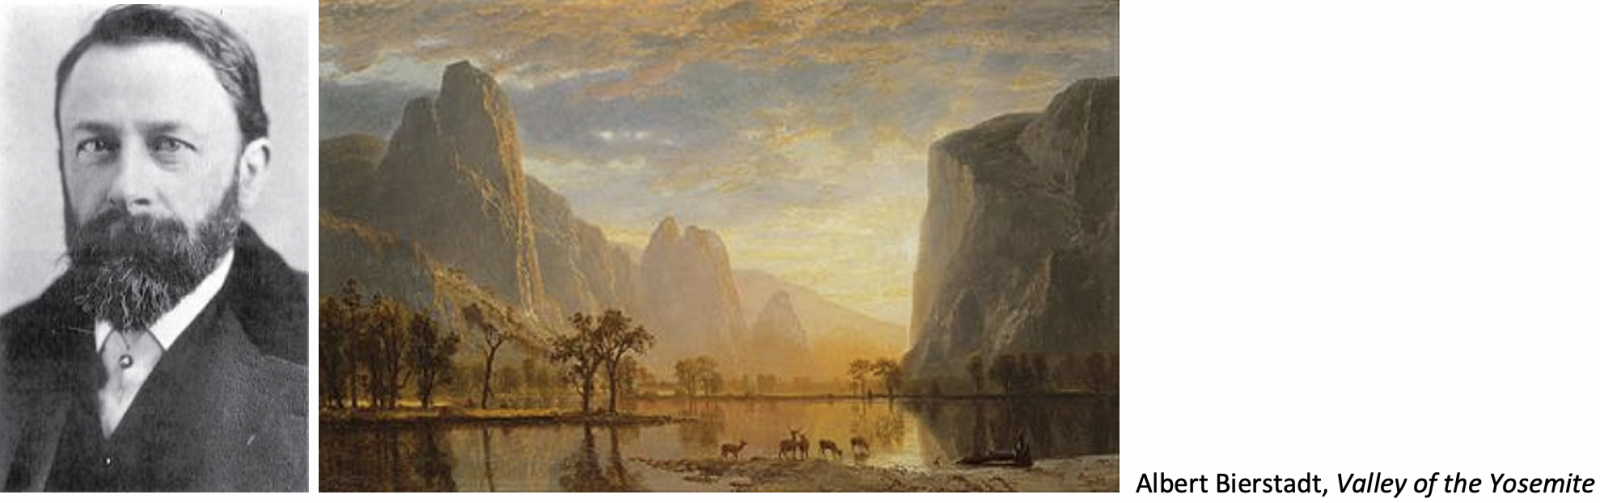
Hudson River School: not the name of a school but a group of landscape painters in the United States from 1825-1870. Paintings from the early years of this time usually portray the Hudson River Valley and surrounding areas.  Later paintings depicted scenes from the west and were often the public’s first glimpse of those wild areas.  The Hudson River school was strongly nationalistic with the grand portrayals of America’s landscape and also the artists wanted their own style.  The Hudson River School helped shape the perception and culture of America and is sometimes called America’s first art movement. 

Advanced Preparation

  • Mix the watered-down (about the consistency of milk) black tempera paint in advance to ensure a good consistency for blowing with the straws.
  • Practice blowing trees. 
  • Make your own example of the lesson.

Tips & Tricks

  • If a student does not like the horizontal lines they have drawn, they can flip the paper over or upside down (the sky section will become the foreground.)
  • The students won’t need a lot of paint: a blob slightly larger than a quarter per tree works.
  • Remind students that blowing paint is unpredictable. It’s okay if the trees turn out differently than planned. They might look better! (the Happy Accident theory.)
  • When mixing tints, the rule is to add a small amount of the hue to the larger dollop of white. It takes less paint to get the desired tint.

Discussion Points

How do landscapes appear in nature? (very different kinds, but always with a horizon line in the distance, change in lighting as we look towards it). 

Have you seen the phenomenon where mountains in the distance appear to be a lighter tone? The atmosphere (clouds, mist, sun) is affecting the way the light hits objects so we see color differently.

Talk about linear perspective, how things appear closer to the horizon line, are overlapped, are smaller, less distinct and less crisp and detailed the farther in the distance they are. 

Reflection Point (Assessment of Learning Objectives)

Students will:

  • observe atmospheric perspective in art
  • create a painting with atmospheric perspective
  • use art vocabulary
  • use good craftsmanship

Instructions for Lesson

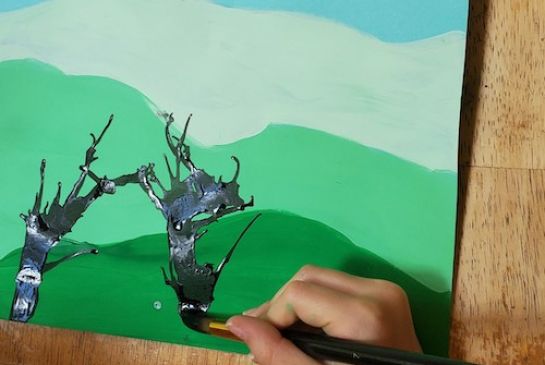
Day 1 This should take a bit less than an hour, unless you have them practice making trees on scrap paper. This could help make the 2nd part of the lesson become a pull out.

  1.  Post the vocabulary words and briefly go through them. Use them during the lesson.
  2. Show the photo below of atmospheric perspective.  Point out the horizon line, the foreground, middle ground and background.  Sometimes the horizon line is blocked, but still there.
    atmospheric perspective
  3. Ask the students to notice how the value changes (how dark or light the color) in the foreground, middle ground and background. Which is lighter, background or foreground? Explain they are the same color and it’s just the way the atmosphere distorts the appearance of a distant object.  This is atmospheric perspective. It occurs because there are more dust particles and water droplets in the air between our eyes and an object in the distance.  This causes the light to bend, making objects in the distance appear hazy.   Artists often depict this in art using shades and tints.
  4. Display the work “The Rocky Mountains, Lander’s Peak” by Albert Bierstadt.  Have the students notice how Bierstadt creates the illusion of depth using proportion and atmospheric perspective.  The foreground (front) is detailed and the colors clear.  In the middle ground, the waterfall is smaller to create the illusion of being farther away.  Show the students that the background is lighter just like the picture of the mountains looked at.  This is called atmospheric perspective.
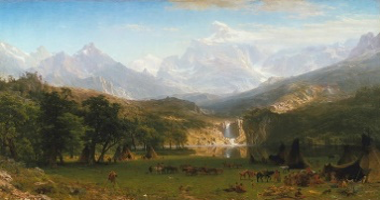
     The Rocky Mountains, Lander's Peak
  5. Distribute materials and tell students that they will paint a landscape using atmospheric perspective. 
  6. Have the students align the paper horizontally.  Instruct them to leave a 3-finger space at the top of the paper. (pictured) Under that space lightly draw a horizontal line across the paper.
  7. Dropping lower, draw 2 more horizontal lines across the paper.  This will create the foreground, middle ground and background sections.
  8. Distribute pallets to each student with a white and green dollop of paint.
  9. Demonstrate mixing the background color by putting the paintbrush in the green paint and then adding it into the white.  Repeat and mix to create a light green tint. Stir until all streaks are gone. Talk about your process as you go through it.
    mixing paint
  10. Leave the top (sky) section empty and paint the background (the second section from the top) with this light green tint. Scrape one side of the brush when you load it with the desired mixture. Use smooth horizontal brushstrokes as you paint, smoothing out any blobs.
  11. Dip the paintbrush in the green paint again and add it to the light green tint.  Add enough to create a darker tint.
  12. Paint the middle ground with this new tint.
  13. Wash and dry the brush, or use a fresh brush. Do not skip this step or the foreground could look the same as the middle ground.
  14. Use the original green hue to paint the foreground. 
  15.  Have the students do the same. (it is ok if a little white paint gets in the green). Circulate to watch their mixing and painting technique.
  16. Put the paintings aside to dry.

Day 2 (this should take less than 30 minutes).

  1. Demonstrate how to blow paint with the straw to make bare trees.  Show the students how to inhale first and then exhale through the straw, not inhale or suck up air or paint.  With a paintbrush or an eyedropper, drop a blob of the watered-down (about the consistency of milk) black paint on a scrap paper.  Point the straw at an angle and use it to blow the paint upwards to create a trunk.  Use the ends of the straw to pull the lines of paint a new direction and blow them to make branches.  Look for blobs of paint to blow in the desired direction.
  2. Have the students first practice creating trees on scrap paper. Have them place a blob of runny/watery black paint in the foreground and use the straw to blow a tree or bush.   If there isn’t enough paint, another small blob of black will be needed.  Make sure it is small.                                                                
  3. Instruct the students to make trees on the painting.  
  4. Optional: Use a paintbrush to extend the tree trunk to the bottom of the page.  Do not let the students use the paintbrush to paint tree branches.                                                         
  5. Repeat until there are three trees/bushes in the foreground.

References and Attributions

Lesson written by Rachelle Roberts. The Editors of Encyclopaedia Britannica. “Hudson River School.” Encyclopedia Britannica, Encyclopædia Britannica, Inc., 30 May 2018. Hey Kids, Meet Albert Bierstadt | Biography, Making Art Fun website.
Stewart, Jessica, and Viviva Colorsheets. “How the Hudson River School Became America's First Art Movement.” My Modern Met, 13 Sept. 2019. Wikimedia Commons, 18 Jan. 2014.

Notes for Educators

21st Century Thinking Skills
Thinking flexibly, persisting, questioning, creating, innovating, listening with empathy, taking responsible risks, observing, making connections, visualizing, sequencing, predicting, comparing/contrasting, determining main idea, finding evidence, problem solving, cause and effect, determining point of view, decision making.

WA State Learning Standards
(VA:Cr2.1.4) a. Explore and invent art-making techniques and approaches.
(VA:Cr2.2.4) a. When making works of art, utilize and care for materials, tools, and equipment in a manner that prevents danger to oneself and others.
(VA:Cr2.3.4) a. Document, describe, and represent regional constructed environments.
(VA:Cr3.1.4) a. Revise artwork in progress on the basis of insights gained through peer discussion. This happens if you share out about students’ choices of craftsmanship during the lesson.
(VA:Re7.2.4) a. Analyze components in visual imagery that convey messages. This happens when you explain how to create the illusion of depth in a 2-dimensional picture plane.
(VA:Re8.1.4) a. Interpret art by referring to contextual information and analyzing relevant subject matter, characteristics of form, and use of media.
(VA:Re9.1.4) a. Apply one set of criteria to evaluate more than one work of art. 
(VA:Cn11.1.4) a. Through observation, infer information about time, place, and culture in which a work of art was created.

Please note:  These lesson plans are intended for non-profit use only. Use of these plans for commercial purposes should give attribution to the Issaquah Schools Foundation and be accompanied by a nominal donation at www.isfdn.org/donate. Thank you.

Donate Now

Artistic Support Reference Materials

Loading...
Loading

Fueling Success for Every Student, Every School