Context (History and Artists)
Molas are an artwork traditionally created out of fabric. They are worn by the Kuna Indians who live on the San Blas Islands near Panama. The technique to create a Mola is unique. The process is reverse applique. Instead of layering pieces of material on top of each other, the artist cuts through the layers of fabric to expose new layers. Then they use a needle and thread to stich or attach the material. The result is a design that is textured, colorful, and very beautiful. Reverse applique is difficult to describe; consider emphasizing the technique of layering or overlapping of the fabrics. The Kuna women of San Blas, Panama, wear the Molas on the front of their blouses. The designs often reflect Kuna life and symbols although some Molas are abstract designs. People today treasure these artworks, they frame the fabric art pieces and hang them in their homes.
Advanced Preparation
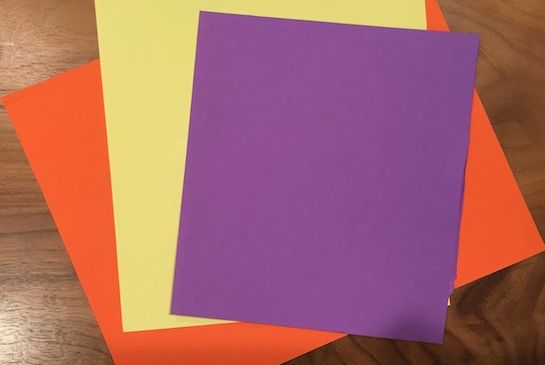
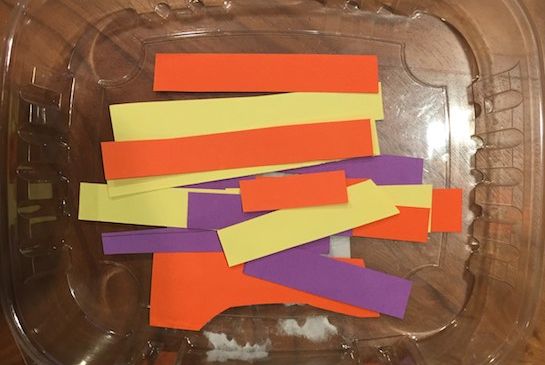
- Cut the colored paper into squares of varied sizes (7x7", 6x6", 5x5").
- Make 15-20 pre-cut templates of animal shapes, organic shapes, flower shapes, abstract shapes, and other designs. Examples might be: bird, turtle, fish, simple flower, abstract shapes.
- Check out a book(s) that depicts graphic images. One good example is “How Birds Changed Feathers” (A South American Indian Folk-Tale by Joanna Troughton).
- Download Mola images or find an authentic Mola to show the class.
- Put the supplies in containers that you will pass out after the instruction.Each table should have pre-cut colored squares and a variety of templates.
Tips & Tricks
- Students can use a piece of “scratch” paper to use as their gluing sheet to keep their desks a little less sticky and their artwork a little cleaner.
- The books with images of animals and designs are good to have around for students to use as inspiration. These are also good if some students finish early.
- Cutting tip: teach students a way to create two of the same shapes. Demonstrate how to fold a piece of paper in half and then cut out a triangle or whatever small shape you want. You will have two of the same shape, with only having to cut once!
Discussion Points
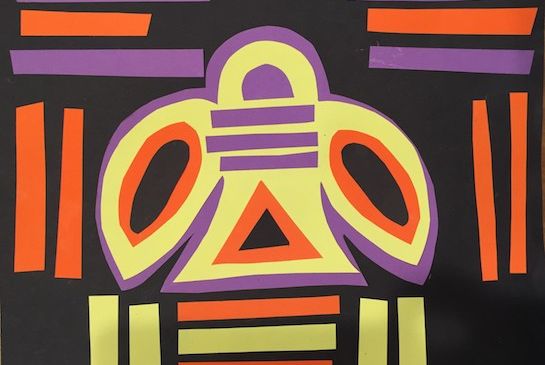
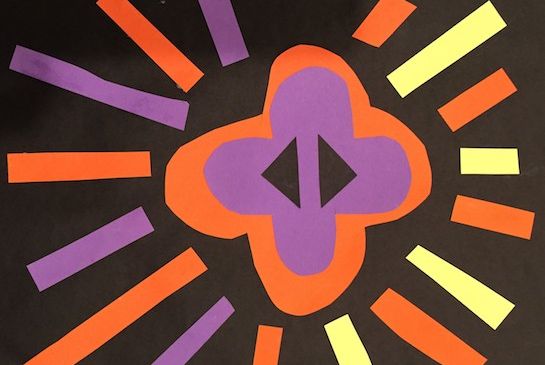
- Show the class the Mola or other images of the Mola from a book or the internet.Have the class take a minute or so to think (not talk) about all they see. Ask them what they notice about the Mola.Help them focus their answers on color, layers, the shapes in the Mola and how the shapes fit together and fill up or balance the art.
- Ask students what they know about lines. Explain and demonstrate (use your arms or a drawing tool) to show vertical, horizontal and diagonal lines.Have studentsrepeat this with their arms.
- Define and describe textile. Textile is a different word for fabric. Students might be familiar with fabric quilts.
- Tell students that artists can use a variety of materials to make art. Ask the class what materials they have used to create art (clay, paper, paint). Lead up to what material the Molas are made of: textile. Tell the class: “today, we are going to make a piece of art that uses the Mola as our art inspiration.We will not use fabric, but paper. We will use the similar techniques and designs to create a paper Mola.”
Reflection Point (Assessment of Learning Objectives)
Students can…
- Describe how Molas are made with paper.
- Explain how their artwork has two or more layers of colors, with smaller shapes on top of larger shapes.
- Show organic, geometric, and symbolic shapes intheirartwork.
- Point to horizontal, vertical and diagonal lines in their artwork or others artwork.
Instructions for Lesson
- Set-up: Have the materials prepared (the images, map, templates and the book).
- Demonstrate the steps of the lesson as follows. After demonstrating each step, give students some time to complete the step on their own.
- Introduce students to the Mola and use the discussion points above to engage the class.
- Choose two colors of paper. A different color in each size square.
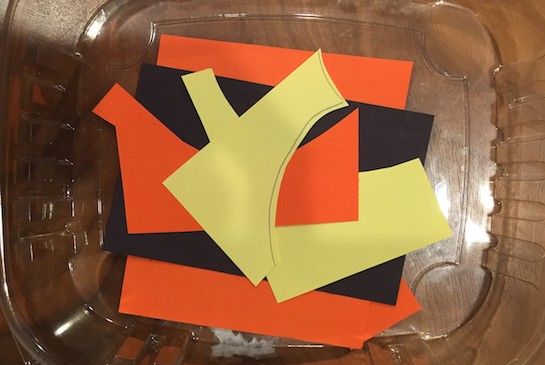
- Start with the smallest square. Explain that this will be the main image they will design their artwork around. They can choose an animal template image they like, an abstract design, a geometric shape, or draw a shape of their own. The shape needs to be simple.
- Trace around the image and cut it out.
- Get the larger square. Put the colored animal image you just cut out on top. Trace around the shape leaving a small finger space to trace around it. Explain to the students that they should think about making a “bubble” around the animal. Explain that you need the “bubble” space to see the two different colors.
- Cut it out, making sure to cut off the pencil markings which makes it look more polished.
- Save your scraps.
- Think about the placement of the animal. This is the main idea of your artwork so you want it to be somewhere in the middle. It doesn’t have to be directly in the middle, it can be off center, but you probably don’t want it on the far side or off in the corner.
- Glue the largest animal on the black paper, then the smaller size on top. Point out how it looks like the Mola because you can see just a small bit of the first color.
- Use the scraps to cut out many rectangles. Arrange the rectangle lines on the background. Think about the direction of these lines. Tell the class that this is how to make their artwork personal. They get to choose how they want their lines to look. Ask: “Do you want them to be vertical or horizontal or diagonal?” Instruct that the students shouldn’t glue them down until they have moved the lines around and like where they have them. Glue the lines down.
- Add layering details to your animal or shape. Add features to the animal or design and create more layers to achieve the style of the Mola art.
References and Attributions
Art Class Curator blog.
Notes for Educators
21stCentury Thinking Skills:
Sequencing –Arranging things in an order.
Main idea – Determining a major point or central thought.
Decision making –Choosing from alternatives.
WA State Learning Standards:
(VA:Cr2.1.1) Investigate, plan and make. Explore uses of materials and tools to create works of art or design.
(VA:Cr3.1.1) Investigate plan, and make. Use art vocabulary to describe choices while creating art.
(VA:Cn11.1.1) Relate/synthesize. Understand that people from different places and times have made art for a variety of reasons.
Arts Integration Opportunities:
This lesson can connect to social studies, learning about other cultures, geography of Panama and map skills.
Please note: These lesson plans are intended for non-profit use only. Use of these plans for commercial purposes should give attribution to the Issaquah Schools Foundation and be accompanied by a nominal donation at www.isfdn.org/donate. Thank you.
Donate Now