Shape: a closed line, in this lesson an organic shape, since it describes a natural object.
Space: an element of visual arts; the area above, below, around, and within an artwork.
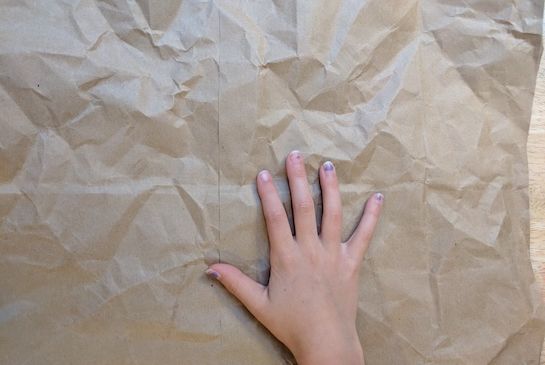
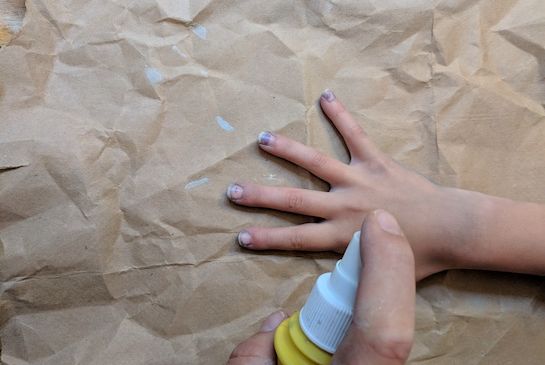
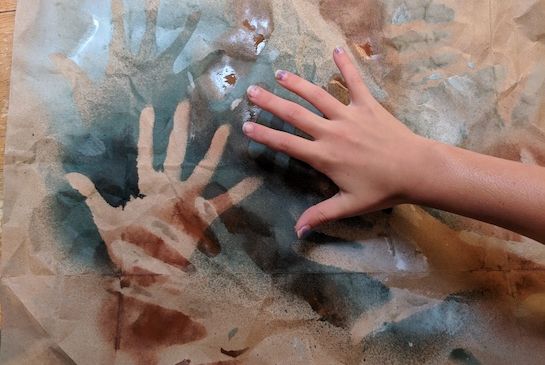
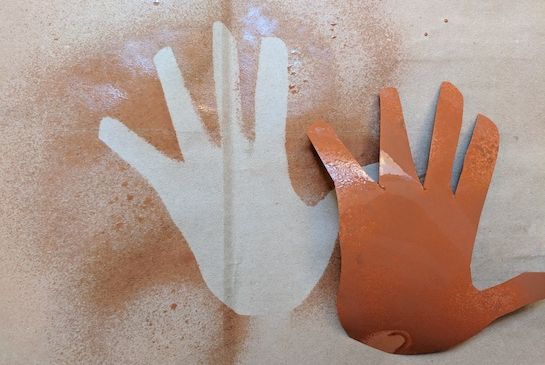
- Negative Space: the empty space surrounding a shape, figure, or form in a two- or three-dimensional artwork.
- Positive Space: the actual space taken up by the line, shape, or form.
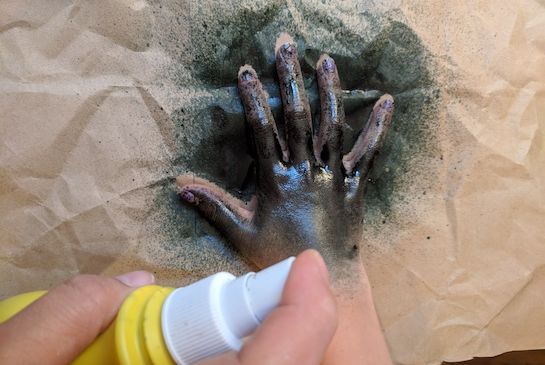
Contrast: the difference between the positive and negative space. The negative space is filled in so as to make the empty, positive space show up.
Rhythm: created by movement implied through the repetition of the organic shapes in a non-uniform but organized way.
Overlapping: extend over so as to cover partly.
Cave paintings, or parietal art as it is also called, are the oldest art in the world. Some date back almost as far as 40,000 years ago! Cave paintings are found in the deepest part of the cave.
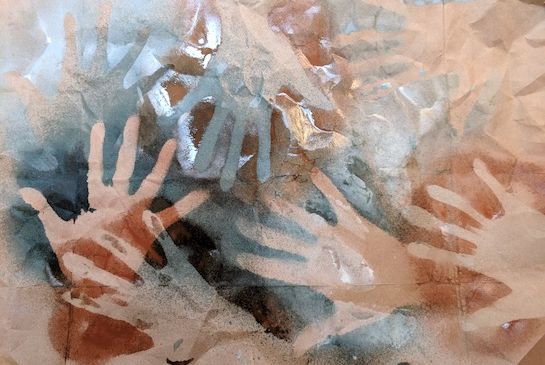
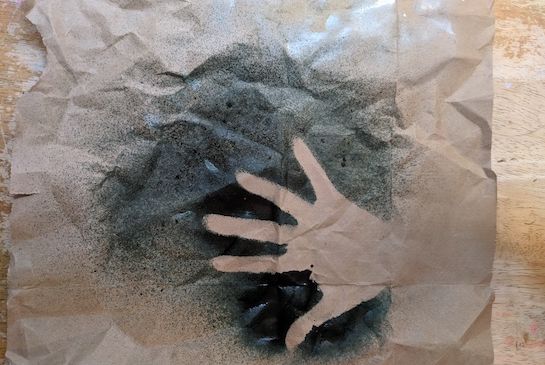
Cave paintings are sometimes of deer, horses, mammoths, cattle and boars but hand stencils are almost always found in cave paintings. The oldest hand stencil in the world is 39, 9000 years old and was found in Indonesia. Archeologists think that the hand stencils were made by using dirt as “paint” and then blowing it through hollow bones over a hand that was pressed against the cave wall.
Ensure that there will be extra adult help in the classroom.
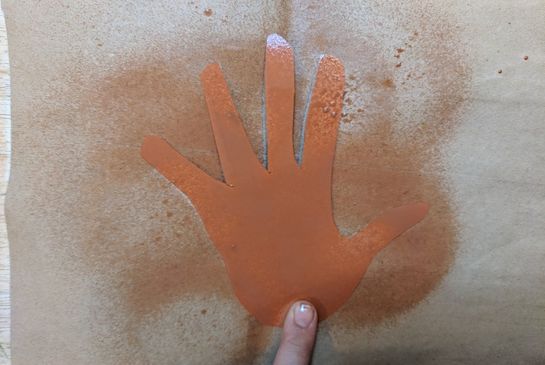
Put tempera paint in spray bottles and water down enough so the paint can spray (but not too watery). The spray bottles do not need to be full.
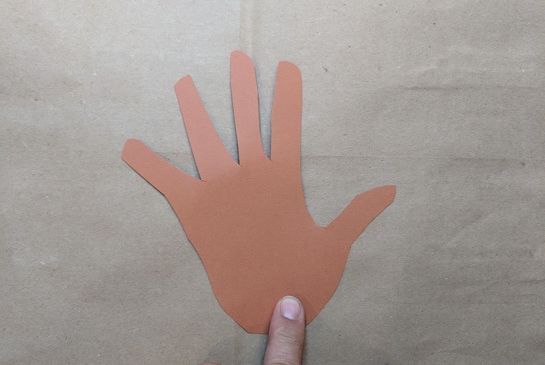
Prepare hand cut-outs, laminate if possible (if using).
Prepare an example of negative space with just a hand outline and a hand that is filled in with color for positive space.
Find a map of cave paintings and possibly pictograph sites in the US.
If students are interested in learning more about cave painting, a good follow-up book is The Cave Painter of Lascaux, by Roberta Angeletti.
Show students images of cave paintings and a pre-made example. Make sure to end showing some pictures of hands such as the hands from the “Cueva de las Manos” (Cave of the Hands) or Cave Pettakere in South Sulawesi, Indonesia.
Students will observe prehistoric cave paintings, review the concept of positive and negative space and create an image using hands & stencils.
Lesson written by Rachelle Roberts.
Hubbard, Bethany. “Prehistoric Cave Art Discovered in the Tropics.” Discover: Science for the Curious, 8 Oct. 2014.
Vergano, Dan. “Cave Paintings in Indonesia Redraw Picture of Earliest Art.” National Geographic Sites, National Geographic.
“Hot Minute of Art History: Cave Painting” YouTube, Stevens, Cassie, 27 Sept. 2017.
21st Century Thinking Skills
Creating, reflecting, observing, making connections, visualizing, sequencing, predicting, contrasting, determining main idea, finding evidence, cause and effect, decision making.
WA State Learning Standards
(VA:Cr1.1.2) a. Brainstorm collaboratively multiple approaches to an art or design problem. This happens when showing different forms to make.
(VA:Cr1.2.2) a. Make art or design with various materials and tools to explore personal interests, questions, and curiosity. This happens when students make choices about details.
(VA:Cr.3.1.2) Refine and complete artistic work. Discuss and reflect with peers about choices made in creating artwork. This happens if students observe each other's work and talk about how they did it.
(VA:Re7.1.2) a. Perceive and describe aesthetic characteristics of one’s natural world and constructed environments. This happens when geometric forms and complementary colors are found within art and architecture.
(VA:Re9.1.2) a. Use learned art vocabulary to express preferences about artwork. This happens when the vocabulary words are used by students during the lesson.
(VA:Cn11.1.2) a. Compare and contrast cultural uses of artwork from different times and places. This happens if characteristics of abstract sculpture are described as it relates to time and place.
Arts Integration Opportunities
Writing: Procedural writing, or elements and principles used in spelling lists. A fictional description of the use of the sculpture or its place in a habitat can also be prompted.
Math: the link between 2 & 3-dimensional shapes and forms are useful when learning math concepts.
Please note: These lesson plans are intended for non-profit use only. Use of these plans for commercial purposes should give attribution to the Issaquah Schools Foundation and be accompanied by a nominal donation at www.isfdn.org/donate. Thank you.
Fueling Success for Every Student, Every School