Color: Light reflected off objects. Complementary colors are directly opposite each other in the color spectrum: red/green, blue/orange, yellow/purple. These pairs contain all 3 primary colors.
Shape: a closed line. Shapes can be geometric or organic. They are flat, express length and width.
Form: 3-dimensional structures expressing length, width and depth.
Contrast: Complementary colors are the most highly contrasting colors on the color wheel. Contrast attracts the eye and creates interest.
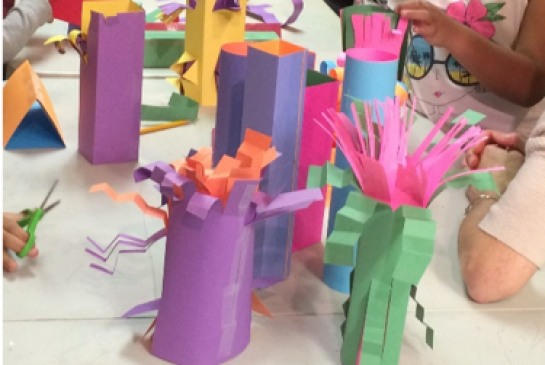
3-dimensional Geometric Forms: cylinder, triangular and rectangular prism are used in this lesson.
Sculpture: a 3-dimensional work of art.
Sculptor: the artist who makes sculpture.
Images of sculptures which are geometric abstracted forms like the ones made in this lesson. Alexander Calder is a good start.
Create 2-3 samples of the art project.
Prepare paper.
Have a color wheel on display for students to refer to.
Print or create a power point of sculpture images from Issaquah, Seattle Olympic Sculpture Park, and one other.
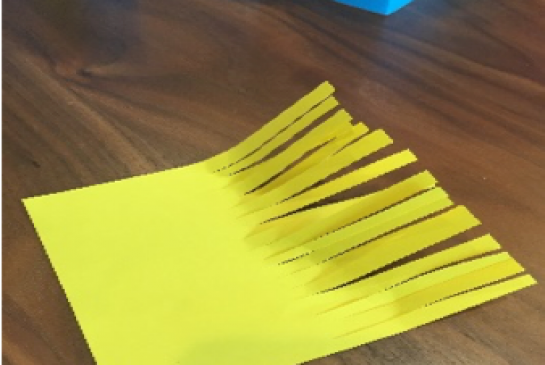
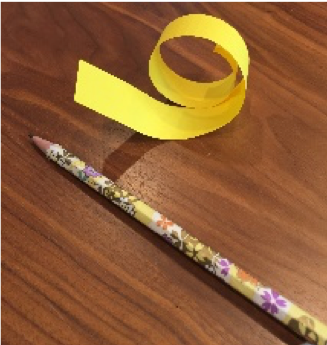
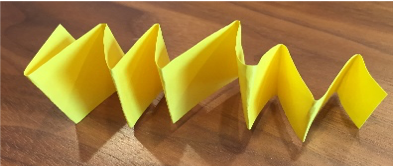
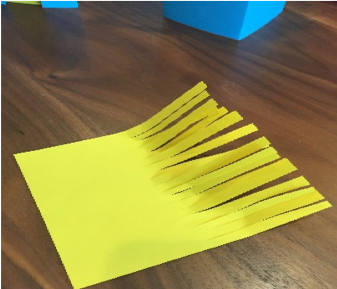
Cut some of the paper into strips and be ready to demonstrate how to manipulate it.
Talk about the color wheel and complementary colors on the color wheel.
Define sculpture as a 3-dimensional art form.It can be small or large and can depict reality, abstraction or non-representation.It always has length, width and depth.
Discuss the difference between geometric shapes and their 3-D counterparts. Circle/sphere, square/cube and so on.
By the end of this lesson, students can identify the 3 sets of complementary colors on the color wheel. After observing images of geometric sculptures, students will make 3-dimensional sculptures that use complementary colors. Using scissors, students will cut details into the sculptures.

Smithsonian Magazine, The Scientific Reason Complementary Colors Look Good Together, November 8, 2012.
Will Kemp Art School, The 3 Tricks of Complementary Colours you can Learn from Van Gogh.
21st Century Thinking Skills
Thinking flexibly, persisting, creating, innovation, taking responsible risks observing, visualizing, comparing/contrasting, problem solving, decision making, evaluating.
WA State Learning Standards
(VA:Cr1.1.2) a. Brainstorm collaboratively multiple approaches to an art or design problem. This happens when showing different forms to make.
(VA:Cr1.2.2) a. Make art or design with various materials and tools to explore personal interests, questions, and curiosity. This happens when students make choices about details.
(VA:Cr3.1.2) a. Discuss and reflect with peers about choices made in creating artwork. This happens if students share their work & talk about their choices.
(VA:Re7.1.2) a. Perceive and describe aesthetic characteristics of one’s natural world and constructed environments. This happens when geometric forms & complementary colors are found within art & architecture.
(VA:Re9.1.2) a. Use learned art vocabulary to express preferences about artwork. This happens when students talk about their artistic choices using correct vocabulary.
(VA:Cn11.1.2) a. Compare and contrast cultural uses of artwork from different times and places. This happens if characteristics of abstract sculpture are described as it relates to time/place.
Please note: These lesson plans are intended for non-profit use only. Use of these plans for commercial purposes should give attribution to the Issaquah Schools Foundation and be accompanied by a nominal donation at www.isfdn.org/donate. Thank you.
Fueling Success for Every Student, Every School