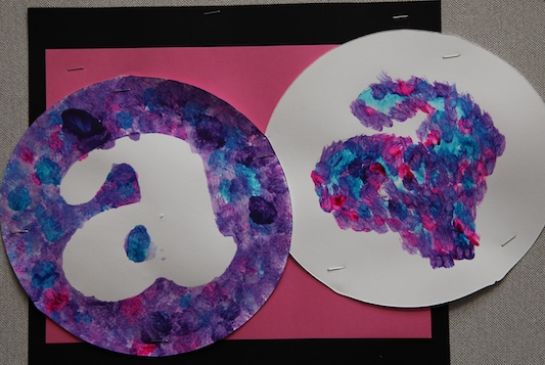
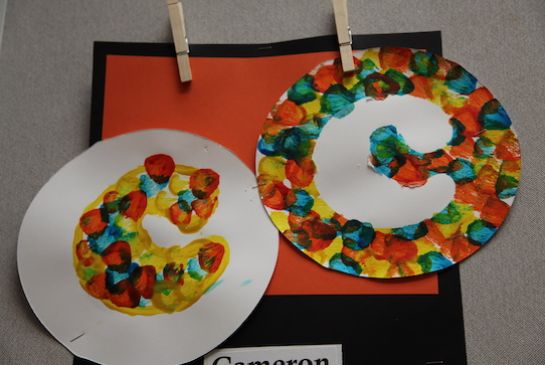
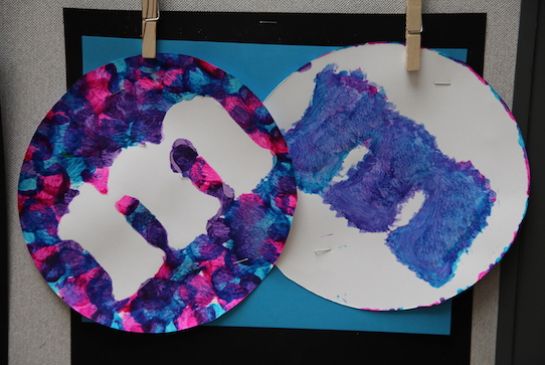
Color: Light reflected off objects. This lesson explores analogous colors which are colors that sit next to each other on the color wheel.
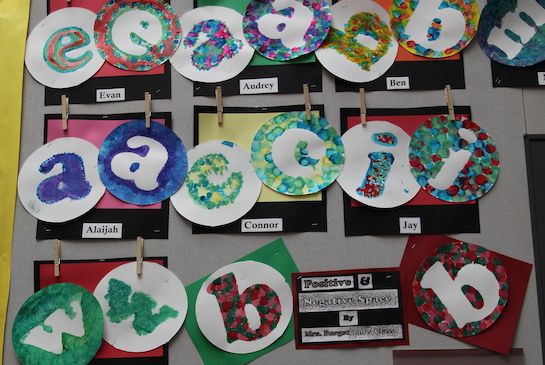
Space: the element of visual art that describes the area above, below, around and within art. This lesson explores positive and negative space (definitions below). Positive/Negative Space: Positive space is the actual space taken up by a line, shape, or form. Negative Space is the empty space surrounding a shape, figure, or form in a 2- or 3-dimensional artwork.
Focal Point: also called emphasis, the focus or center of interest. In this lesson it is the letter.
Craftsmanship: A way of working that includes following directions, neatness and proper use of tools.
Large letter stencils
Images of sculptures which are geometric abstracted forms like the ones made in this lesson. Alexander Calder is a good start.
Cut the construction paper into appropriately sized squares or circles. Check the paints to be sure they have been shaken and soaked into the applicator tips and are ready for use by testing them.
Spread the letters on a large table so that students can choose letters, dismissing students in groups to make their choices immediately before you start the lesson. They can choose any letter they want as long as it has some meaning for them.
Show images of the use of positive and negative space by artists. Examples can be found HERE.

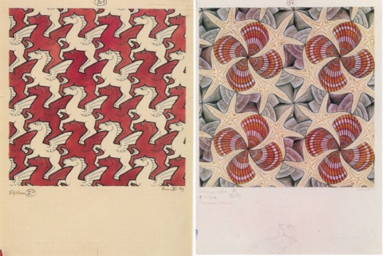
Meridian by Barbara Hepworth Escher 1 & Escher 2 by MC Escher
Students will create positive and negative space images, use analogous colors, and use good craftsmanship.
Post vocabulary words and explain them. Use them during the lesson.
As they finish, hang the art up with clothes pins. If there’s time, assemble the students who have cleaned up to sit down within view of the finished work and ask them questions about:
Lesson from Sunset Elementary Art Docent team.
21st Century Thinking Skills
Thinking flexibly, persisting, creating, innovation, taking responsible risks observing, visualizing, comparing/contrasting, problem solving, decision making, evaluating.
WA State Learning Standards
(VA:Cr1.2.2) a. Make art or design with various materials and tools to explore personal interests, questions, and curiosity.
Anchor Standard 2 Organize and develop artistic ideas and work.
(VA:Cr2.2.2) a. Demonstrate safe procedures for using and cleaning art tools, equipment, and studio spaces.
(VA:Cr3.1.2) a. Discuss and reflect with peers about choices made in creating artwork. This happens if there’s time at the end to share their finished work.
Anchor Standard 6 Convey meaning through the presentation of artistic work. This happens if they choose their letter based on personal meaning.
(VA:Re9.1.2) a. Use learned art vocabulary to express preferences about artwork. This happens if the docent uses the vocabulary when engaging with students.
Please note: These lesson plans are intended for non-profit use only. Use of these plans for commercial purposes should give attribution to the Issaquah Schools Foundation and be accompanied by a nominal donation at www.isfdn.org/donate. Thank you.
Fueling Success for Every Student, Every School