loading Skip to Main Content

Magritte Big Apple or Little Room

After observing the work of Magritte and other artists, students will paint an apple on an acrylic sheet in Magritte's style to better understand the principle of scale. Recommended for 2nd Graders.

Elements of Art

Line: a long narrow mark or stroke made on or in a surface.

Principles of Design

Contrast: using opposing elements next to each other to create visual interest, excitement and drama.
Proportion: the relationship of parts of a single object to the whole.
Scale: the relationship between a created object to the original real object.

Additional Vocabulary

Contour-line drawing:  a line drawing that follows the visible edges of a shape or form, both exterior and interior.
Surrealism: beyond reality, dream-like.

Materials & Supplies

  • Clear acetate sheets 8.5”x 11” – 1 per student 
  • Acrylic paints: Yellow, green, blue, red and white
  • Paint brushes: flat-type, sized to fit the shapes easily
  • Wet wipes
  • Newsprint
  • Black permanent pens
  • Water
  • Paint trays
  • Water containers
  • B&W Copies of Magritte’s Listening Room
  • Paper plates for pallets
  • Painters tape (blue kind)
  • Old large size adult cotton T-shirts to absorb paint
  • A typewriter eraser like the one in the image (if you can find one), an apple     

Context (History and/or Artists)

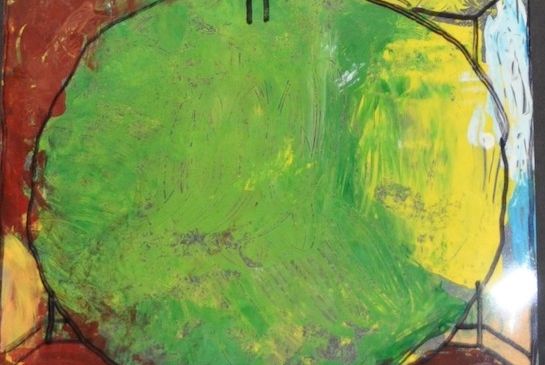
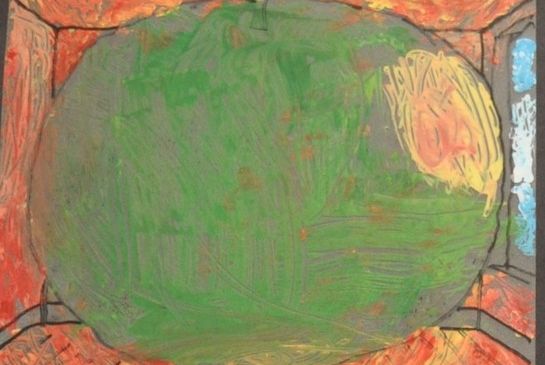
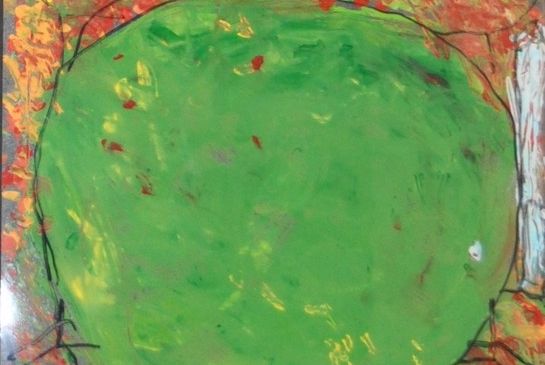
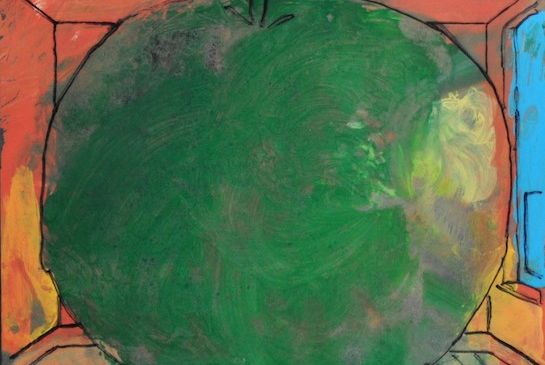
Magritte was a surrealist painter from Belgium.  Surrealism means beyond reality.  Surrealist artists would often paint dream-like images.  He painted life-like spaces and objects in ways that made you wonder about them.  In this painting, The Listening Room, he painted an apple that fills the room. The contrast in scale between an actual apple and the one that appears to fill a room creates drama. 

Advanced Preparation

  • Copy Magritte’s apple images for students to trace.
  • Each student will need newsprint to cover their desks, an image taped to the newsprint and access to acrylic colors & water, a paper plate as a pallet, a permanent black marker and a wet wipe.

Tips & Tricks

  • Clear acetate sheets are used for overhead projectors, they come in packages at the office supply store.
  • Students at this age tend to mix all their paints on the palette. This frustrates success and wastes paint. To discourage this, give out only the colors they need per section, adding final colors to the palette only when they complete each section. They can signal you by raising a hand when they’re ready to move on with another color.

Discussion Points

Look at some artwork with things that have different size relationships (scale) to each other. We expect to see things have a certain scale as they appear in real life. 

  • Cars are … bigger than us
  • Trees are . . . bigger than us
  • Ants are . . . smaller than us
  • Bacteria is . . . smaller than us

Hold up the typewriter eraser and apple. Show the following images: William Bonnell – Naïve painter; Magritte – The Listening Room; Claes Oldenburg – Typewriter Eraser.

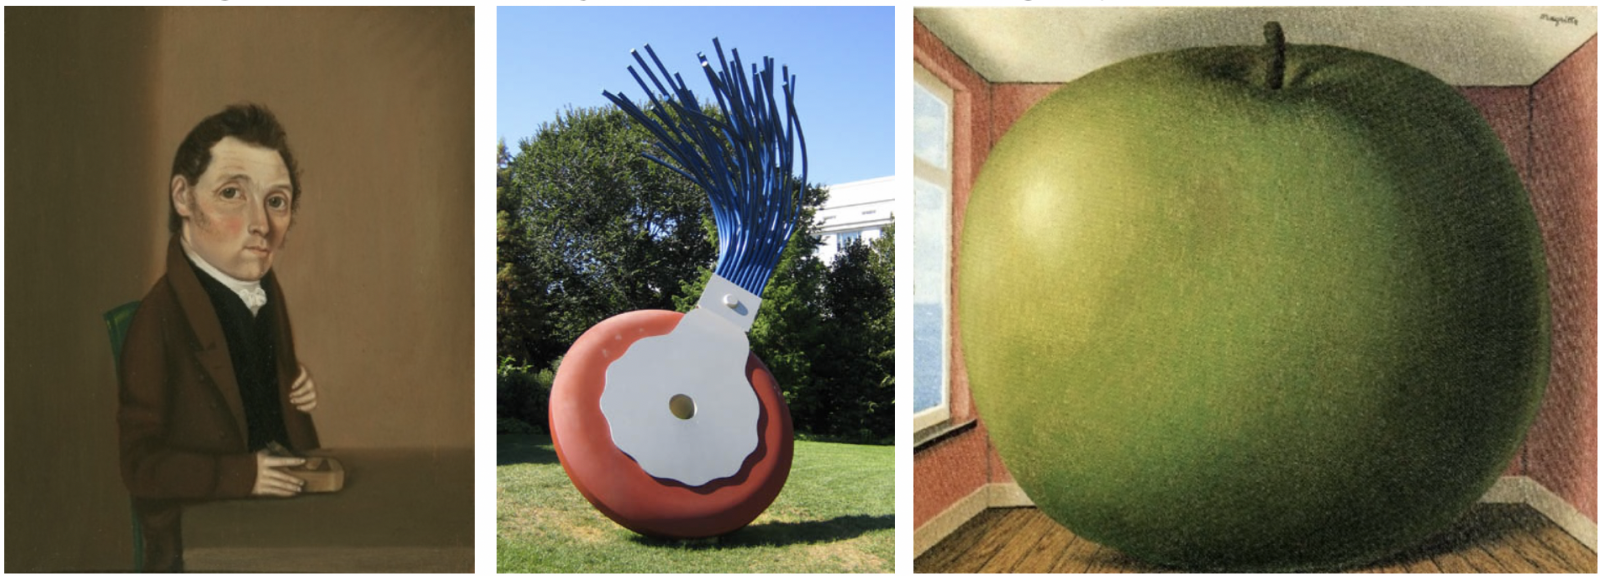
What happens when artists change the scale on us? How does that make us feel?  Do you think that the apple is big or the room is small?

Are these things ‘real’?  Which part isn’t real?  It’s the relationship between them that makes us question if they are real. When does the scale of the created object contrast highly with the real object?

Reflection Point (Assessment of Learning Objectives)

Students will:

  • Observe the work of Magritte and other artists.
  • Paint on an acrylic sheet in Magritte’s style. 
  • Understand the art principle of scale.
  • Use good craftsmanship.

Instructions for Lesson

Set up by preparing the trays with paint and displaying the photos or art work you will be referring to. Write the definitions of elements and principals mentioned above on the whiteboard.

  1. Set up space before students arrive: 
    a). Put out newsprint to protect the work surface.
    b). Write the vocabulary words and definitions on the board.
    c). Tape the B&W copies of Magritte’s Listening Room on each desk.
    d). Leave paint shirts at each seat.
  2. Students should roll up their sleeves, put on the paint shirts and tie back any hair that may fall to their desk.  Acrylic paint is permanent and we want to keep it off of their clothes.
  3. Point out the vocabulary words and definitions and spend time talking about them. Use these words whenever you can during the lesson.
  4. Students should write their name on the bottom right hand corner of the acetate sheet with a permanent marker. 
  5. Demonstrate using an overhead projector and then assist students taping the acetate down over the image (flipped over so their names read backwards), so it can’t move around.
  6. Show the students what a contour line: the line that goes around the image.  Have them trace a finger along the contour line.
  7. Demonstrate how to flip the acrylic sheet over the image with their name facing down (backwards so they can’t read it).

  8. Demonstrate how to trace the image with permanent marker including the details, like the stem, window, walls, floorboards or other details they want to include.  They don’t have to put in everything, this is where they can exercise creative choices, this is their piece. Remind them that anything they draw will be filled in with paint. That may help them to be conservative with line. 
  9. Have students trace the image. As they trace the contour lines, set up the paint, pouring quarter-sized amounts of color spread well apart to keep it from mixing. 
  10. Demonstrate to the students how to paint a light coat of acrylic paint, so that it dries faster.  Mimic the brush stroke action (dipping, wiping one side of the bristles against the palette and dragging the brush back & forth in one direction). Warn against leaving blobs.
  11. Remind students that when painting in reverse the details go down first. Give them only the paint colors for the apple.  If there are bright areas that draw your eye, like the highlight, those should be painted first.
  12. Demonstrate how to start in the center of the apple and work your way out to the edges. 
  13. Once they have filled in their apple, give them more paint so they can continue on to the walls, floor and window.
  14. Collect brushes in a water container. Don’t allow paint to dry on the brush! Wash in warm water.
  15. Once the student is completely finished use the wet wipe to clean up hands and any other excess acrylic paint. If some students finish early, give them plain white paper and let them ‘free paint’ on it with the remaining paint on their palettes. This simplifies clean up too.
  16. Once the paint is no longer sticky remove the masking tape from the edges.  Pull away from the painted area. This will create a clear border around the work.
  17. Let dry fully.

References and Attributions

Lesson written by Juliette Ripley-Dunkelberger. Artworks care of the Art Institute of Chicago’s free library of images.  

Notes for Educators

21st Century Thinking Skills
Visualizing, comparing & contrasting, cecision making, determining point of view, thinking flexibly, sequencing.
Following directions in correct order. Reverse glass printing has a unique sequence. If one does not follow the sequencing pattern, the artwork will not look as desired
Predicting: determining what will happen next.
Cause and Effect: recognizing actions and their reactions.  For this lesson to be successful, students must plan and execute in a determined and thoughtful order.

WA State Learning Standards
(VA:Cr1.2.2) a. Make art or design with various materials and tools to explore personal interests, questions, and curiosity.
(VA:Cr2.1.2) a. Experiment with various materials and tools to explore personal interests in a work of art or design.
(VA:Cr2.2.2) a. Demonstrate safe procedures for using and cleaning art tools, equipment, and studio spaces.
(VA:Cr3.1.2) a. Discuss and reflect with peers about choices made in creating artwork. This happens if you are talking about images used in the lesson, or about students’ work.
(VA:Re7.1.2) a. Perceive and describe aesthetic characteristics of one’s natural world and constructed environments. This happens when you compare objects from real life and the distorted scale of objects in Surrealism.
(VA:Re9.1.2) a. Use learned art vocabulary to express preferences about artwork.
(VA:Cn11.1.2) a. Compare and contrast cultural uses of artwork from different times and places. This happens if the docent explains Surrealism as a response to the culture of its day.

Arts Integration Opportunities
Math: the concept of scale can be examined using numbers.

Please note:  These lesson plans are intended for non-profit use only. Use of these plans for commercial purposes should give attribution to the Issaquah Schools Foundation and be accompanied by a nominal donation at www.isfdn.org/donate. Thank you.

Donate Now

Artistic Support Reference Materials

Loading...
Loading

Fueling Success for Every Student, Every School