Context (History and/or Artists)
Claes Oldenburg is an American Pop artist. Pop Art was an art movement that began in the mid-to late 1950s in the U.K. and USA. It included colorful imagery from mass culture. Oldenburg likes to create dramatically oversized sculptures of everyday objects and display them in creative ways.
Advanced Preparation
- Mix Elmer’s Art Paste - make a gallon, it will last for months and is gluten free
- Blow up balloons loosely so that they have plenty of give and will not pop easily
- Cover tables for easy clean up
- Rip off sections of duct tape for students to grab and tape together their balloon ends for round donuts. You can stick tape pieces to the desk edge as kids are working, for easier access.
Tips & Tricks
- Another option is plaster gauze which can be cut into strips, dipped in water and laid over the hollow mold (balloon). This also needs 24 hours to dry.
- This project is messy. Be prepared for some students to not enjoy the tactile experience. In this case, offer assistance without acknowledging the sensitivity too much. If they insist, let them stop.
- Wet wipes may be helpful.
- During session 2’s painting lesson, students can paint the brown on the donut at their desks. Set up a larger table with the ‘toppings’, that you can supervise so they don’t use too much and make a mess. Remind them that too much is confusing. It must match real donuts.
Discussion Points
- Post all vocabulary words and explain their meanings.
- Look at some artwork with things in proportion: we expect to see things in a certain scale or size relationship to other things.
- Cars are … bigger than us
- Trees are . . . bigger than us
- Ants are . . . smaller than us
- Bacteria is . . . smaller than us
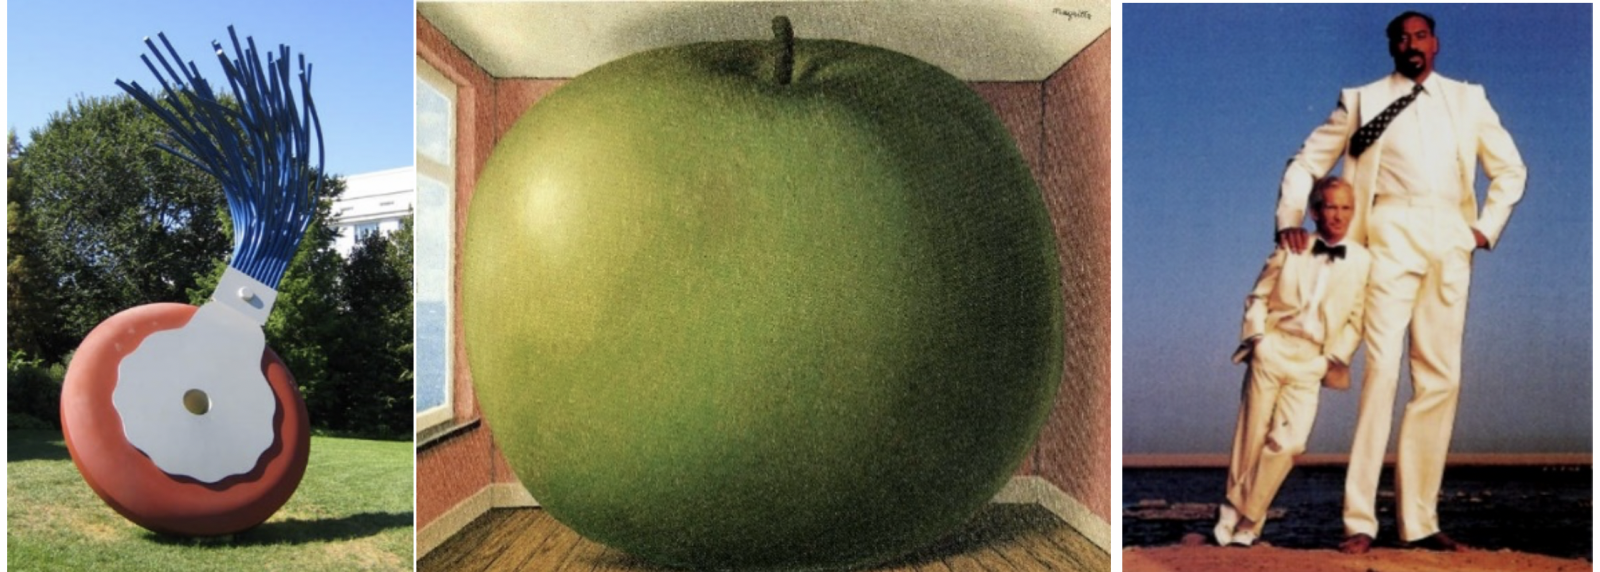
- Look at some artwork with things out of proportion: what happens when artists change the scale on us? Is it noticeable? How does that make us feel? Do you think that the apple is big or the room is small?
- Show the following images as you ask these questions:
- Claes Oldenburg – Typewriter Eraser - Seattle
- Magritte – The Listening Room
- Annie Liebowitz – Wilt Chamberlin & Willie Shoemaker
- Are these things ‘real’? Which part isn’t real? It is the relationship between the object and its environment that makes us question if they are real.
- Talk about the difference between shape and form and ask students how the typewriter Eraser sculpture by Oldenburg would feel if they walked over to it? (Note: it is 19 feet tall!) How big would it be compared to them?
Reflection Point (Assessment of Learning Objectives)
Students will:
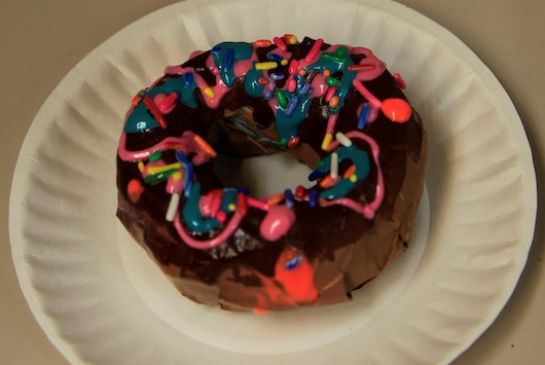
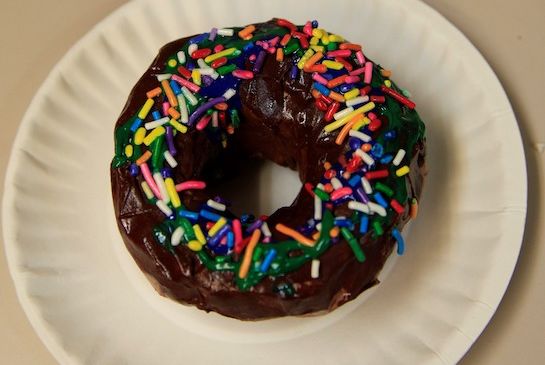
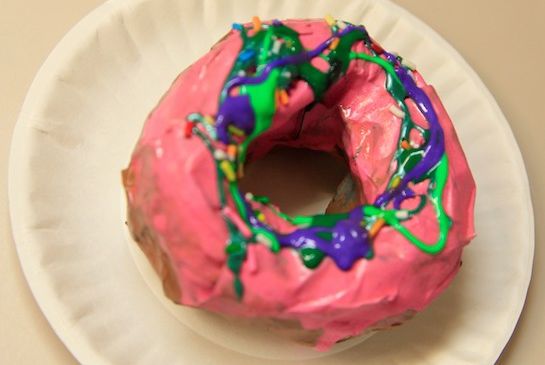
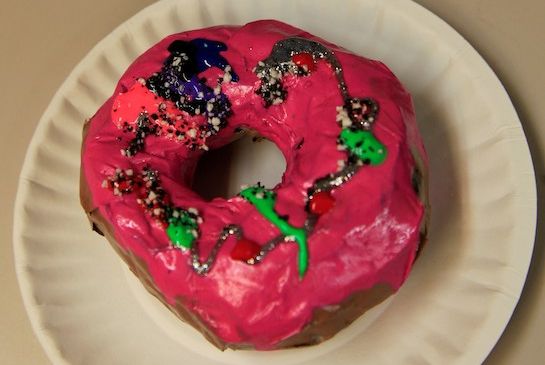
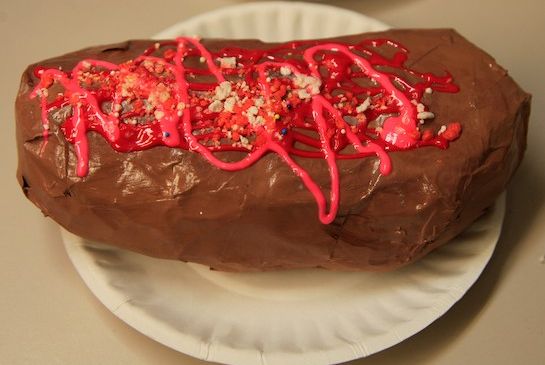
- Create an oversized donut sculpture.
- Use good craftsmanship.
- Become familiar with form.
Instructions for Lesson
-
Session 1 - Look at some images of donuts. Ask students to imagine holding one, and the way its form would feel.
- Have students write their name on the paper plate and set it aside. This will be where they put their finished donut to dry.
- Under an overhead projector demonstrate taping the round donut together at the ends. Demonstrate how to dip the paper strips into the paste and wipe excess using your fingers so the strips are damp, but not dripping. Show them how to wrap the “donut” with paper strips, overlapping as they go to create a solid surface. Watch out for loose corners. Slick everything down. Start in one area and work your way around, putting the strip in the donut hole and wrapping one section at a time. Keep smoothing all the strips as you go.
- Have students wrap their balloons to create their donut forms.
- Students should wrap the donut fully at least three times.
- Smooth out the top layer to create a “bready” appearance, (no edges exposed).
Session 2 - Look at some images of donuts.
- Demonstrate painting the bottom of the donut first with brown/tan tempera.
- Paint the top with “icing” poster paint.
- Drizzle with other poster paints.
- Add glitter or sprinkles for final flourish. They will stick in the wet paint.
- After the paint is dry, docents can use the left-over art paste or modge podge to seal in the sprinkles and glitter. Best to water it down a bit for easier spreading, to make a ‘glaze’.
References and Attributions
Paper Mache recipes from Paper Mache blog. Lesson written by Docents at Challenger Elementary.
Notes for Educators
21st Century Thinking Skills
Taking responsible risks, observing, visualizing, comparing/contrasting, determining main idea, finding evidence, problem solving, determining point of view, analyzing.
WA State Learning Standards
(VA:Cr2.1.2) a. Experiment with various materials and tools to explore personal interests in a work of art or design.
(VA:Cr2.2.2) a. Demonstrate safe procedures for using and cleaning art tools, equipment, and studio spaces.
(VA:Re7.1.2) a. Perceive and describe aesthetic characteristics of one’s natural world and constructed environments.
(VA:Re8.1.2) a. Interpret art by identifying the mood suggested by a work of art and describing relevant subject matter and characteristics of form. This happens if you talk about the happy, fun characteristics of Pop Art sculptures.
(VA:Re9.1.2) a. Use learned art vocabulary to express preferences about artwork. This happens when you describe the vocabulary words and you all use them during the lesson.
(VA:Cn11.1.2) a. Compare and contrast cultural uses of artwork from different times and places.
Arts Integration Opportunities
Math: use the concepts of scale and proportion as they relate to numbers and measurements. Eg. measure an action figure and then measure the student to compare the scale.
Science: discuss the properties of the paste and paint as they change from a liquid to a solid.
Writing: Procedural describing the steps to make the sculpture; fiction about how the donut got so big.
Spelling: add all vocabulary words to the classroom spelling lists.
Please note: These lesson plans are intended for non-profit use only. Use of these plans for commercial purposes should give attribution to the Issaquah Schools Foundation and be accompanied by a nominal donation at www.isfdn.org/donate. Thank you.
Donate Now