Color: the visible range of reflected light. It has three properties: hue, value (lightness or darkness of the hue), and intensity (brightness or dullness of the hue).
Form: an object found in three dimensions, having height, width and depth.
Shape: an enclosed line, having height and width, lacking depth. It is either geometric, with angles/corners or organic, as found in nature, without angles/corners.
Space: can be positive: the space an object occupies or negative: the space around the object (learn more HERE). It also refers to an illusion of depth on a 2-dimensional (height and width) surface, so that the scene appears to go back into space.
Balance: the arrangement of elements that make the individual parts of a composition appear equally important visually, not top-heavy or anchored by ‘weight’ to one side. When each side is the same it is symmetrical. If it isn’t a mirror-image but still equally important visually, it is asymmetrical.
Pattern: repetition of line, color or shape to unify a composition. Variations of pattern create interest.
Clay: a naturally occurring sticky fine-grained earth which is often found in lake beds and dug out of the ground. This material is malleable when wet.
Firing: the act of heating dried clay to a specific temperature to permanently harden it.
Glazes: a mixture of clay, water, colorants and silica. When fired it becomes colorful, hard and glassy.
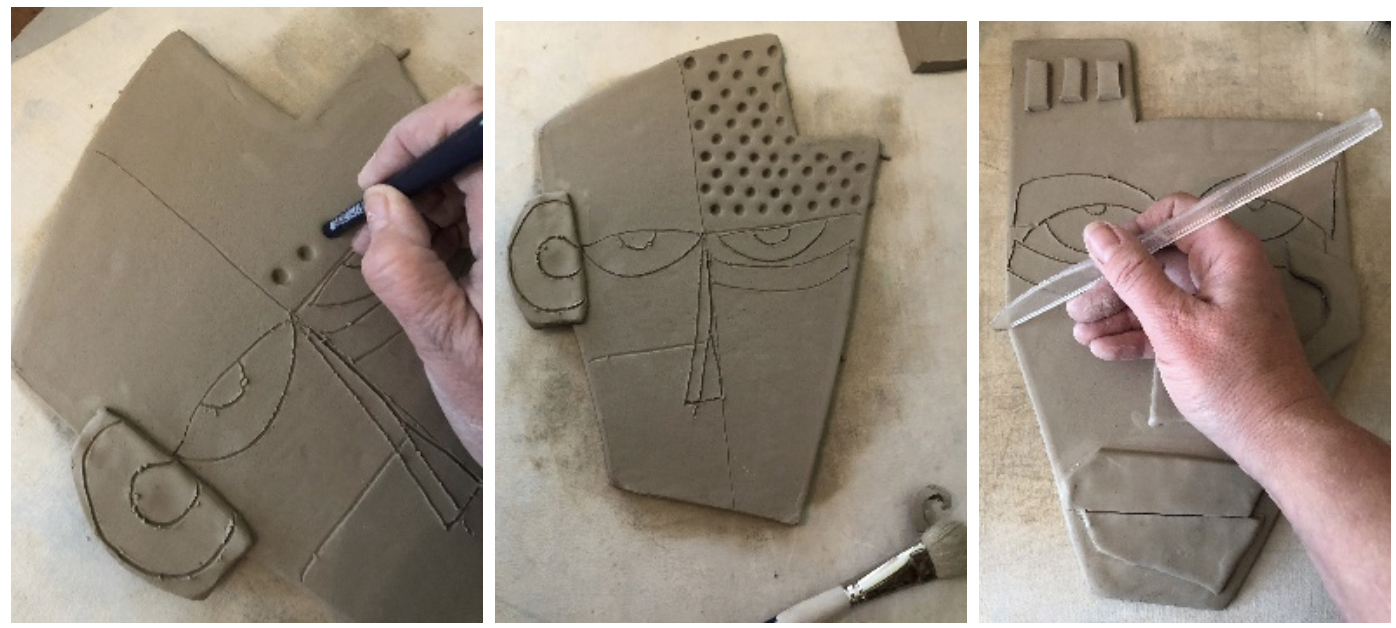
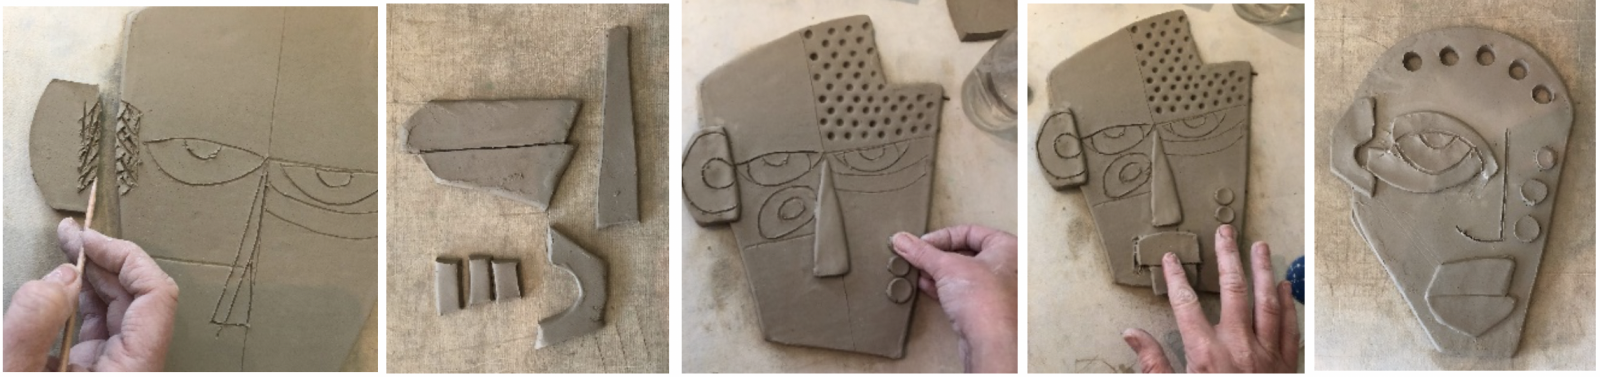
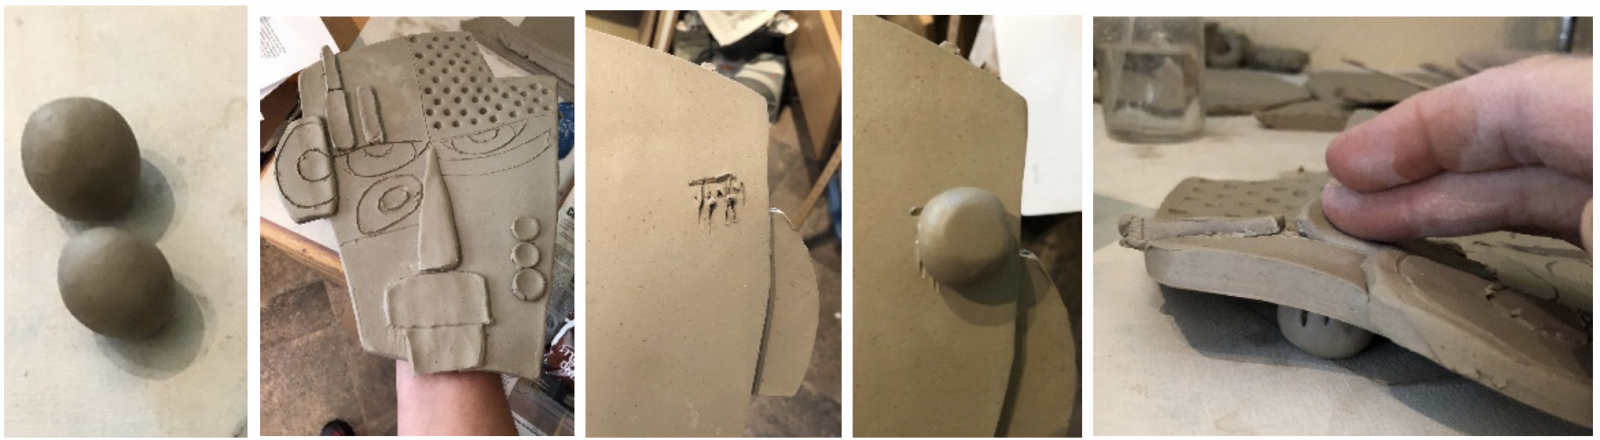
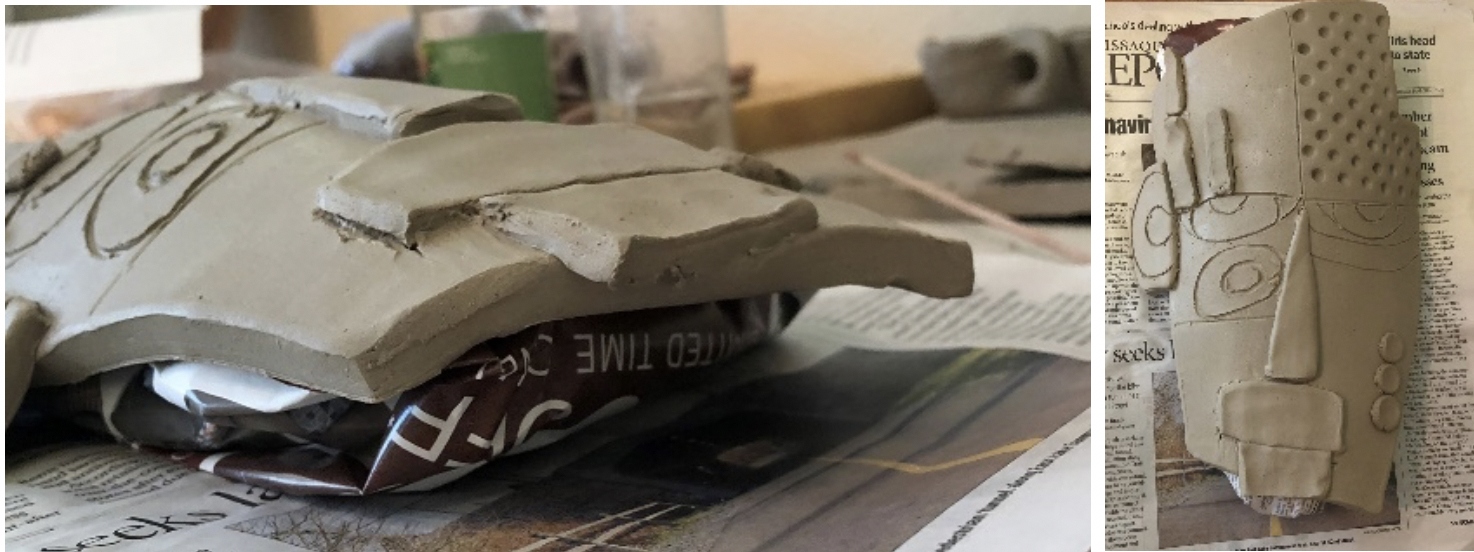
Scoring (Scratch & Attach): how we attach two wet clay pieces, by scratching each touching clay surface to ‘interlock them’ before pressing together firmly.
Sculpture: 3-dimensional forms/works of art. A sculptor sculpts sculpture.
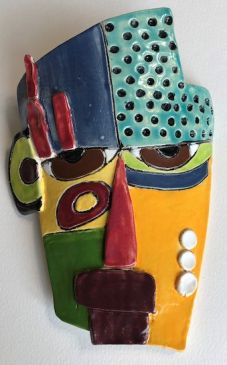
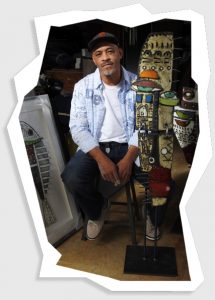
Kimmy Cantrell discovered his artistic vision in high school when he fell in love with clay in an art class. After his first hand-built vase was chosen for display at the local board of education, his teacher suggested he study art in college. Instead he decided to study business at Georgia State University and spent fifteen years in distribution management. After almost twenty years, he decided to reconnect with clay. First there were vases, then bowls with faces, leading to clay-pieced collages. The self-taught evolution of his art continues today.
Kimmy uses many forms to tell his stories, from free standing sculptures to still life collages. He uses asymmetry to challenge traditional definitions of beauty. “I want to show the beauty within flaws,” he explains. “Imperfections tell stories that are far more compelling than perfection.”
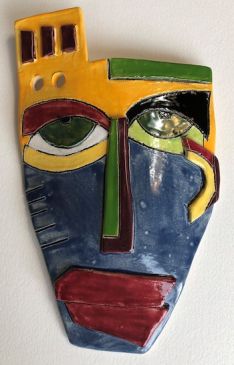
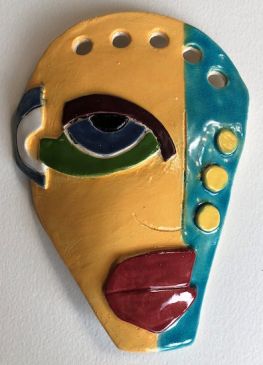
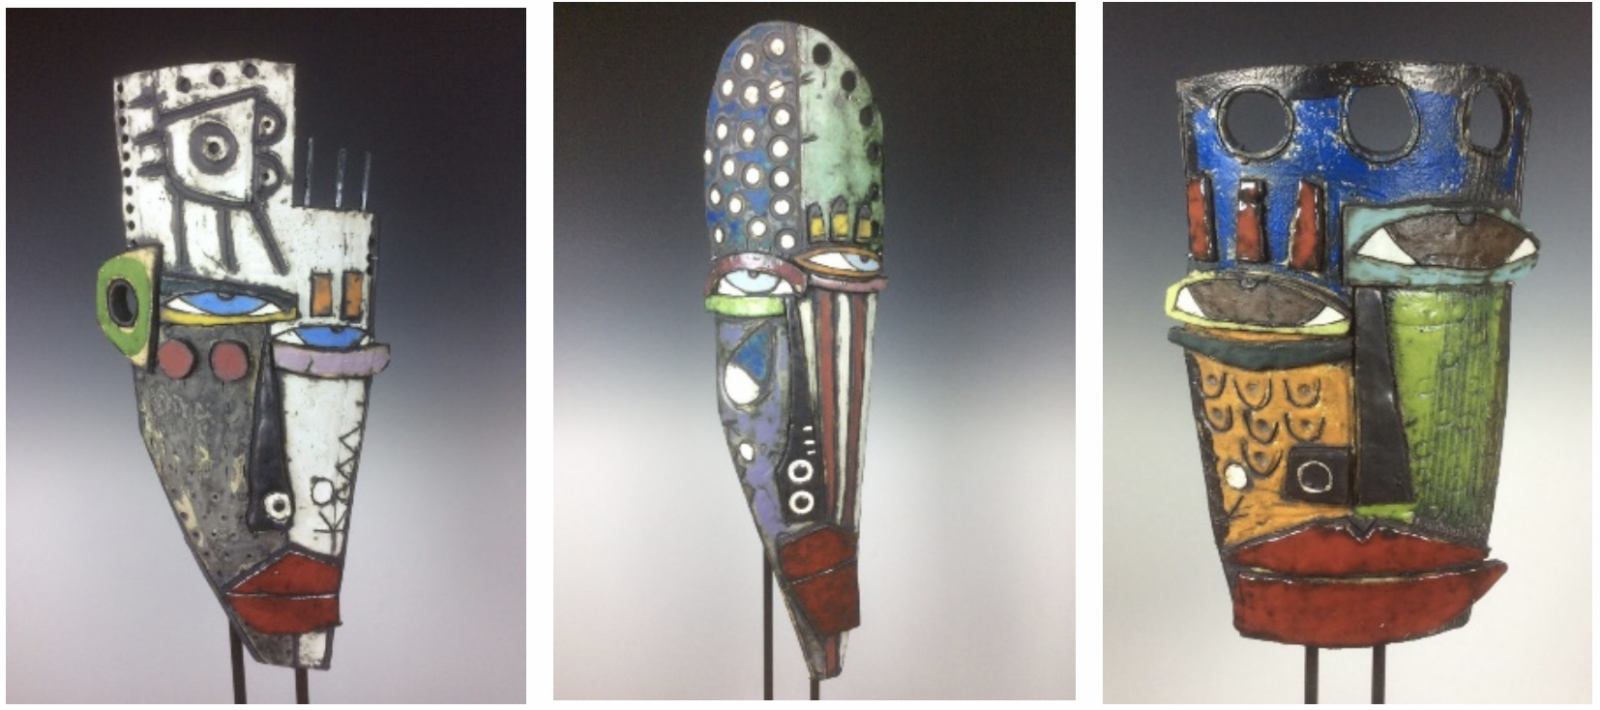
 These images are from Kimmy Cantrell’s website, https://kimart.com/gallery/.
Post all vocabulary on the board & quickly go through them.
What do you notice about Jimmy Cantrell’s work? Have them respond using the art vocabulary. If they can’t, ask them where they see form vs shape, positive vs negative space, or symmetry vs asymmetry pattern vs solid.
What sort of colors does he use? What’s the visual effect on the viewer? All responses are good.
How does he use shape in his work? What kind of shapes are they? (Geometric)
What sort of marks does he make?
How is he using positive and negative space? He leaves out sectional shapes that we still think of as part of the overall sculpture, so positive and negative space work together.
His pieces feel balanced if they have the same amount of ‘visual weight’ on both sides. How does he do this? Does he use color? Lines? Shapes? Negative space? Are they actual mirror images on each side, and if not, how do they still seem balanced?
Students will:
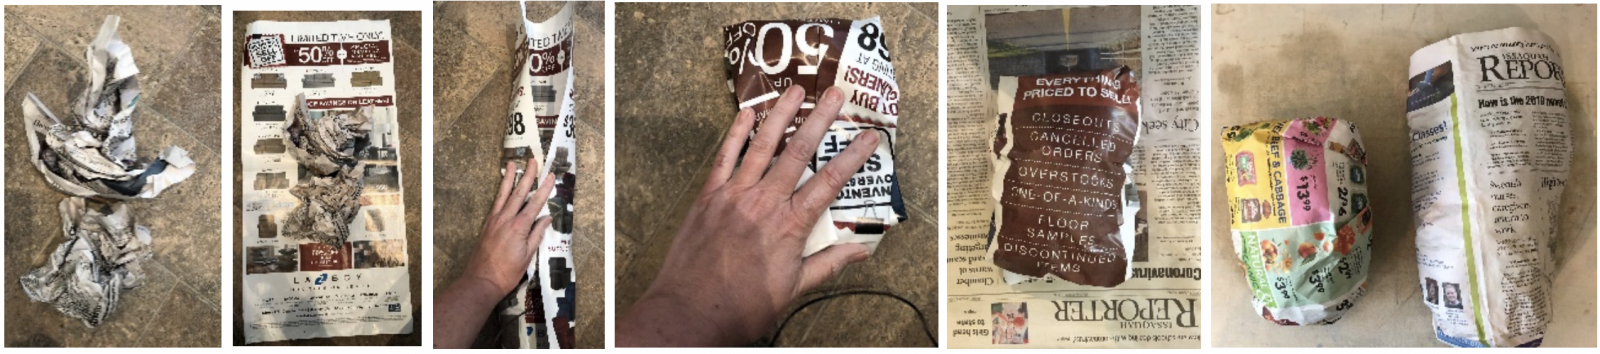
Set up the work space with taped butcher paper or canvas mats on the tables to work on. Put out the slip or water in small plastic tubs or bowls, not much (you can always refill) and skewers or plastic forks for attaching parts.
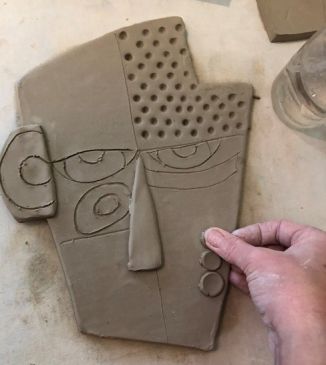
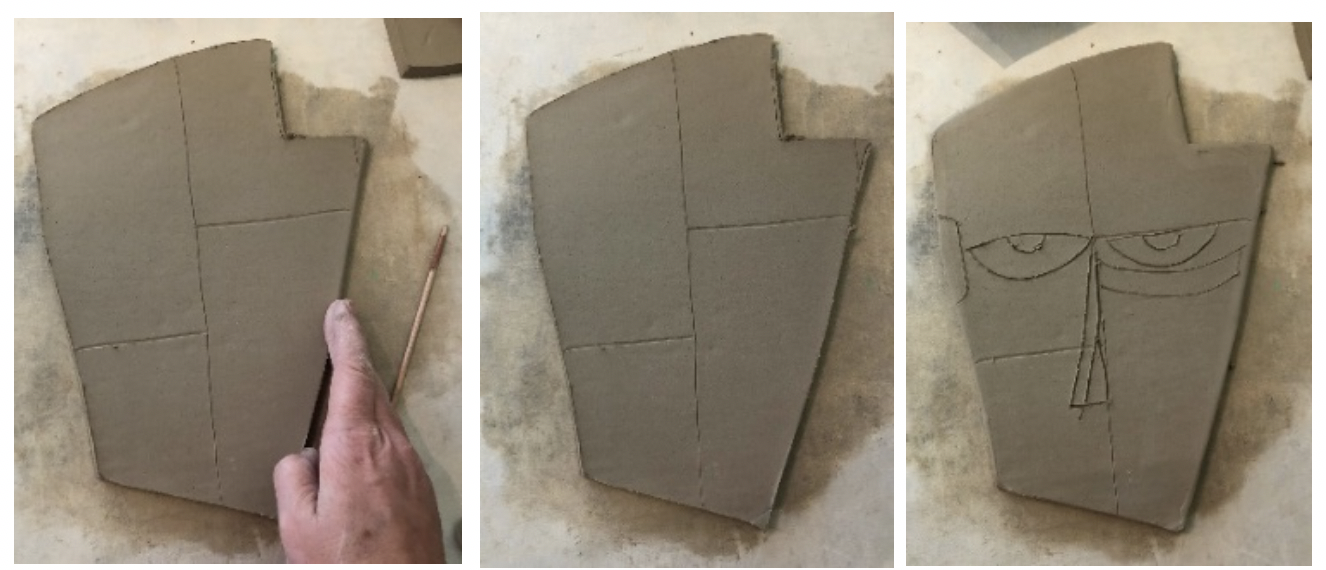
Building work: Every students space should have a slab, scrap clay and a skewer.
Glazing Work: using primary and secondary opaque colors glaze their work as desired.
Each table should have small cups of glaze with a brush dedicated to each color. No mixing, as we don’t know what we will get when we mix them.
Lesson written by Juliette Ripley-Dunkelberger; see also Kimmy Cantrell’s website.
21st Century Thinking Skills
Thinking flexibly, creating, taking responsible risks, reflecting, observing, making connections, visualizing, sequencing, comparing/contrasting, determining main idea, finding evidence, problem solving, cause and effect, decision making, evaluating.
WA State Learning Standards
(VA:Cr1.1.3) a. Elaborate on an imaginative idea.
(VA:Cr1.2.3) a. Apply knowledge of available resources, tools, and technologies to investigate personal ideas through the artmaking process.
(VA:Cr2.1.3) a. Create personally satisfying artwork, using a variety of artistic processes and materials.
(VA:Cr2.2.3) a. Demonstrate an understanding of the safe and proficient use of materials, tools, and equipment for a variety of artistic processes.
(VA:Cr3.1.3) a. Elaborate visual information by adding details in an artwork to enhance emerging meaning.
(VA:Re7.1.3) a. Speculate about processes an artist uses to create a work of art.
(VA:Re7.2.3) a. Determine messages communicated by an image.
(VA:Re9.1.3) a. Evaluate an artwork based on given criteria.
Arts Integration Opportunities
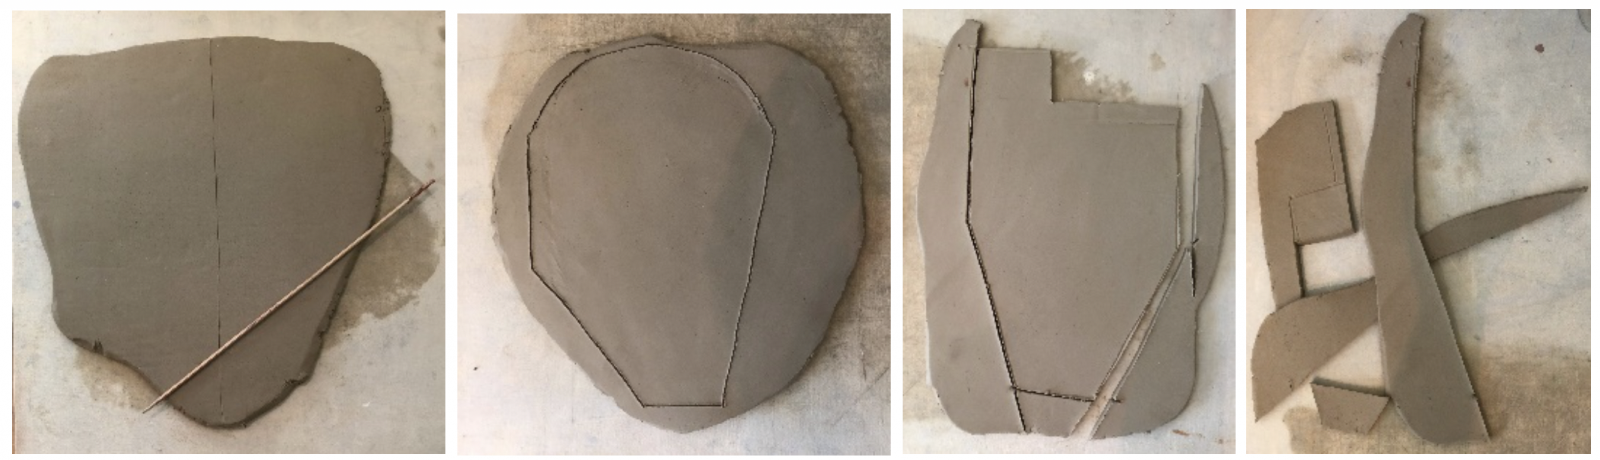
Procedural writing: Students can explain steps taken to go from soft clay to a finished clay sculpture.
Narrative writing: Students can write about what the ‘face’ sees from the wall, or who the student was thinking of when creating this sculpture.
Science: How water and heat affect clay and what we can do with that knowledge.
Please note: These lesson plans are intended for non-profit use only. Use of these plans for commercial purposes should give attribution to the Issaquah Schools Foundation and be accompanied by a nominal donation at www.isfdn.org/donate. Thank you.
Fueling Success for Every Student, Every School