Color: the visible range of reflected light. Color has three properties: hue (the name of the color), value (how light or dark the color is), and intensity (the brightness).
- Complementary Colors: colors opposite each other on the color wheel which add interest when used next to each other.
- Cool Colors: A group of colors on the color wheel associated with coolness, such as blues, greens, and violets.
- Warm Colors: A group of colors on the color wheel associated with warmth, such as red, yellow, and orange.
Space: the area above, below, around, and within an artwork; the illusion of depth or space on a flat surface, created by means of the following technique: rendering shapes and forms so that they overlap and using size, detail, value, color, and linear perspective.
Focal Point: an area of the composition that is visually dominant, often achieved by contrast. In this lesson, contrasting colors create a focal point.
Contrast: A technique that shows differences in the elements of visual arts in an artwork. In this lesson it is the warm-colored Lorax face against the cool and complimentary-colored background.
Texture: The portrayal of the quality of a surface by using drawing techniques to create textures and patters, such as stippling, hatching, cross hatching, scribbling, broken lines, and repeating lines and shapes.
Movement: The use of the elements of visual arts to draw a viewer’s eye from one point to another in an artwork.
Theodore Seuss Geisel (March 2, 1904 - September 24, 1991) was better known by his pen name, Dr. Seuss. He was a writer and cartoonist who published over 60 books. He published his first children’s book, And to Think That I Saw It on Mulberry Street, in 1937. His characters and rhymes are beloved by generations. The Lorax was written in 1971 and warns of the dangers of mistreating the environment. The cautionary tale teaches young readers about nature and the duty for each person to protect it.
Cut yellow tissue or crepe paper into approximately 1” squares. It does not have to be accurate since students will be using these to crinkle up later into the moustache and eyebrows of the Lorax. Place the paper into several containers that can be passed around the classroom.
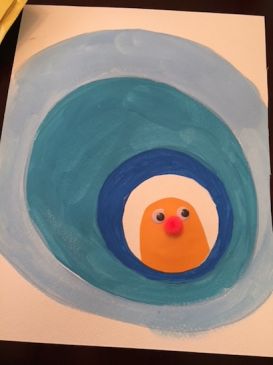
Place the googly eyes into small bowls to pass around the classroom.
Place all the craft pom poms into bowls to pass around the classroom.
Set up three stations for students to collect what they need when they get to that point in the project.
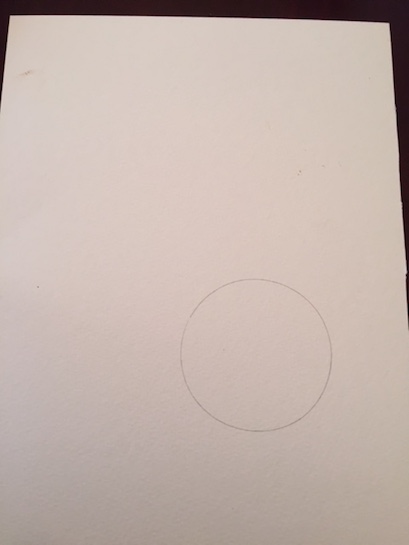
Prior to the lesson, protect tabletops with newspaper or newsprint and place supplies (a sheet of white cardstock paper, a paper plate with each blue color already pre-squeezed out, cup of water, brush, and paper towel) onto each student’s desk.
Begin by showing students the Color Wheel and talk about Primary and Secondary Colors. Point out cool colors (Blues, Greens, Violet/Purple) and then warm colors (Red, Orange, Yellow). Explain to students that when both cool and warm colors appear together in an artwork, the cool colors tend to recede into the background while the warm colors tend to pop out.
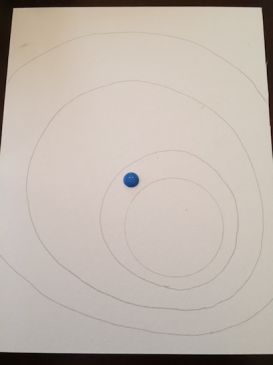
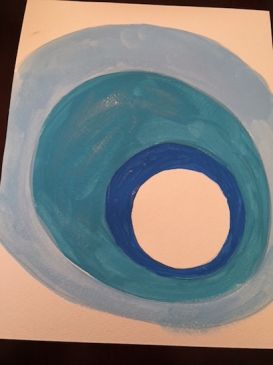
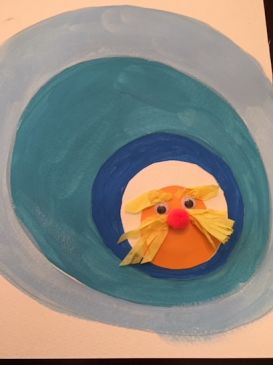
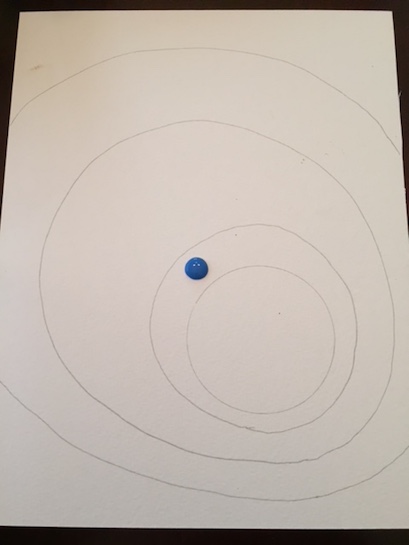
During the painting portion of the lesson, discuss with the students how darker colors can bring more attention to an area. Explain that the white circle is where we want our viewers to focus the most, so we will be painting the circle closest to the white circle with the darkest color blue fading the blue shade to the lightest as we get further away from the white circle.
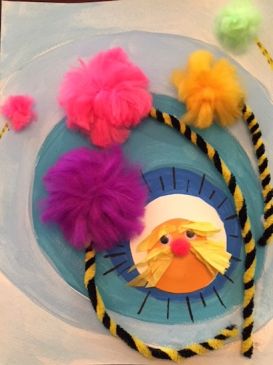
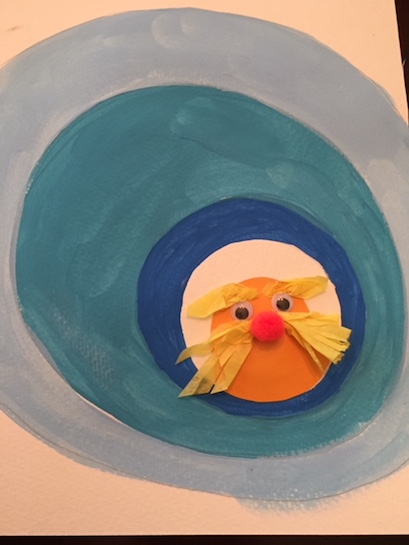
When making The Lorax, you can discuss with the students that orange is the complementary color of blue on the color wheel and the combination of complementary colors create a sense of balance. Also, because The Lorax is a warm color and the background consists of cool blue tones, this will help create focus on the orange color.
When making the Truffula trees, discuss with students how curving and bending the pipe cleaners towards the white circle will help bring the viewer’s eye back to the focal point. Varying the sizes of the trees (smaller trees in the background and larger trees closer to The Lorax) will do this as well.
At the end of the lesson, give the students the option of adding radiating lines around the white circle with a black pen.
Students will:
-Observe the details of Dr. Seuss’s character the Lorax and create an image of the Lorax.
-Review the color wheel with respect to warm & cool colors and complementary colors contrasting effects.
-Create a focal point in the composition.
-Mix white into blue to create at least two additional tints of blue.
-Create movement in the composition.
Did students curve trees towards the center white circle? Does this draw the viewers eye to the main area?


Suessville website, The Love Notes blog.
21st Century Thinking Skills
Thinking flexibly, creating, taking responsible risks, observing, making connections, visualizing, sequencing, comparing/contrasting, problem solving, cause and effect, decision making, evaluating.
WA State Learning Standards
(VA:Cr1.1.3) Elaborate on an imaginative idea. This happens when a new artwork is made from Suess' original Lorax designs.
(VA:Cr2.1.3) Organize and develop artistic ideas and work. Create personally satisfying artwork, using a variety of artistic processes and materials. This happens when students make decisions and are involved hands on in the color mixing and placement of details.
(VA:Cr.2.2.3) Demonstrate an understanding of the safe and proficient use of materials, tools and equipment for a variety of artistic processes. This happens when students use the materials and tools according to instructions.
(VA:Cr3.1.3) Refine and complete artistic work. Elaborate visual information by adding details in an artwork to enhance emerging meaning. This happens when multiple steps add details of texture, line and color in this lesson.
(VA:Re7.2.3) Determine messages communicated by an image. This happens if students talk about Seuss’ cautionary tale and the meaning of this fantasy creatures and landscapes.
(VA:Re8.1.3) Interpret art by analyzing use of media to create subject matter, characteristics of form, and mood.
(VA:Re9.1.3) Evaluate an artwork based on given criteria. This happens if students’ art is later critiqued by the class.
Please note: These lesson plans are intended for non-profit use only. Use of these plans for commercial purposes should give attribution to the Issaquah Schools Foundation and be accompanied by a nominal donation at www.isfdn.org/donate. Thank you.
Fueling Success for Every Student, Every School