Line: the flat path of a dot through space used by artists to control the viewer’s eye movement; a long narrow mark or stroke made on or in a surface; a thin mark made by a pencil, pen, or brush. Lines can be horizontal, vertical, or diagonal; straight or curved; thick or thin.
Shape: a two-dimensional (flat) area enclosed by a line. Real space contains three dimensions: height, width and depth. An illusion of depth can be created in two-dimensional art formats, using certain techniques.
Movement: using the elements of art to move the viewer's eye around and within the image. In this lesson, movement is created by the illusion of space.
Background, Middle Ground & Foreground: The areas in a picture that take up space. Objects that are closest are situated in the foreground, farthest from the horizon line/vanishing point. While objects that are farthest are situated closer to the horizon line/vanishing point.
Horizon Line: A horizontal line where the land (or sea) ’meets’ the sky. It is the farthest spot we can see.
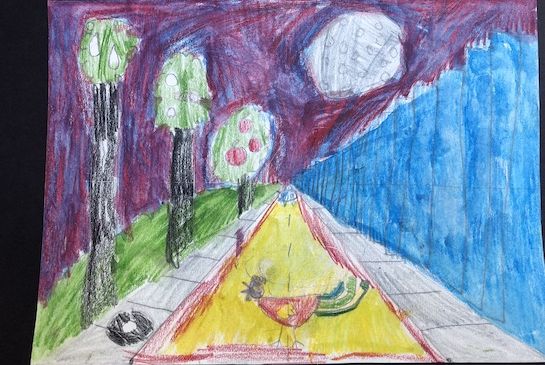
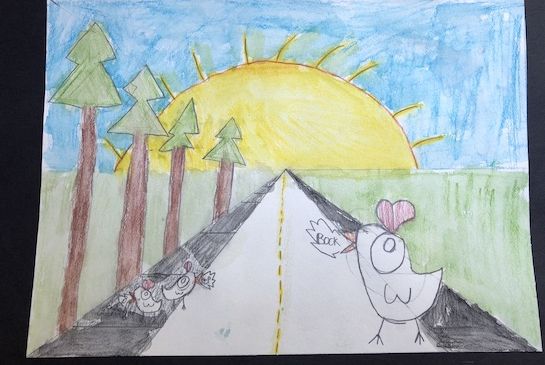
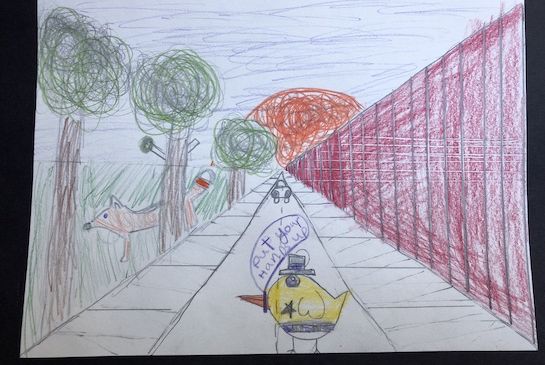
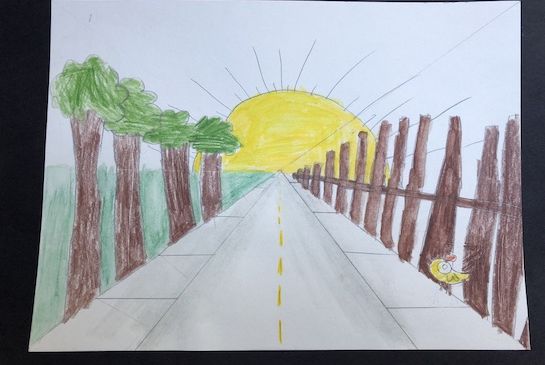
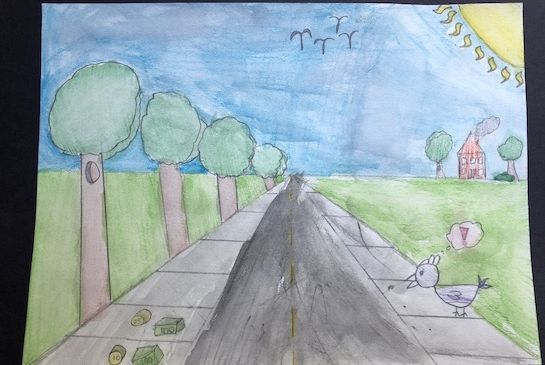
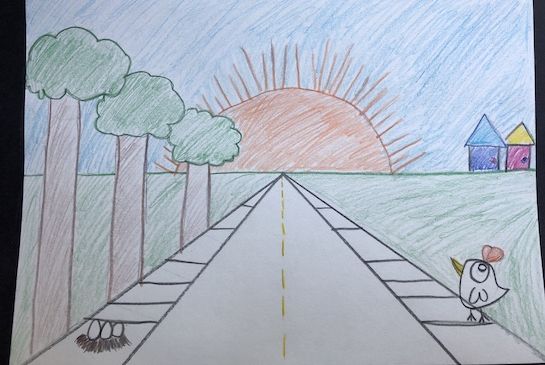
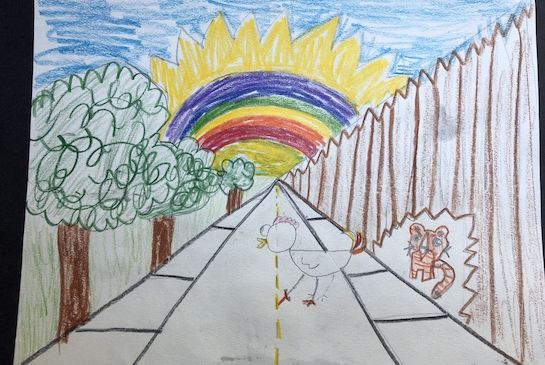
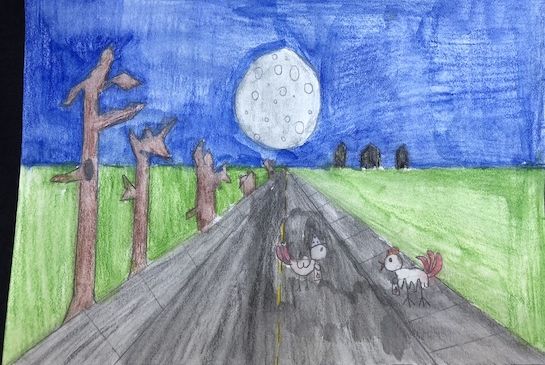
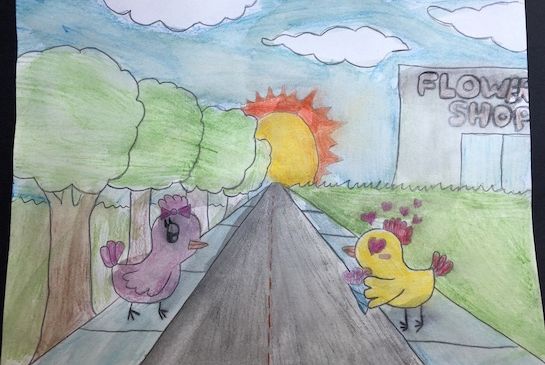
One-Point Perspective: A drawing method that creates the illusion of depth on a 2-dimensional surface using diagonal lines that converge to ta vanishing point on the horizon line.
Overlapping: A technique to create depth in a 2-dimensional image. When shapes overlap, the partially obscured one appears to recede (get farther away). Proportion: The relationship between parts to a whole or to each other, in terms of size or amount. In this lesson it creates depth when it shrinks shapes that are closer to the horizon line (i.e. ‘farther away’).
Vanishing Point: Where parallel lines (lines that are equidistant) appear to meet on the horizon line.
Before the 1300’s, art was rich and beautiful but made no attempt to create the illusion of depth and space. During the 1300’s, Italian painters explored these ideas using altered lines and shading to create depth, but it was perfected by later Italian artist during the Renaissance. Leonardo Davinci, Michelangelo, Raphael, Botticelli, Donatello and Titian represented artistic pinnacles and were so imitated that the theory of perspective took hold throughout the art world.
Show the video (3.54 minutes), “Easy 1 Point Perspective” pointing out the same rules being used to draw a single building or the 7-minute video “Lesson 5B: One Point Perspective Cityscape.” This can be stopped at the 5-minute mark if needed.
Using the slide show look for repeated examples of depth:
- Things appear to get smaller as they go back in space.
- Normally parallel lines intended to move from the foreground to back ground become diagonal as they converge at the vanishing point on a horizon line.
- Horizontal & vertical lines not receding stay the same but if repeated closer to the horizon they get smaller.
Students will:
Lesson written by Cynthia Moring and Juliette Ripley-Dunkleberger. Videos referenced: Easy 1 Point Perspective and Lesson 5B: One Point Perspective Cityscape.
21st Century Thinking Skills
Reflecting, Observing, Making Connections, Visualizing, Sequencing, determining main idea, Finding Evidence, Determining Point of View, Analyzing.
WA State Learning Standards
(VA:Cr2.1.4) a. Explore and invent art-making techniques and approaches. This happens when learning the drawing technique of one-point perspective.
(VA:Cr3.1.4) a. Revise artwork in progress on the basis of insights gained through peer discussion. This happens as students correct their work.
(VA:Re7.1.4) a. Compare responses to a work of art before and after working in similar media. This happens as students learn to identify the rules of one-point perspective drawing.
(VA:Re9.1.4) a. Apply one set of criteria to evaluate more than one work of art. This happens when evaluating accuracy of using this technique.
(VA:Cn11.1.4) a. Through observation, infer information about time, place, and culture in which a work of art was created. This happens when observing works of art used as examples of one-point perspective.
Arts Integration Opportunities
Math: understanding spatial relationships and distance. This lesson is great to use mathematics, fractions, division, measuring and computation. To find the vanishing point (in the middle of the paper), have the students measure and divide. They can use computation and study angles in a number of ways in this lesson.
Please note: These lesson plans are intended for non-profit use only. Use of these plans for commercial purposes should give attribution to the Issaquah Schools Foundation and be accompanied by a nominal donation at www.isfdn.org/donate. Thank you.
Fueling Success for Every Student, Every School