Form: an element of visual arts; a three-dimensional object that takes up space with and has height, length, width, and depth.
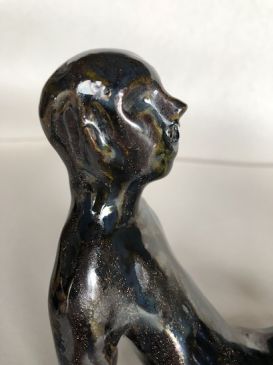
Texture: the art element that refers to how objects look or feel. Textures can be visual, seen with the eyes, or tactile, both seen with the eyes as well as felt when touched. Actual texture is natural (tactile). Simulated texture is artificial (visual).
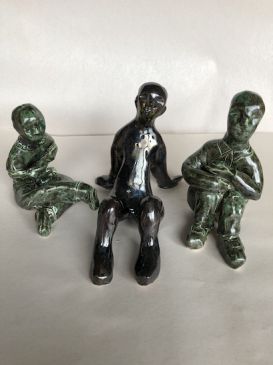
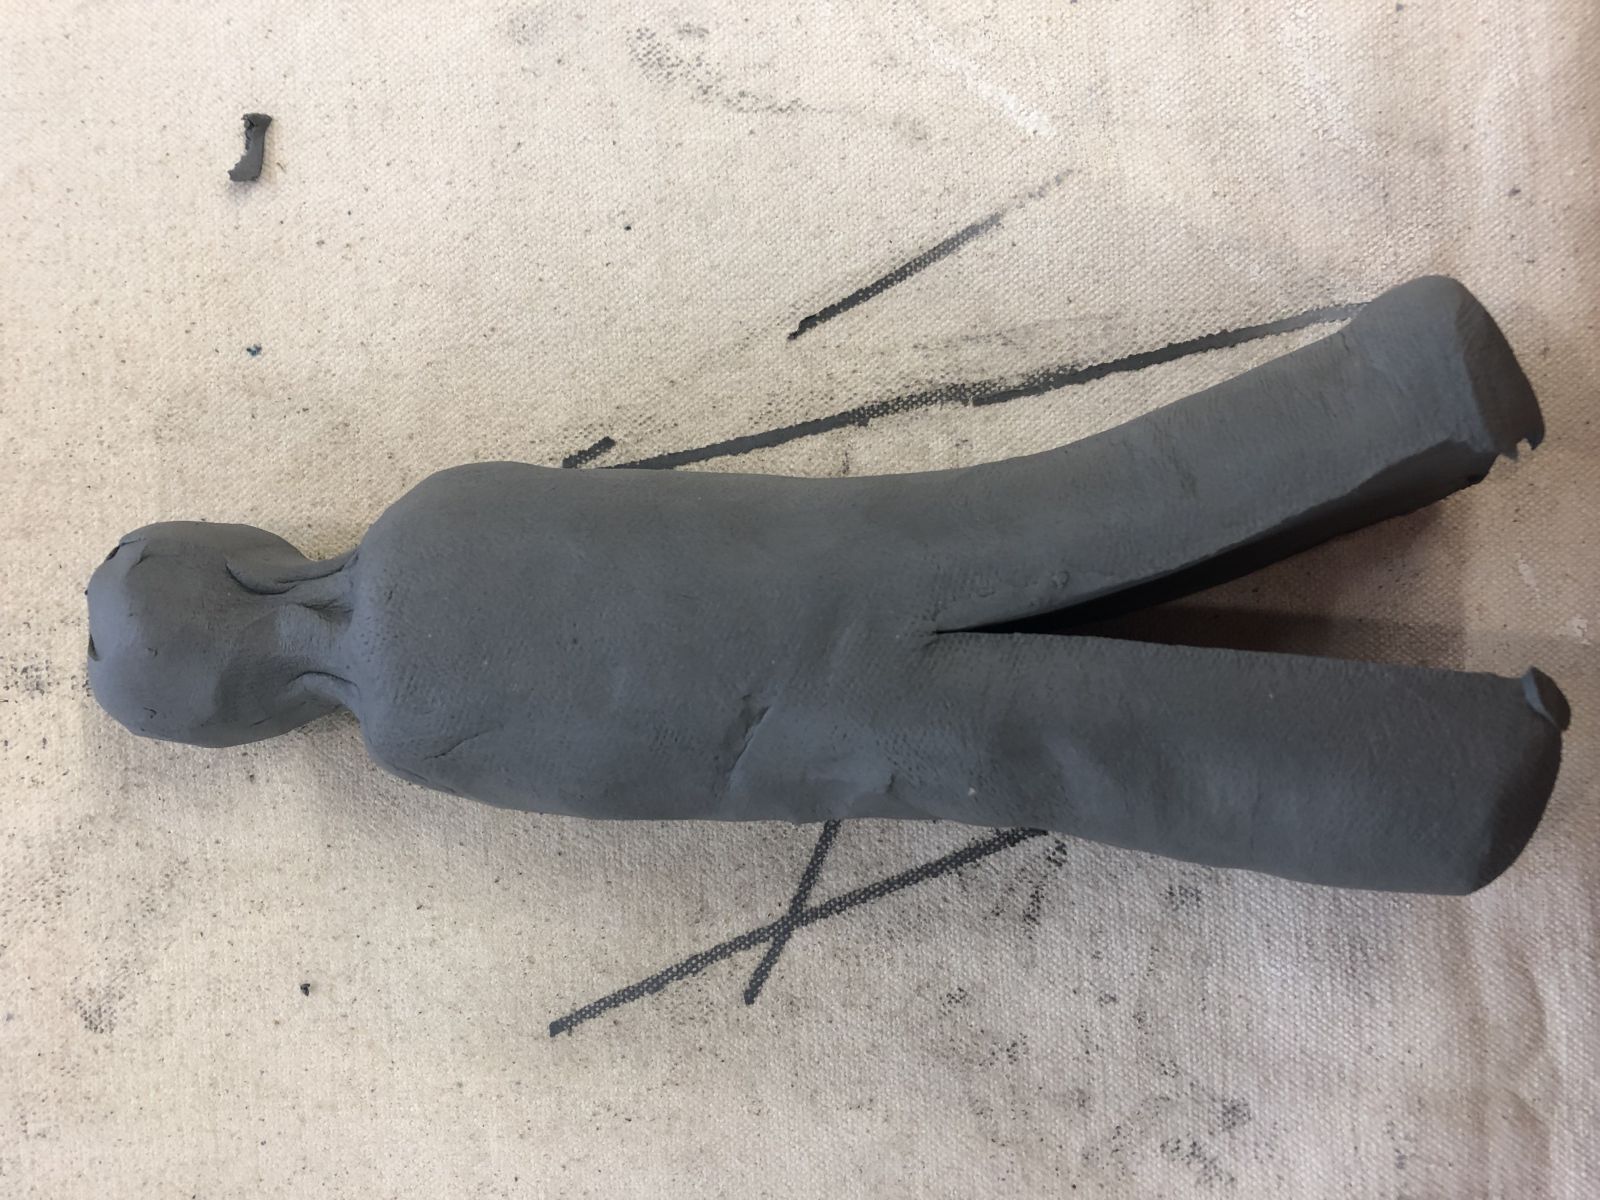
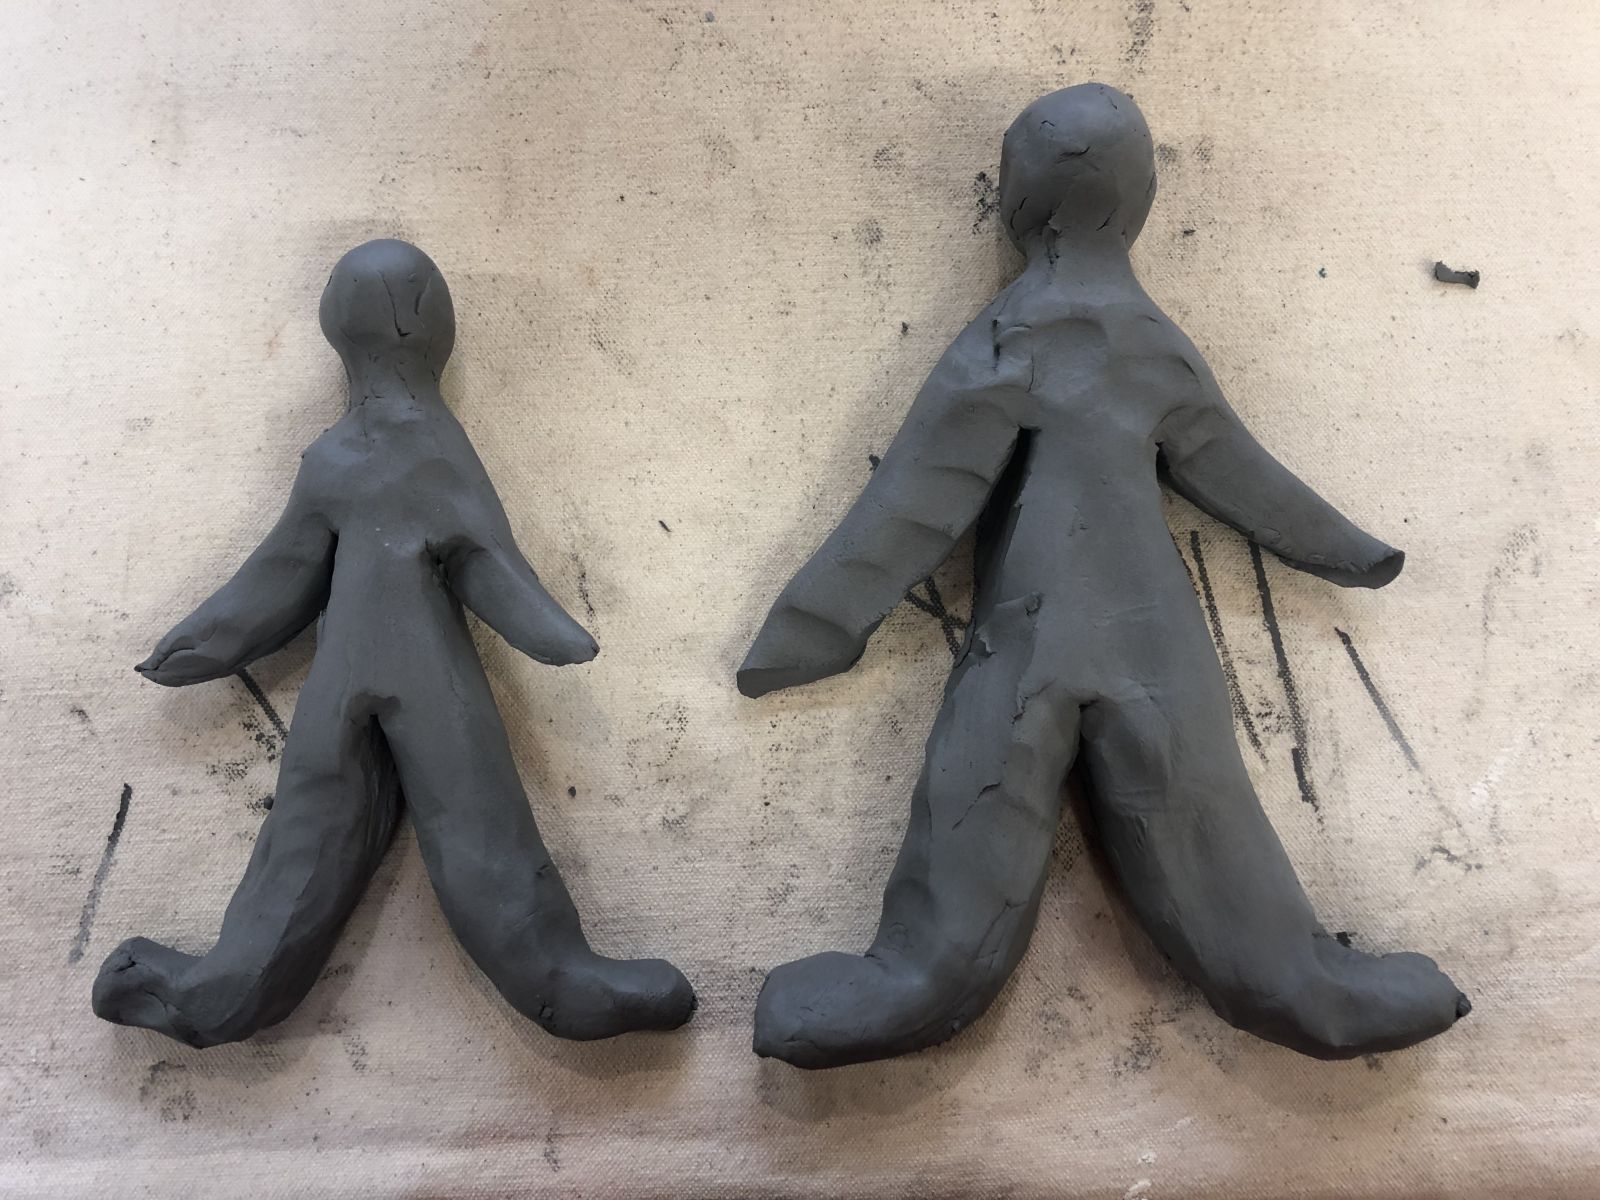
Balance: a sense that the sculpture feels stable, ‘feels right’. In this case, does the figure sit upright?
Proportion: the relationship of parts to a whole or parts to one another in regard to size and placement. In this lesson, are all the body parts proportional to the figure?
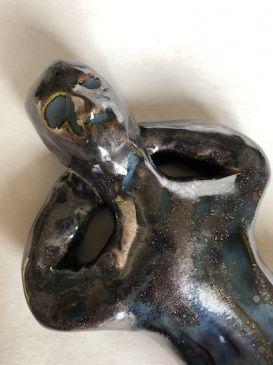
Biomorphic: Lines, shapes or forms that are rounded, fluid, undulating.
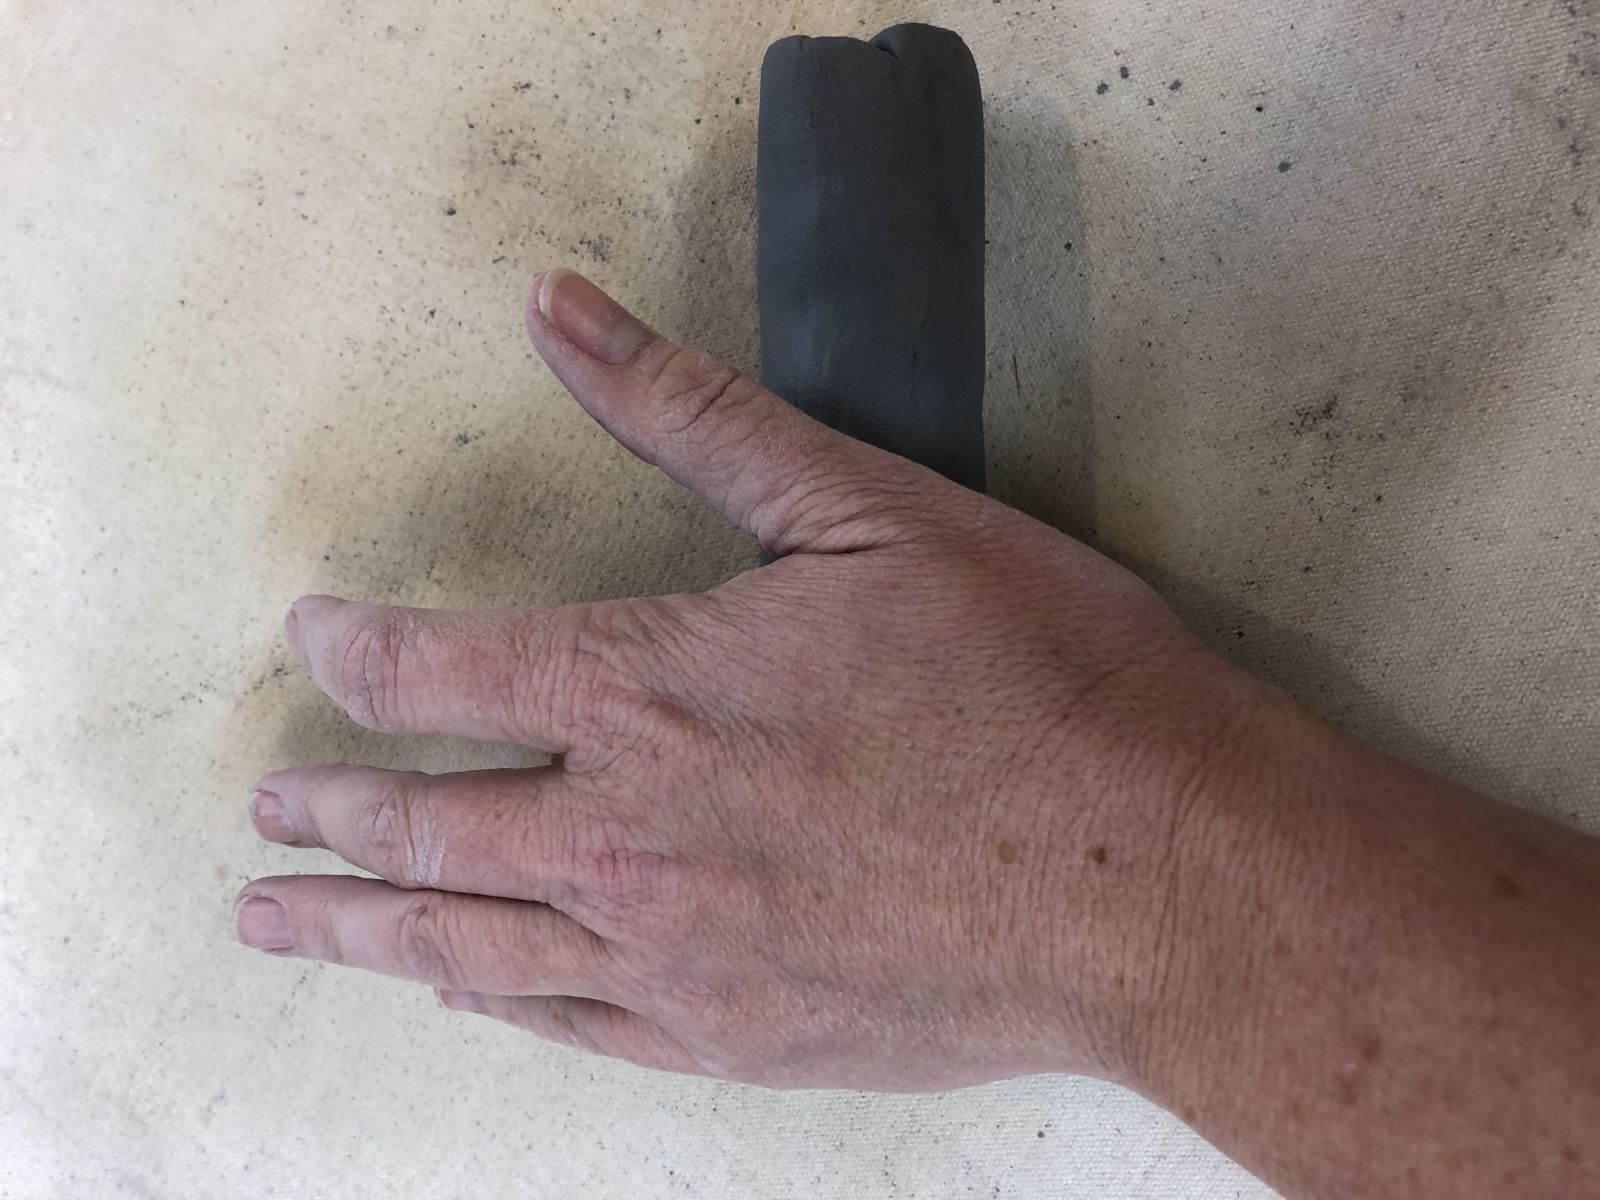
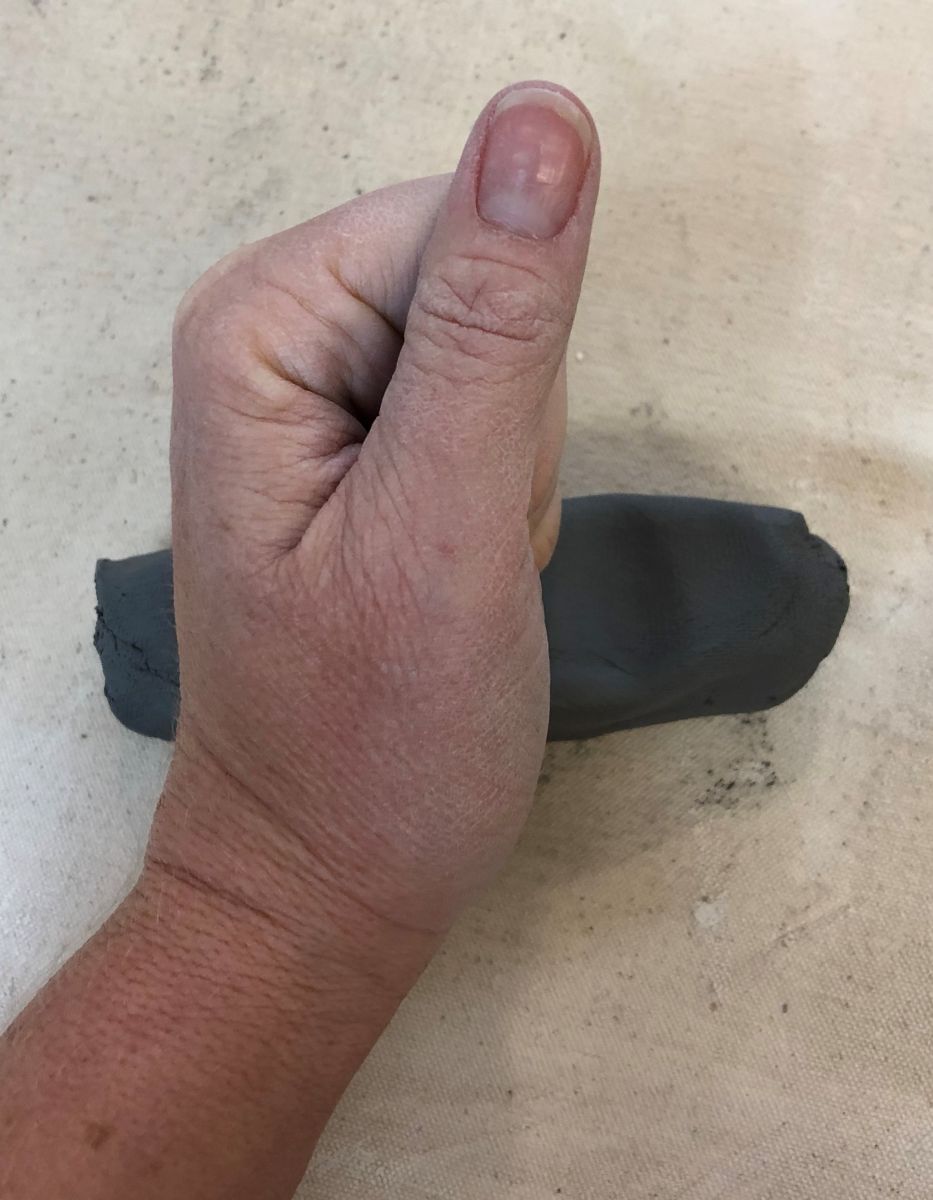
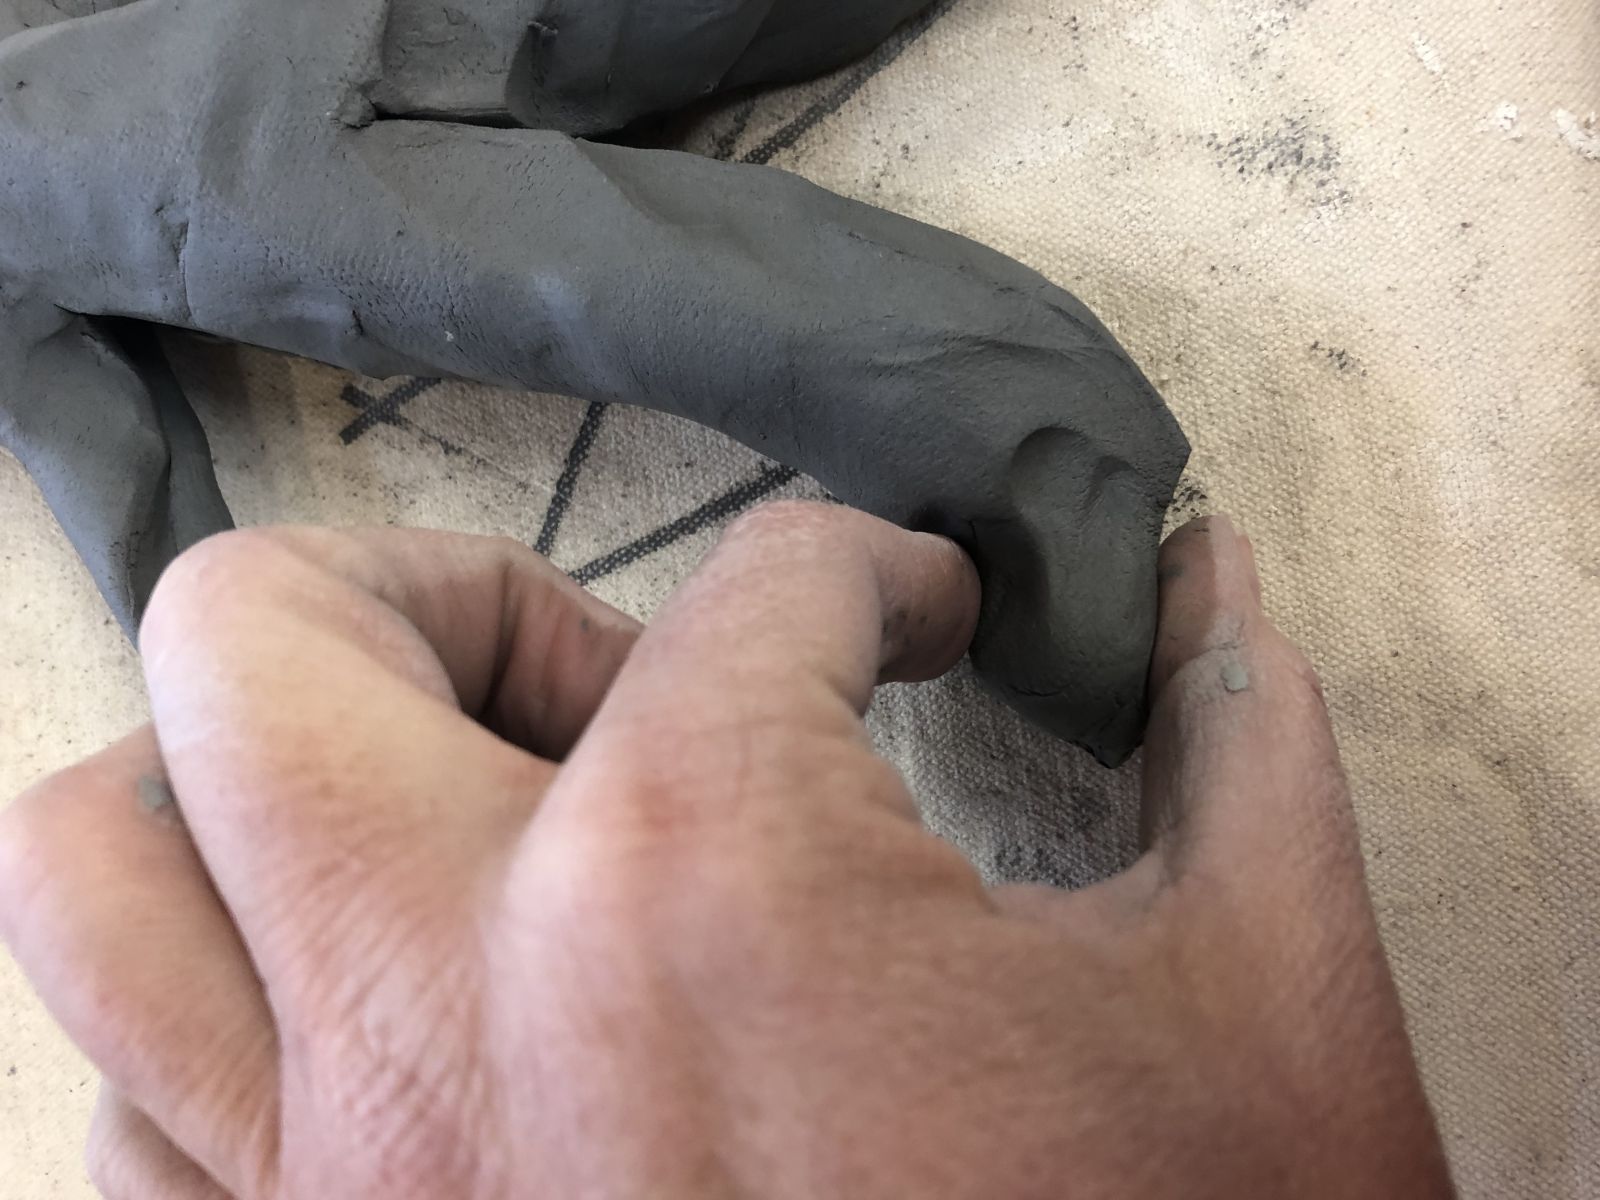
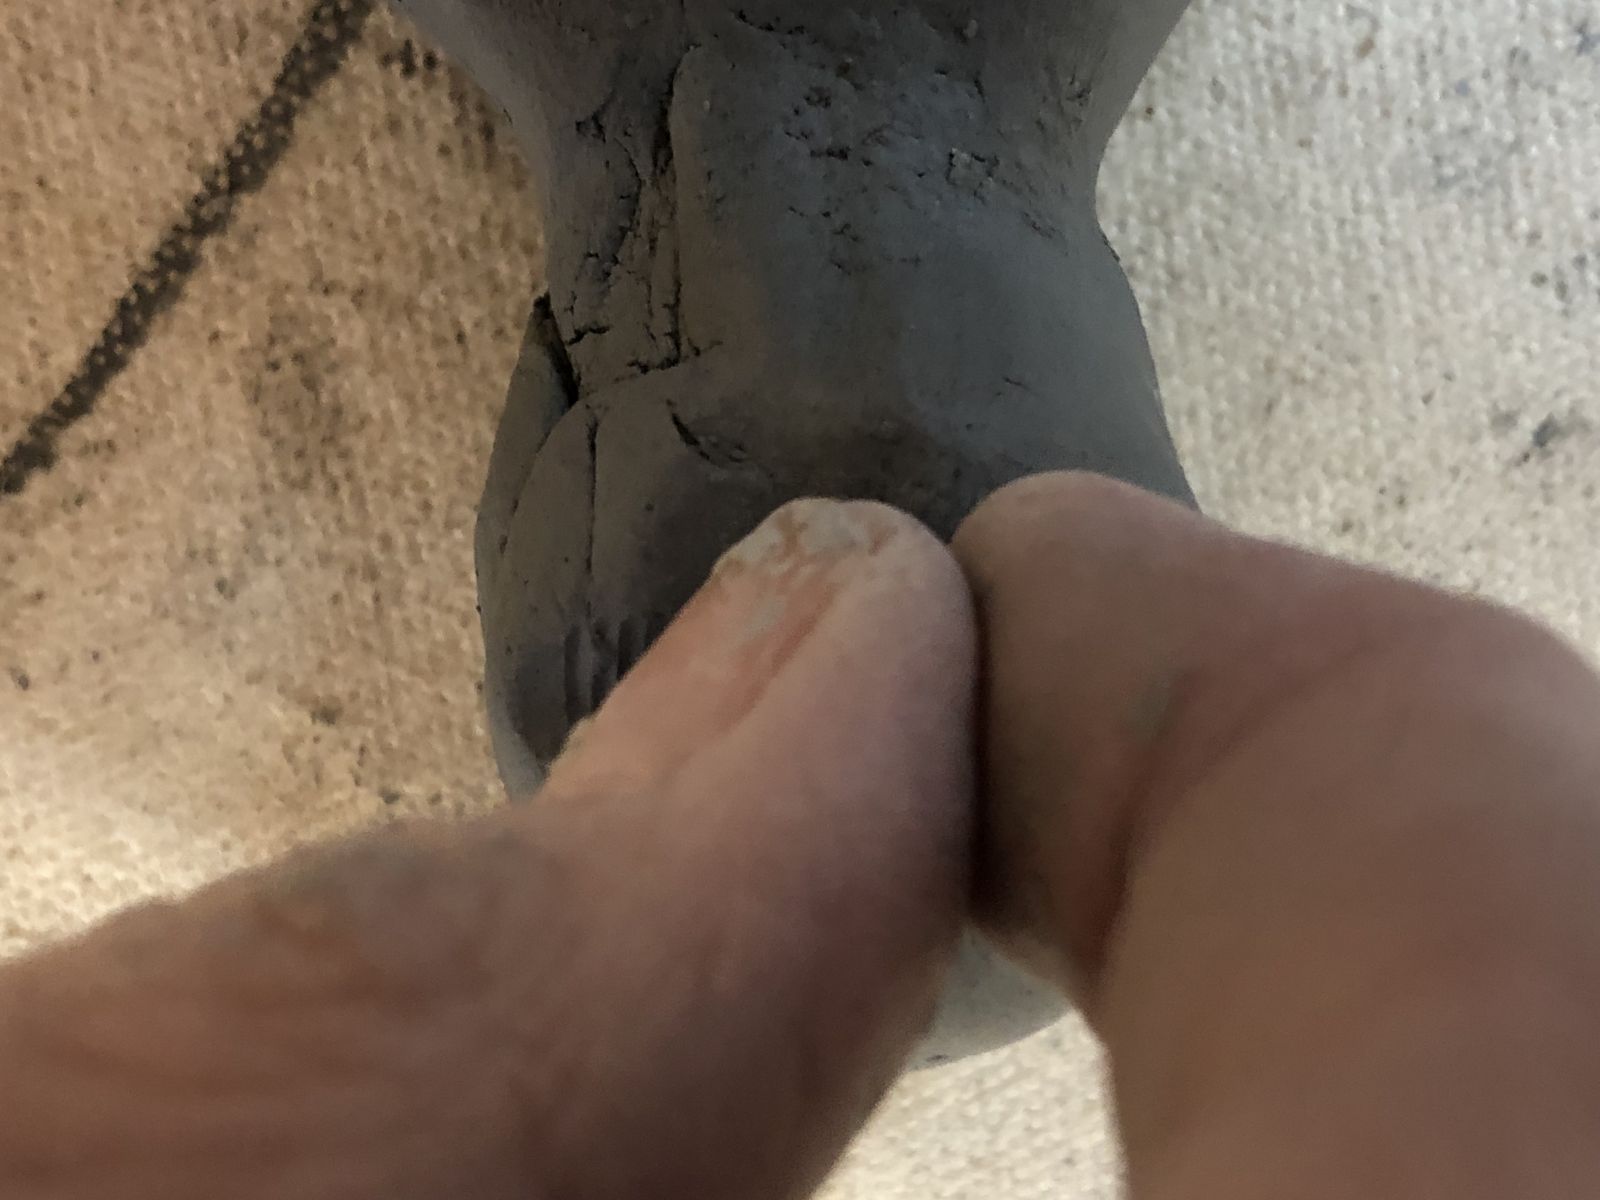
Slip: a slurry combination of clay & water, used to attach wet clay.
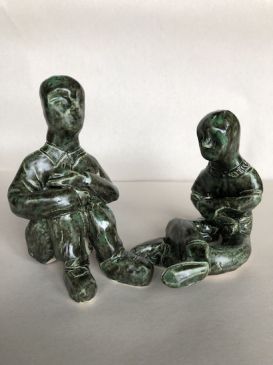
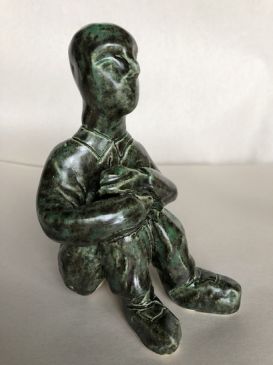
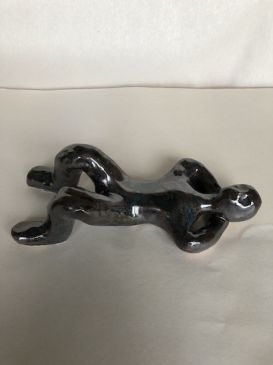
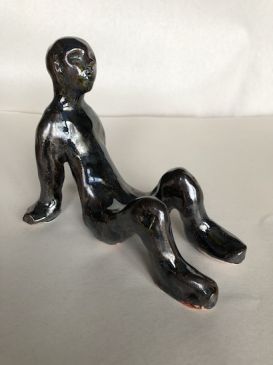
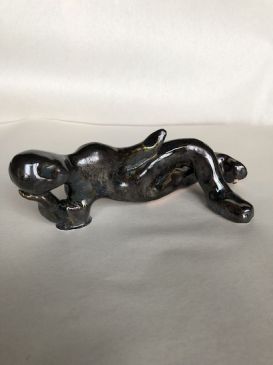
Henry Moore was the most important British sculptor of the 20th century, most popular in the post-war period. His motifs included mother and child, and the reclining figure. His human forms were massive in proportion, abstracted to their simplest shapes and biomorphic (form based on a living thing), usually made of stone.
*Henry Moore’s work was typically done in bronze or stone and there are many glazes that will give you that look. If you want to do something more representational then be sure to look for glaze for paint options which have a wide variety of skin shades available so no student feels excluded.
Options could be:
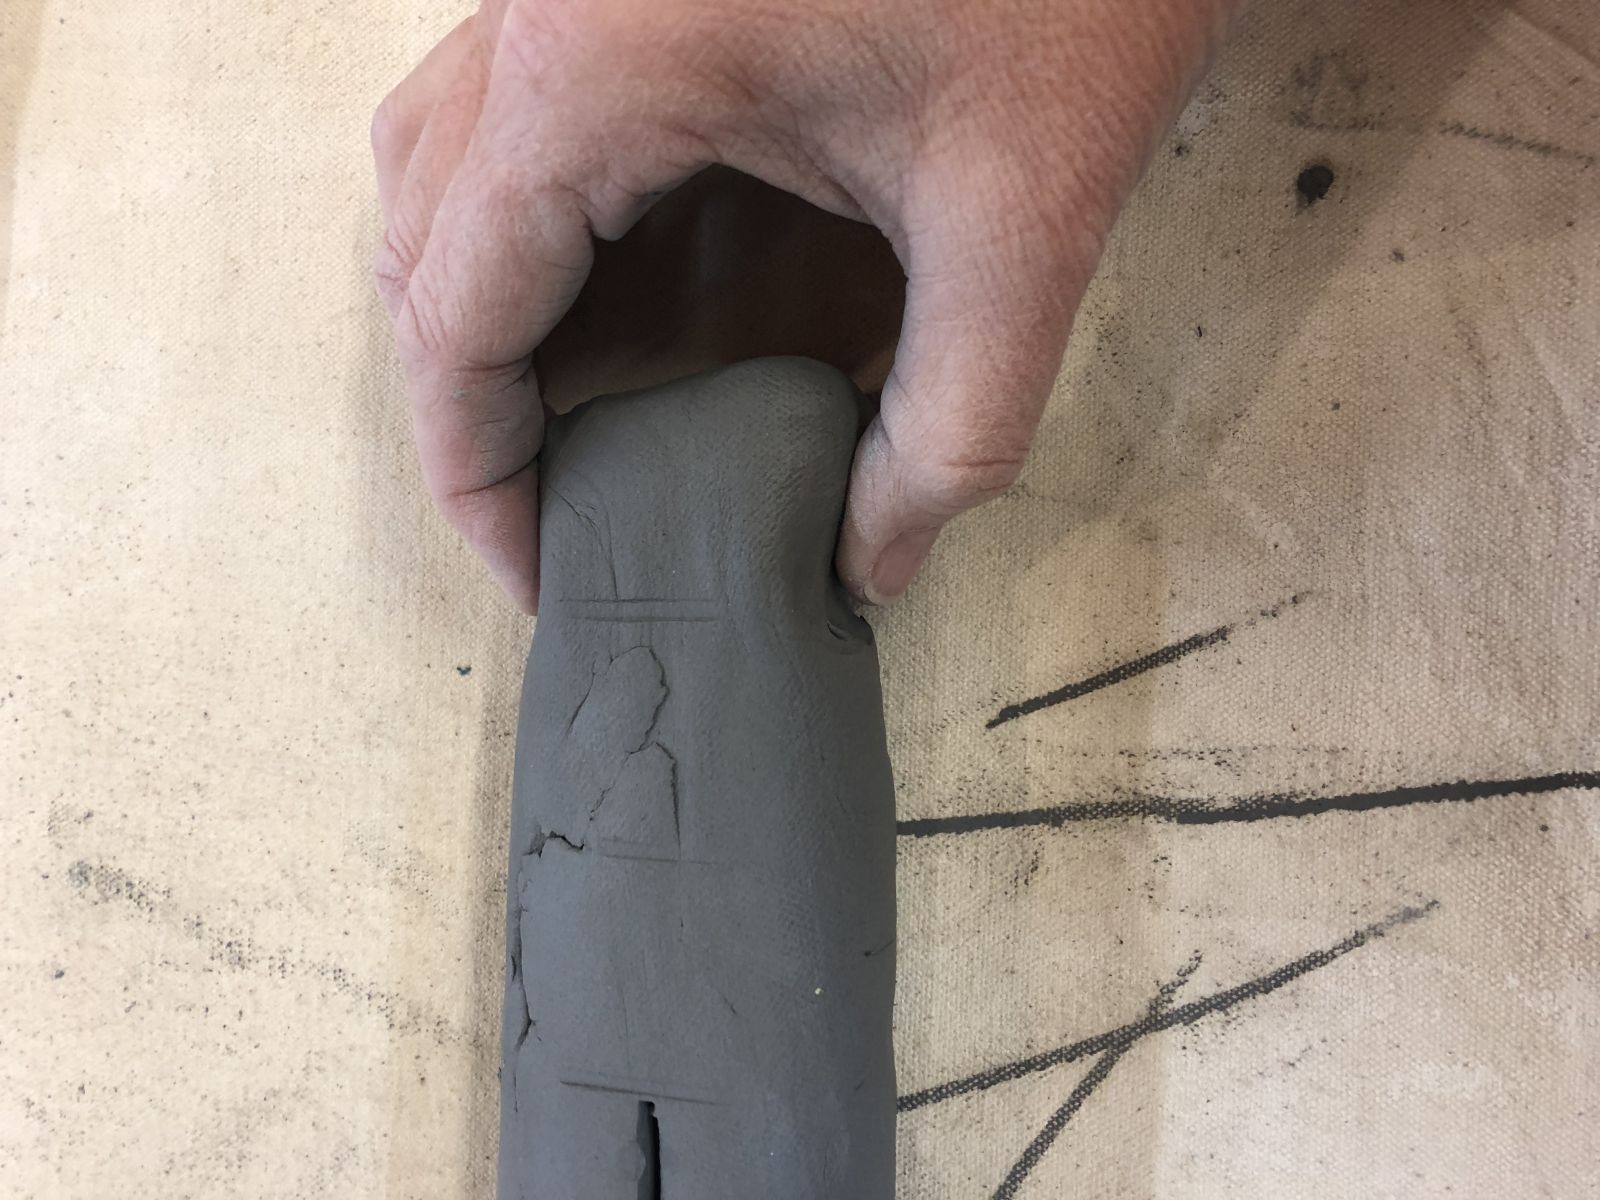
Using a wire cutter tool, cut cubes of clay the size of a navel orange, enough for each student. Wrap in plastic until time to use. Put clay tools (cutters, mats, rolling pins and straws) in the middle of each table group, or at a couple of central locations. At each seat or using an overhead projector, display photos of Moore’s reclining figure sculptures.
After showing examples of Moore’s sculptures, have the students (or 1 student) try a reclining pose of their own on the floor. Point out how they are balanced to be stable, & what the body’s limbs are doing. Encourage students to give their sculpture a similar strong foundation.
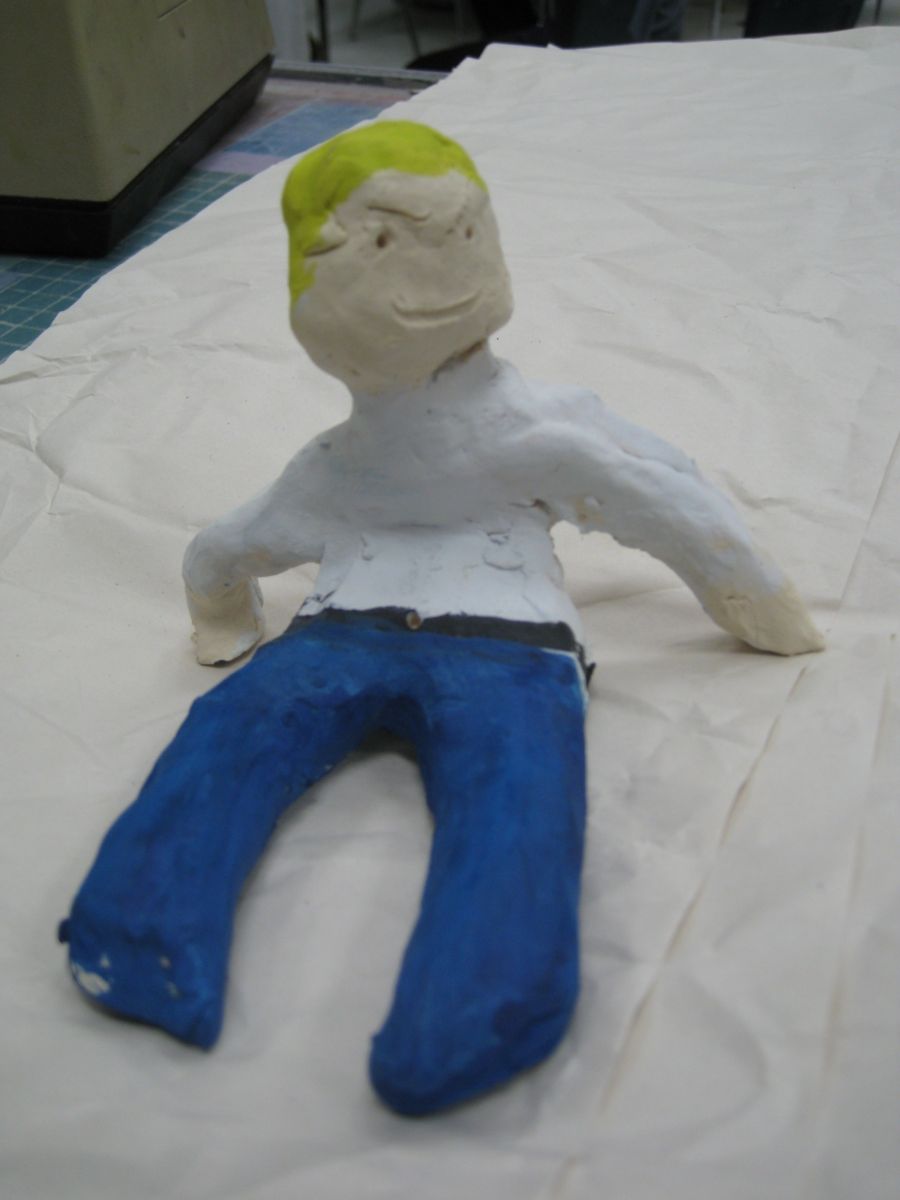
The students should make a stable, seated or reclining clay figure following directions given, keeping proportions relatively balanced. They choose details about their figure (gender, clothes, hair, etc.) & use good craftsmanship. Note: this is not a direct copy of a Moore reclining figure. Details and color can be added for personal expression.
.JPG)
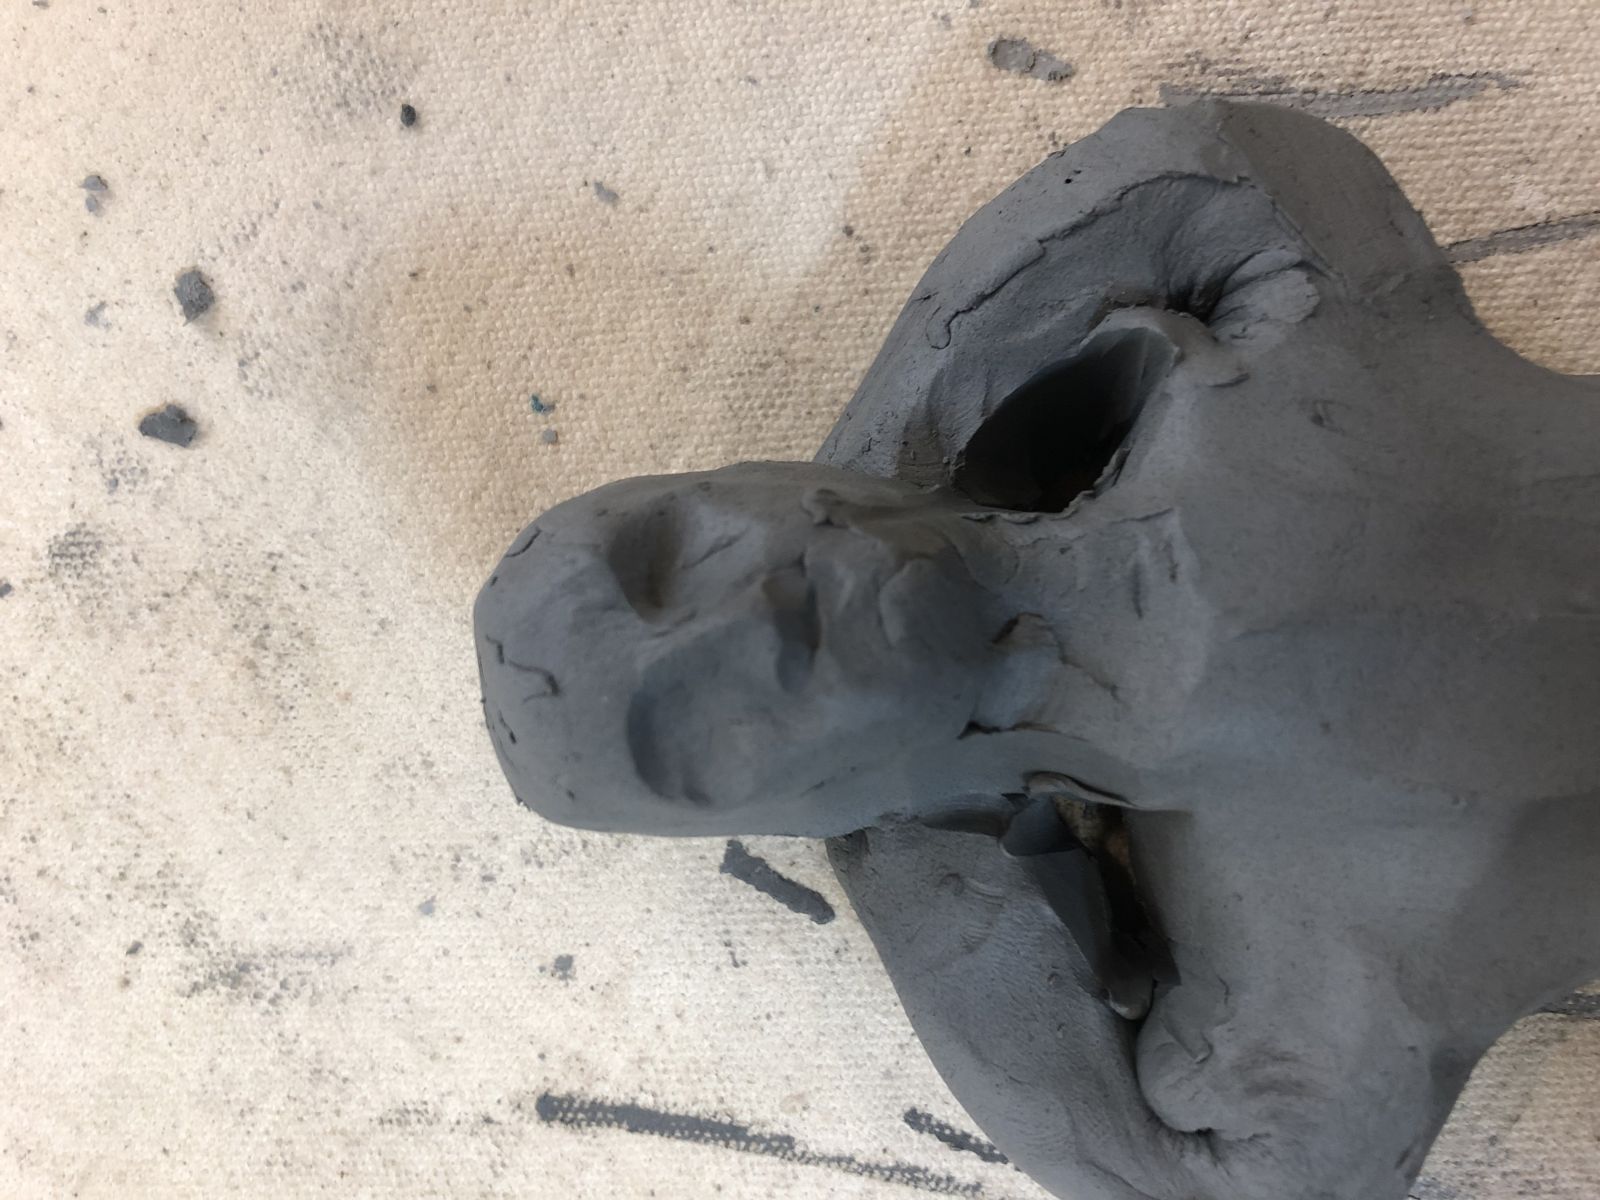
 Eyes
Eyes 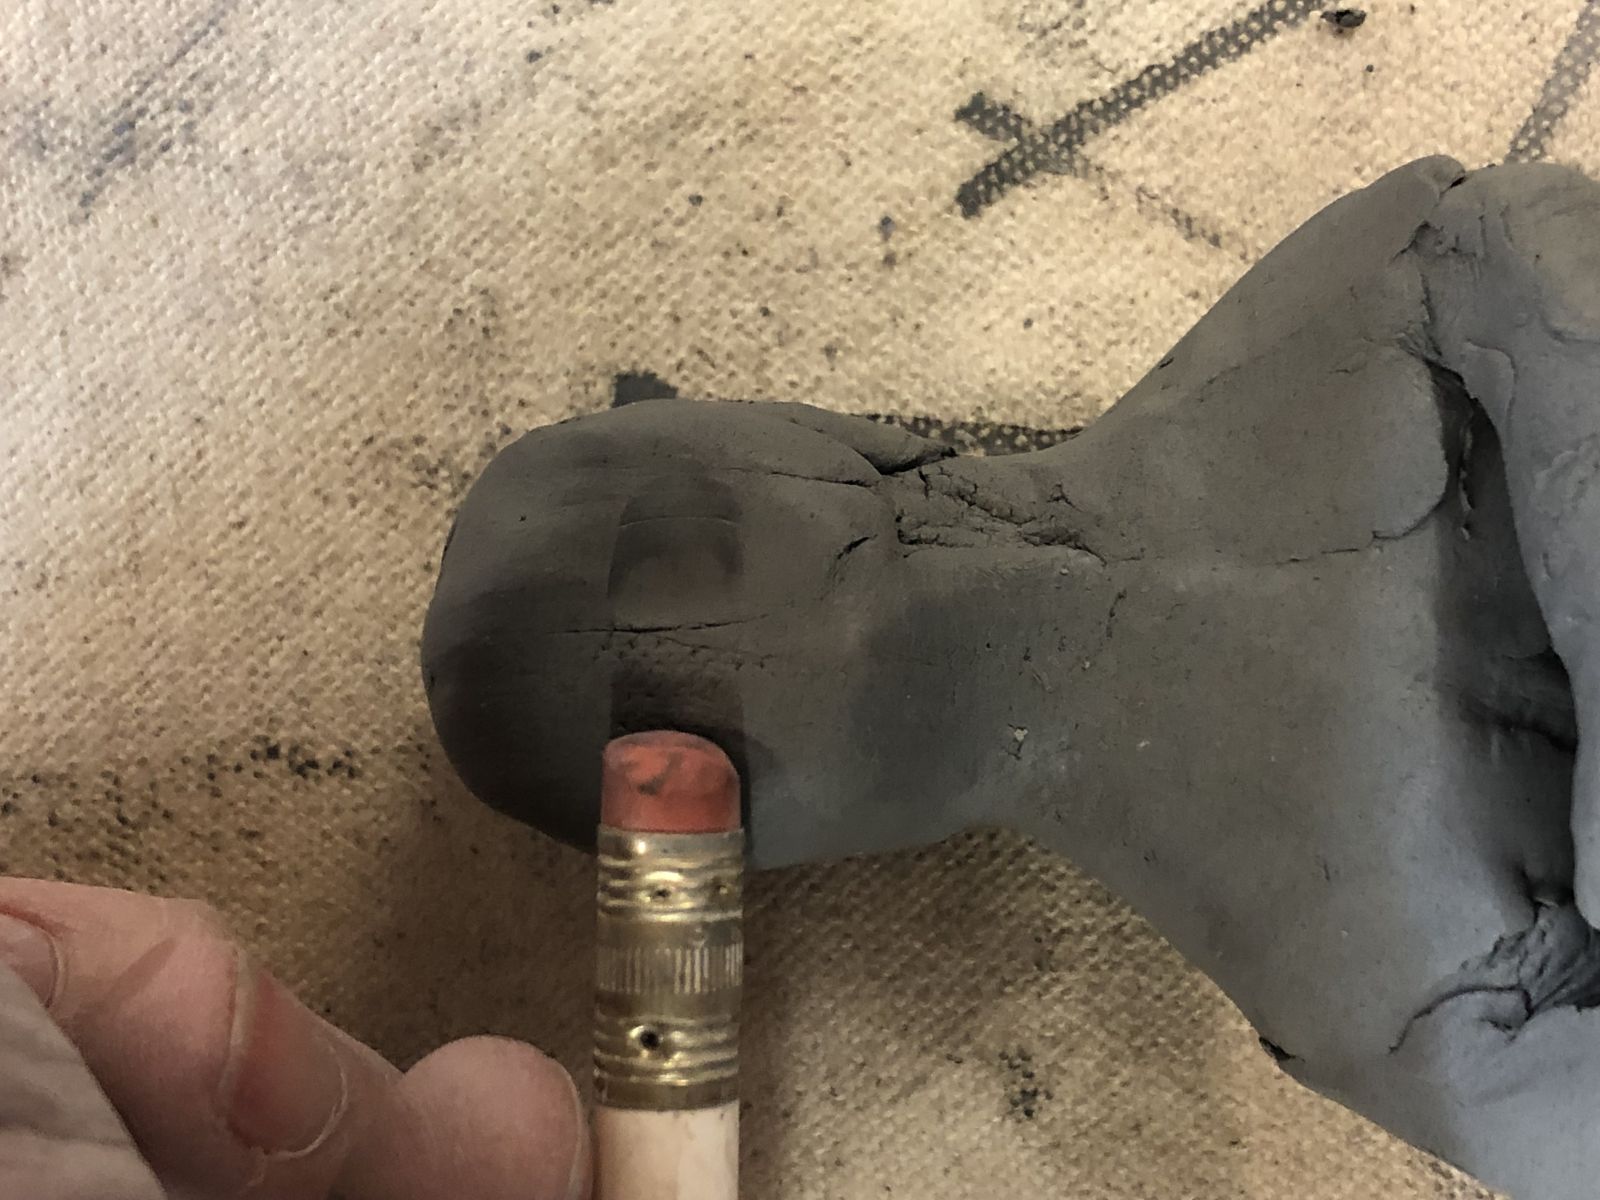
Tempera-Painted Examples: 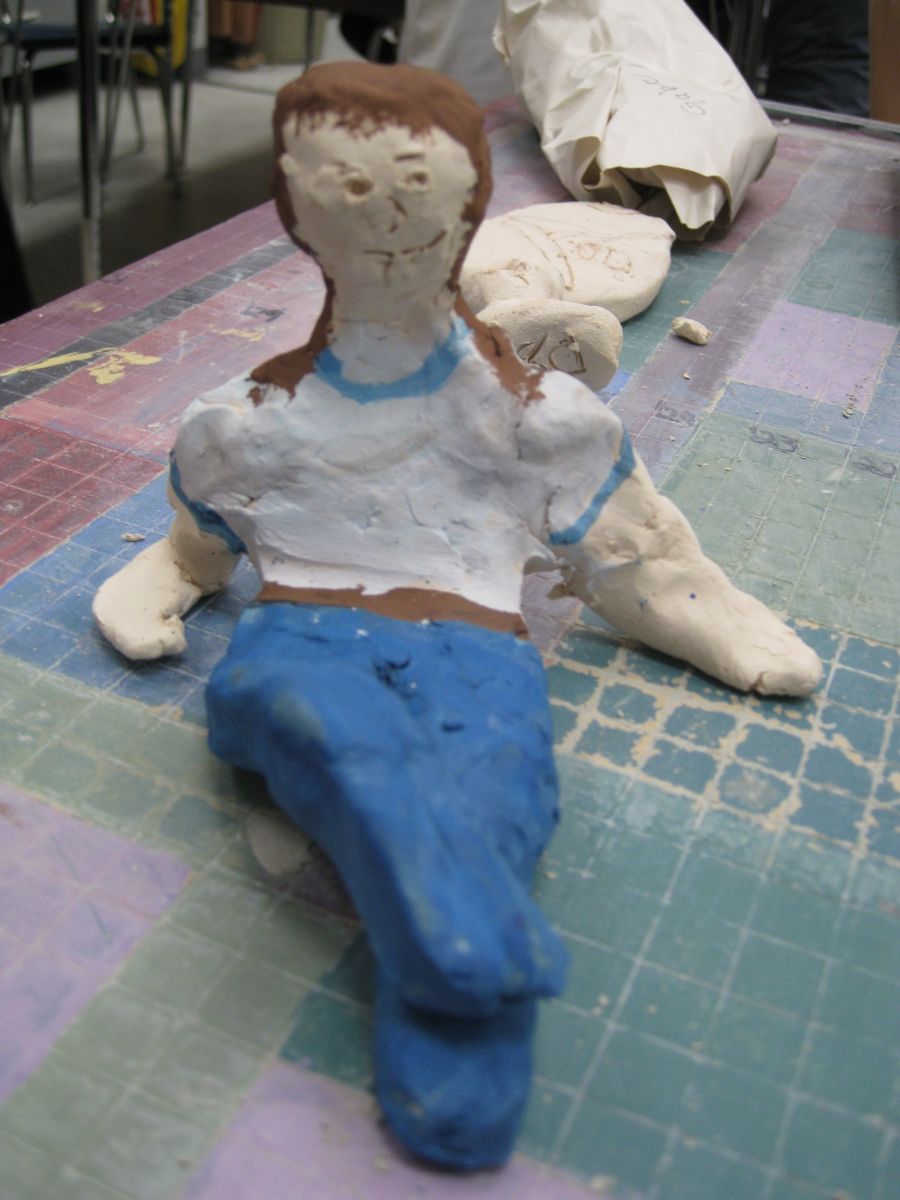
Lesson written by Cynthia Moring, sculpture making and stone-glazed examples by Juliette Ripley-Dunkelberger.
21st Century Thinking Skills
Observing, making connections, visualizing, sequencing, comparing/contrasting, decision making.
WA State Learning Standards
(VA:Cr1.1.4) a. Brainstorm multiple approaches to a creative art or design problem. This happens when you look at different poses.
(VA:Cr1.2.4) a. Collaboratively set goals and create artwork that is meaningful and has purpose to the makers. This happens when students make decisions about details in their sculptures.
(VA:Cr2.2.4) a. When making works of art, utilize and care for materials, tools, and equipment in a manner that prevents danger to oneself and others. This happens when they use the tools properly.
(VA:Cr3.1.4) a. Revise artwork in progress on the basis of insights gained through peer discussion. This happens when you walk around & talk about the work you’re seeing happen.
(VA:Re8.1.4) a. Interpret art by referring to contextual information and analyzing relevant subject matter, characteristics of form, and use of media. This happens when you compare Moore’s sculptures to real figures, & to the figure’s students’ make.
(VA:Re9.1.4) a. Apply one set of criteria to evaluate more than one work of art. This happens when you assess your students’ work.
Arts Integration Opportunities
Writing: Students can write about their ‘person.’
Please note: These lesson plans are intended for non-profit use only. Use of these plans for commercial purposes should give attribution to the Issaquah Schools Foundation and be accompanied by a nominal donation at www.isfdn.org/donate. Thank you.
Fueling Success for Every Student, Every School