Line: an element of visual arts; the flat path of a dot through space used by artists to control the viewer’s eye movement; a long narrow mark or stroke made on or in a surface; a thin mark made by a pencil, pen, or brush. The repetition of lines (and/or shapes) is used to create texture, pattern, and gradations of value.
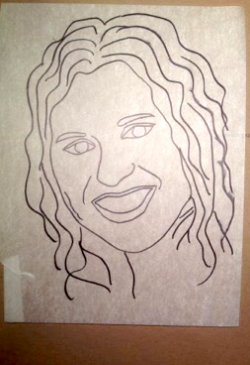
Contour Line: the line that defines a form or the edge of an objects outline.
Contour Line Drawing: a line drawing that follows the visible edges of a shape or form, both exterior and interior.
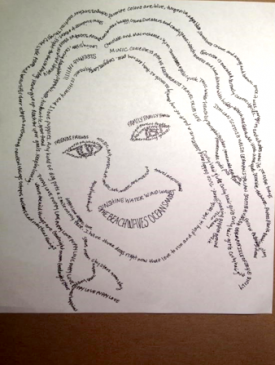
Micrography: artwork created from text that forms an image when viewed at a distance. An interplay between the text and image.
Self-portrait: an image of oneself drawn or painted by the artist.
Wikipedia definition: “Micrography, also called microcalligraphy, is a Jewish art form developed in the 9th century, with parallels in Christianity and Islam, utilizing minute Hebrew letters to form representational, geometric and abstract designs. Colored micrography is especially distinctive because these rare artworks are customarily rendered in black and white.”
Micrography draws a design, portrait, or scene associated with the subject by using words composed of tiny letters, whose forms are barely legible to the naked eye. Widely used in medieval Hebrew manuscripts, micrography experienced a revival at the end of the nineteenth and the beginning of the twentieth century. It has been esteemed by Jews, because it makes it possible to draw a picture of a sacred event without "casting away" the sacred words which describe it in a classical religious text; thus, micrography permits the welding together of the visage of a saint or sage with the very words he uttered or which were written in praise of him.
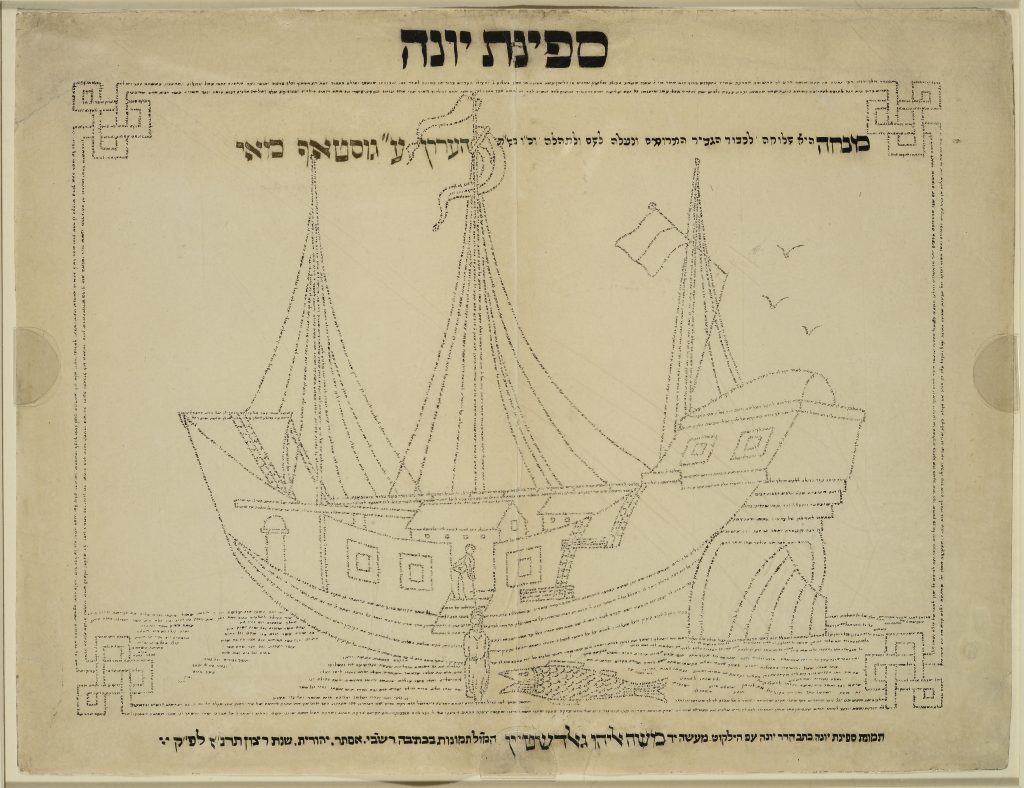
Image from the Library of Congress: Micrography from the collections of the Hebraic Section. This lithograph of a micrography was completed in 1881 by Moses Elijah Goldstein. More information can be found online at the Jewish Virtual Library.
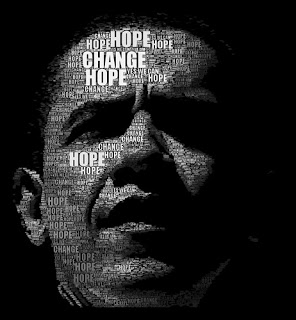
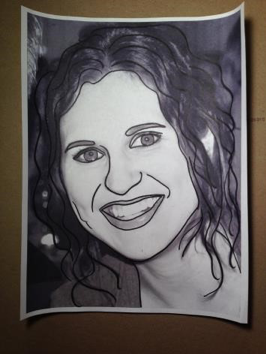
Image from The Gawno Magazine.
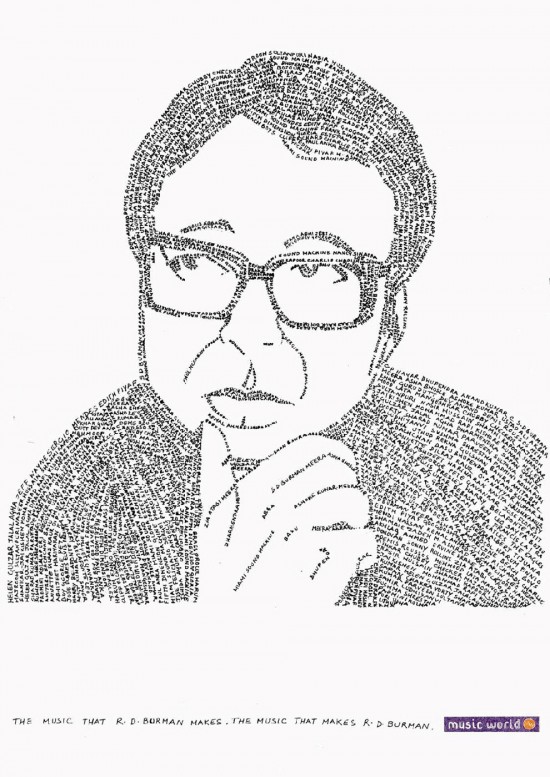
Image from The Gawno Magazine.
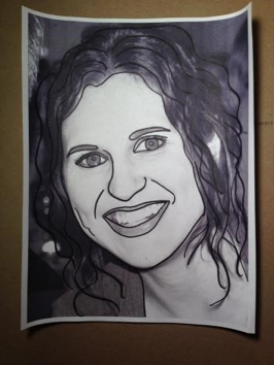
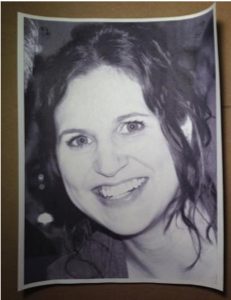
Take black and white photos of each student. The picture should be ahead shot and include the neck and some shoulders.
Since students will be writing positive comments about themselves, you may let the teacher know ahead of time, so students will have many ideas to include in their portrait. Students could write 40 positive comments ahead of time and bring the list to the art lesson.
This lesson is inspired by the art form of Micrography. Show the example of the ship. Ask the question, “What is happening in the artwork?” Ask for evidence, “How do you know that?” or “Point to the part you are talking about.”
Discuss how people used this art form to convey both words and imagery in a single picture. In the ship image, the man in front, is the person who says the words that creates the ship imagery.
Show contemporary examples of images of Micrography.Discuss the works of art. Ask what type of feeling the artwork conveys.
Define and discuss different types of portraits and self-portraits. Ask, “Why is it meaningful to make self-portraits?”
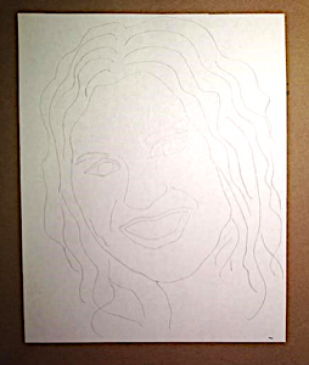
Define contour line. Discuss how the students will use the contour line as one step in their artwork.
Can the student tell me about micrography?
Did the student create a line self-portrait using words to portray themselves?
Demonstrate the process for the class.


Incredible @rt Department website, Art Paper Scissors Glue blog, The Gawno Magazine, Jewish Virtual Library, Library of Congress.
21st Century Thinking Skills
Observing – Using your senses to learn about something in detail.
Making connections – Connecting new information with schema.
WA State Learning Standards
(VA:Cr1.1.5) Creating – Investigate, plan, make. Combine ideas to generate an innovative idea for artmaking.
(VA:Cr2.1.5) Creating – Investigate. Experiment and develop skills in multiple art-making techniques and approaches through practice.
(VA:Re7.2.5) Responding – Perceive and analyze artistic work. Identify and analyze cultural associations suggested by visual imagery.
Arts Integration Opportunities
Students can write an autobiography; use poetry for the text.
Please note: These lesson plans are intended for non-profit use only. Use of these plans for commercial purposes should give attribution to the Issaquah Schools Foundation and be accompanied by a nominal donation at www.isfdn.org/donate. Thank you.
Fueling Success for Every Student, Every School