Line: the flat path of a dot through space used by artists to control the viewer’s eye; a long narrow mark or stroke made on or in a surface; a thin mark made by a pencil, pen, or brush. The repetition of line is used to create texture, pattern, and gradations of value.
Shape: a two-dimensional (flat) area enclosed by a line.
Space: the area within an artwork; the illusion of depth creates 3-d space on a 2-d surface by means of the following techniques: rendering shapes to overlap and using linear perspective.
Contrast: refers to the arrangement of opposite elements, or using very different qualities next to each other to create visual interest, excitement and drama. E.g. smooth/rough textures, light/dark colors, or thick/thin lines.
Emphasis (focal point): the part of an artwork that is emphasized in some way and attracts the eye and attention of the viewer; also called the center of interest.
Composition: using principles of design to arrange elements of art to create art; the way elements are combined to express a particular idea.
Contrast Photography: the use of light and dark tones in an image.
Digital Format: anything in electronic form including photos, images, video, audio files, or artwork created or presented through electronic means; art viewed electronically through any device.
Elements of Photographic Design: those parts that are used to make a composition.
Photography: the process of forming and fixing an image by the chemical action of light on photosensitive surfaces; the art and business of producing and printing photographs.
Shadow: the dark areas adjacent to the illuminated (highlighted) side of an object.
Dorothea Lange (1895-1965) was an American photographer. She wasn’t concerned about her photographs being considered great art, instead she used her photos to bring about justice and change for the better. One of her most famous photographs, Migrant Mother, depicts a worn out, hungry mother and her starving children during the Great Depression. Many people saw the photograph Migrant Mother and were inspired to help. As a result, many lives were saved. Lange felt that photographs should document history, from important events to everyday life.
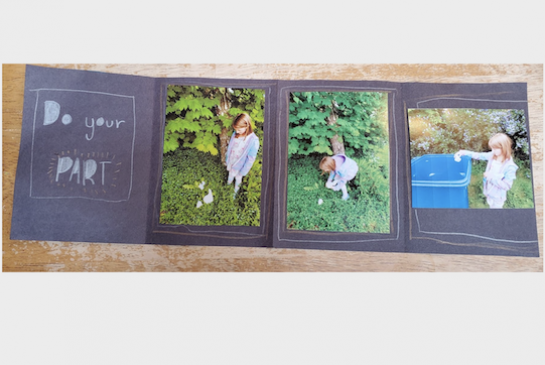
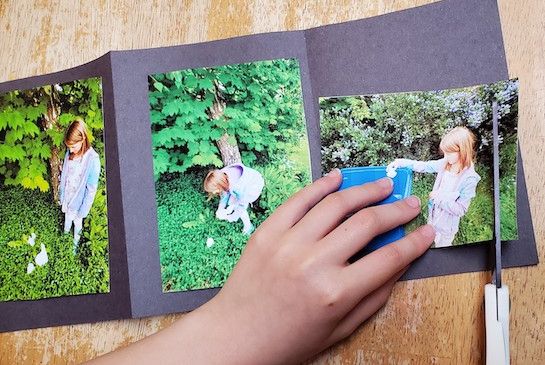
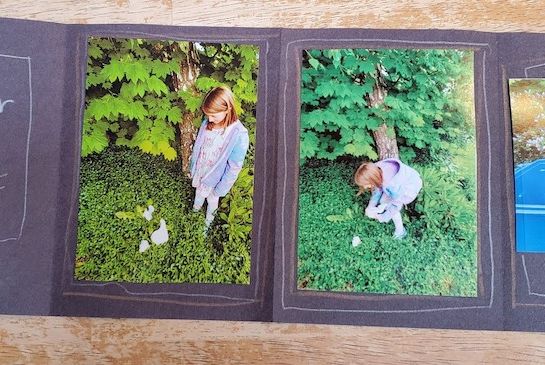
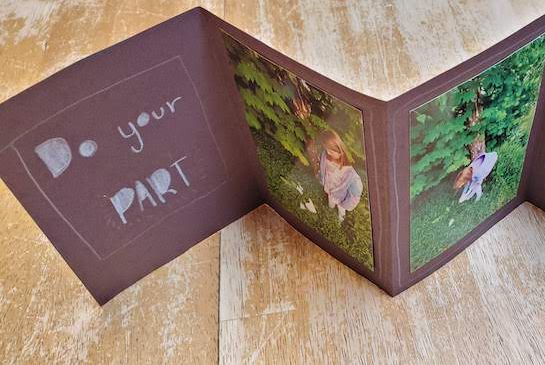
Everyday events:
Social justice:
What is social justice? Why can a photograph sometimes be more powerful than an article or essay? Why is it important to document everyday events? Write the best answers on the board.
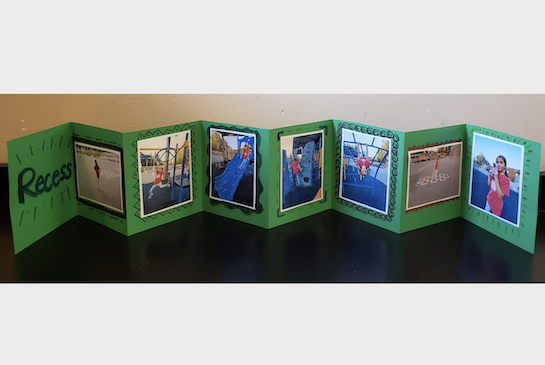
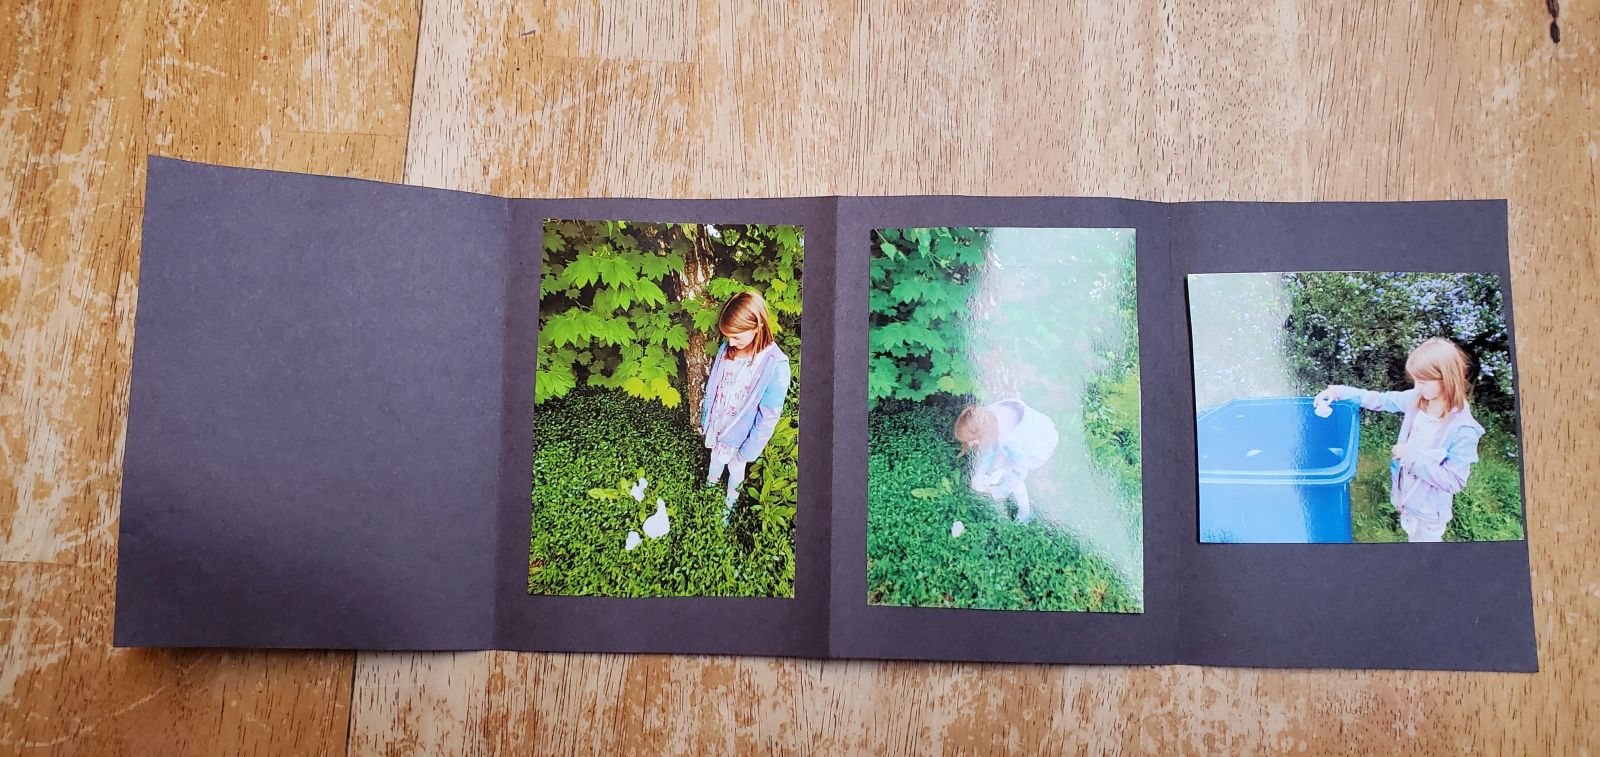
Students will: learn about the power photographs can have for social change; view work by Dorothea Lange; create a photo story based on an everyday activity.
First class period:


.jpg)
.jpg)
.jpg)

Lesson written by Rachelle Roberts. Dorothea Lange: MoMA biography c/o The Museum of Modern Art website. Kohl, MaryAnn F., et al. Discovering Great Artists: Hands-on Art for Children in the Styles of the Great Masters. Turtleback Books, 2015. 88.
21st Century Thinking Skills
Goal setting, observing, making connections, visualizing, sequencing, summarizing, determining main idea, finding evidence, problem solving, determining point of view, fact and opinion, decision making, evaluating.
WA State Learning Standards
(VA:Cr1.1.5) a. Combine ideas to generate an innovative idea for art-making.
(VA:Cr1.2.5) a. Identify and demonstrate diverse methods of artistic investigation to choose an approach for beginning a work of art.
(VA:Cr2.1.5) a. Experiment and develop skills in multiple art-making techniques and approaches through practice.
(VA:Re7.1.5) a. Compare one's own interpretation of a work of art with the interpretation of others. This happens if students share their work.
(VA:Re8.1.5) a. Interpret art by analyzing characteristics of form and structure, contextual information, subject matter, visual elements, and use of media to identify ideas and mood conveyed. (VA:Re9.1.5) a. Recognize differences in criteria used to evaluate works of art depending on styles, genres, and media as well as historical and cultural contexts. This happens when acknowledging that content and messaging is as important to visual composition as is esthetics (how it looks).
(VA:Cn10.1.5) a. Apply formal and conceptual vocabularies of art and design to view surroundings in new ways through art-making.
(VA:Cn11.1.5) a. Identify how art is used to inform or change beliefs, values, or behaviors of an individual or society.
Arts Integration Opportunities
This can be applied to procedural documentation, often used in science, or other ‘how to’ narratives.
Please note: These lesson plans are intended for non-profit use only. Use of these plans for commercial purposes should give attribution to the Issaquah Schools Foundation and be accompanied by a nominal donation at www.isfdn.org/donate. Thank you.
Fueling Success for Every Student, Every School