loading Skip to Main Content

Fused Glass Birds

Students will fuse glass to create hanging birds with personalized accents. Recommended for 4th Graders.

Elements of Art

Color: the visible range of reflected light.
Shape: a two-dimensional (flat) area enclosed by a line.

Principles of Design

Balance: provides a sense of unity order and equilibrium or makes individual parts of a composition appear equally important.  

Additional Vocabulary

Amorphous solid: a solid whose molecules are not arranged in an organized fashion like crystal solids.
Base Glass- The bottom piece of glass that the project is built on.
COE (Coefficient of expansion): the measurement of the rate of change of a materials shape, area or volume because of added heat.  The glass we use has typically COE 96 or 90.
Devitrification – Crystal growth inside of or on the surface of a previously amorphous solid. This can be caused by dirty glass or a firing that was too slow.
Diachronic glass: glass with an added film on the surface with oxides that is often iridescent, metallic or patterned. The film does not expand with the glass it is attached to, so when fused, the diachronic material will be the size of the original cut glass and be surrounded by a halo the color of the glass it is on top of.  
Frit: glass that has been ground into small chunks.  It comes in gravel-like to sand sizes.  It is used to pour into molds, mix with a binder and paint with, or to fill in spaces.  It adds texture where an artist chooses.  
Fuse: The process of melting the glass until it sticks together permanently.  
  - Full: glass becomes all one piece with no texture.
  - Partial/contour: glass melts together, creating a soft/rounded edge to the individual pieces.
  - Tack: glass melts enough to stick together only, the edges of individual pieces are no longer sharp but retain their original form.
Opaque: material which light cannot pass through.
Transparent: material which light can pass through.
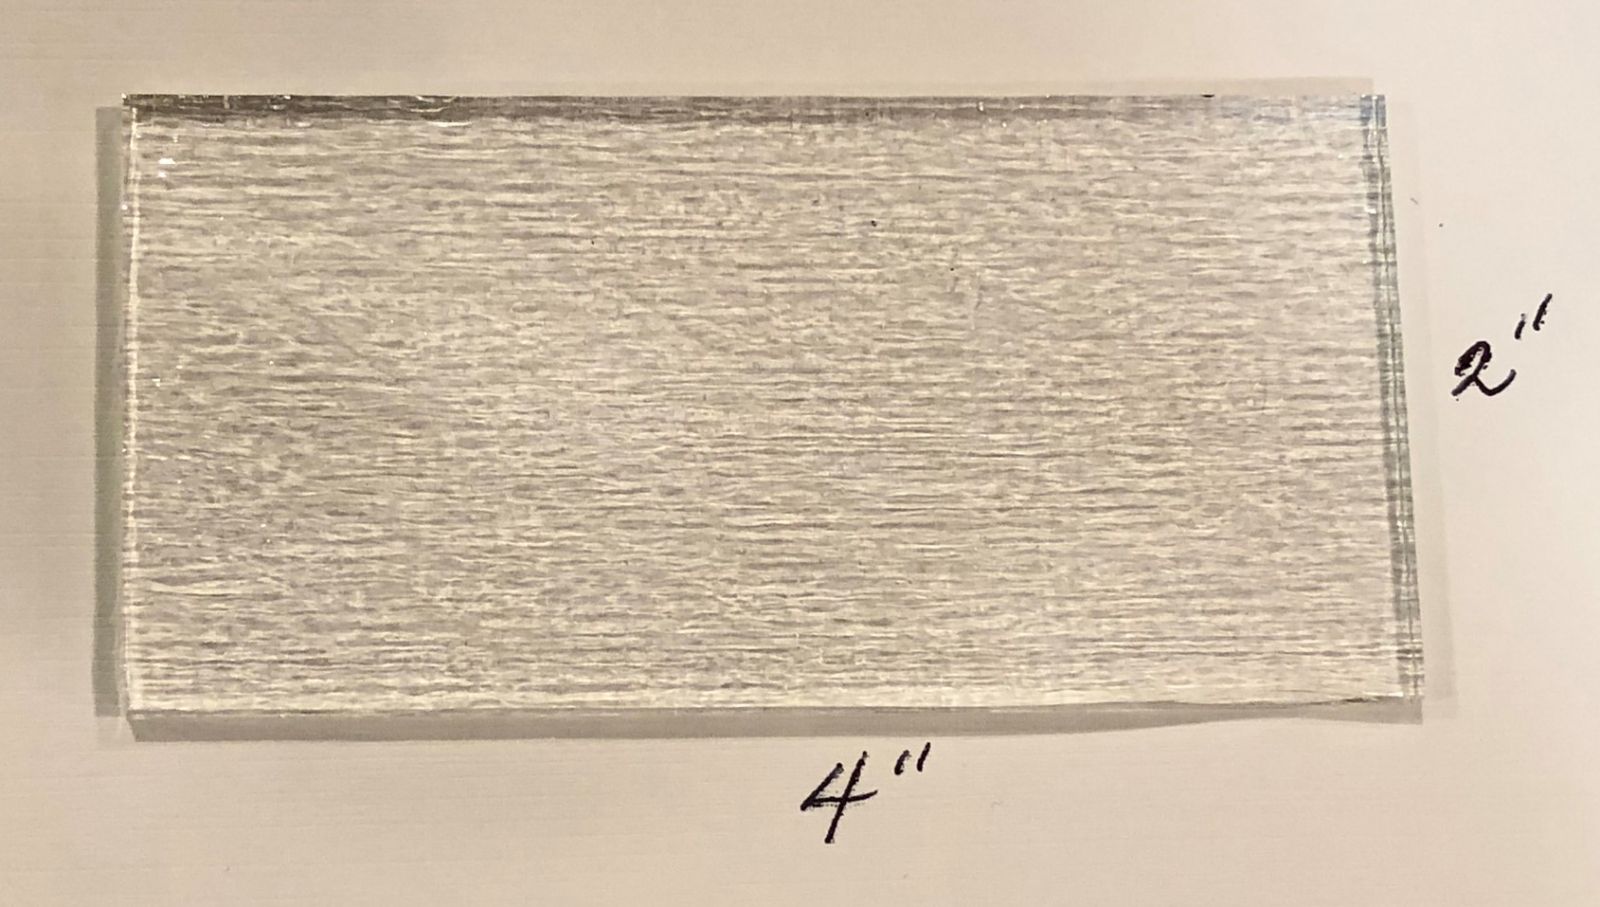
Sheet glass: glass poured out and cooled in a large flat sheet. It is then cut to the size that they sell it in.
Stringers: glass formed into spaghetti like strings (they come in several sizes).
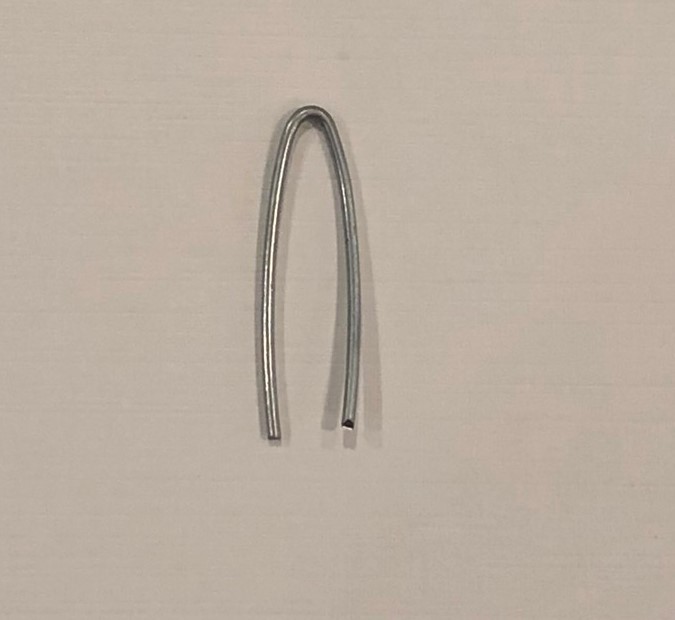
Rods: glass formed into a small cylindrical rod.

Materials & Supplies

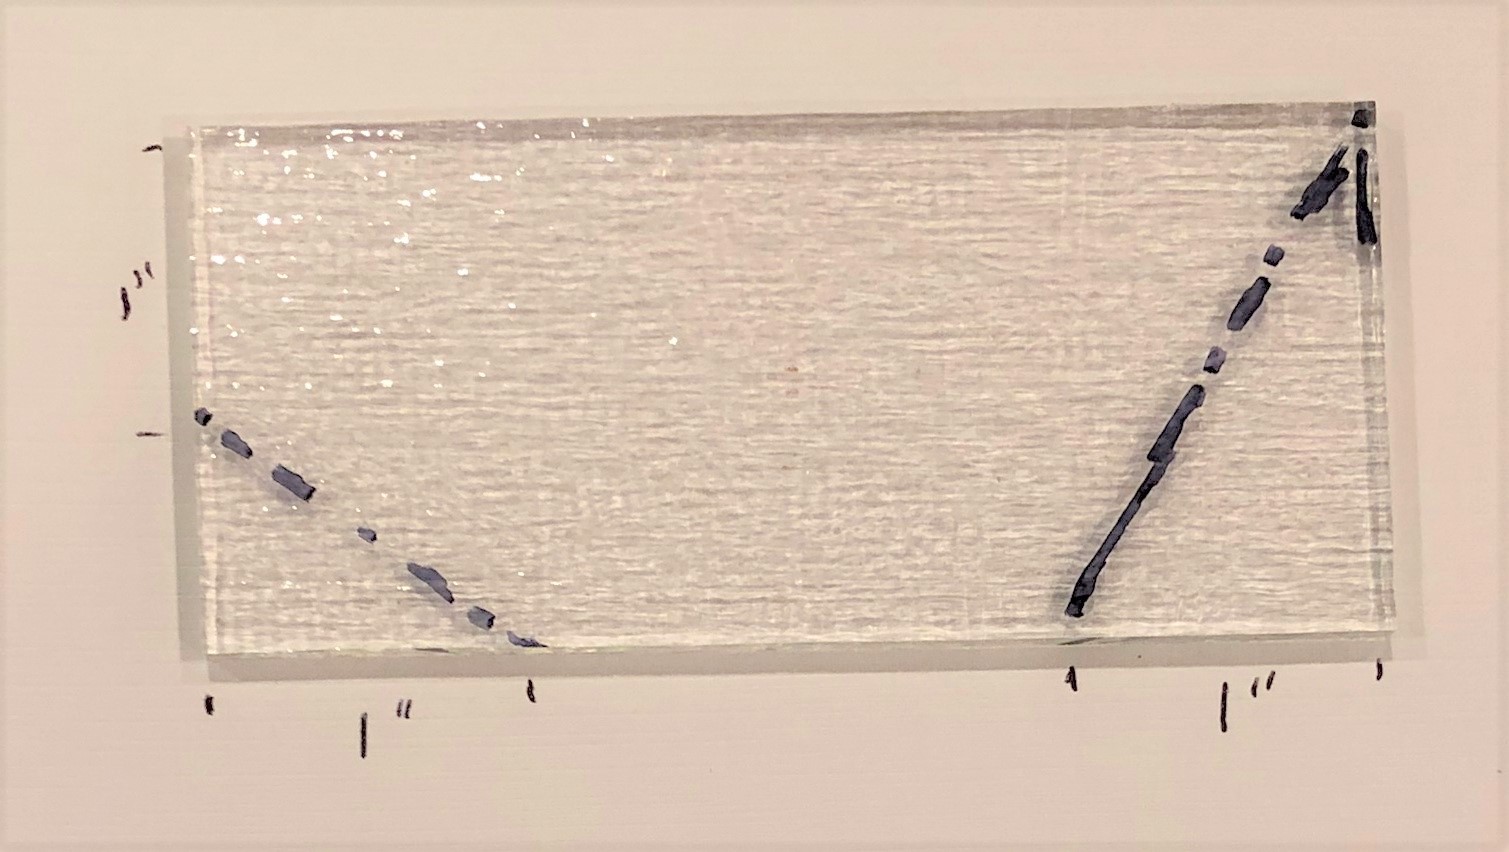
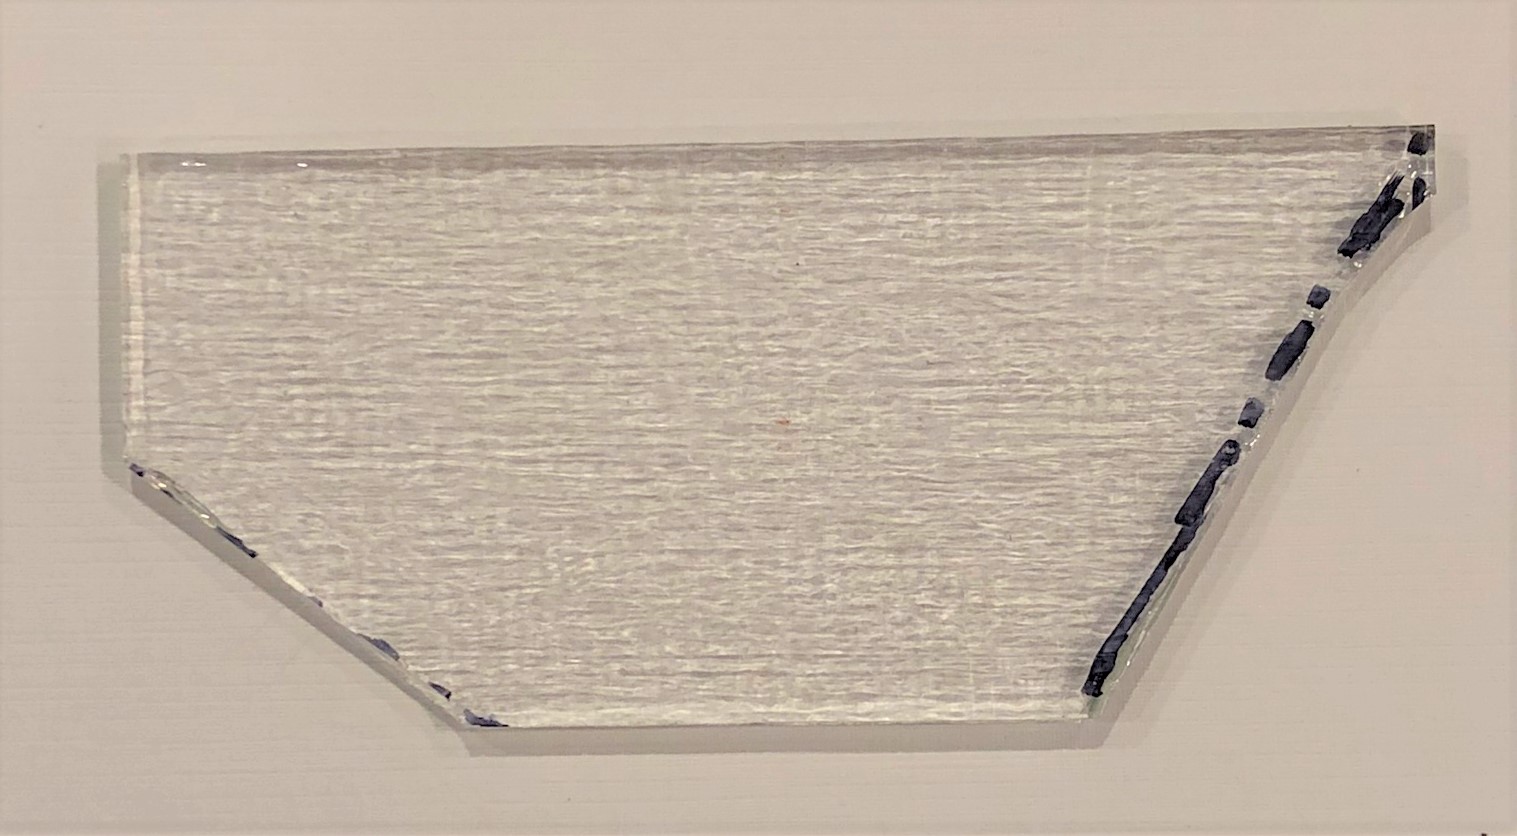
For pre-cutting (by adults):

  • Glass for fusing in several colors
  • Nippers
  • Glass cutting tools
  • Running pliers
  • Cutting oil
  • Grozier pliers
  • Straight edge or rulers
  • Eye protection
  • Gloves
  • Surface for cutting & table covering
  • Measuring tape
  • Black Sharpies
  • Soft cloths & Rubbing alcohol
  • Broom & Dustpan

For project:

  • 2 Clear glass bases, precut, per student 
  • 1 2” colored square per student
  • 1 1” colored square per student
  • 2 small colored right triangles per student
  • Colored glass scrap
  • GlassTac (workable glue – dries in 4 hours)
  • Cotton swabs & unsharpened pencils 
  • Broom & dustpan
  • Trays to transfer projects to the kiln
  • Paper plates – labeled with each students’ name to build on. To be photographed before fusing.
  • Pens or markers
  • 16-gauge wire for hangers
  • Camera
  • Kiln suitable for fusing glass
  • ThinFire kiln shelf paper


Advanced Preparation

  1. Measure how much glass you will need for the number of projects you plan to do. 
  2. Precut the base pieces in clear, 2” x 4”. Cut a few extra in case of breakage.
      
  3. Cut rectangle bottom corners as shown. 
  4. Precut the colored glass into smaller sized shapes to fit on the base.
  5. Gather scrap glass to add personalized bird accents.  
  6. Pieces needed for a single bird.
      
  • Wipe glass bases and squares with a soft cloth and rubbing alcohol with clean hands after all the pieces are precut. The cutting oil and the oil on or skin can leave a foggy reaction in the fired project that is called “devitrification” and it can’t be removed.
  • Make and fire to show a finished project during the class. 
  • When nipping rods, for dots, always have a tall container to nip into.  The little bits like to fly and can hurt.
  • Cut hangers for the birds: 2” long, then bend into U shape 1” tall hangers
  • Additional advanced preparation required just before lesson (see below).

Tips & Tricks 

  • Try everything first!
  • Build it and fire it before you take it to the class. Glass can be tricky and it good to practice a little first.  It is helpful to have a completed and unfired example to for them. 
  • Be careful not to use transparent glass under opaque glass because the transparent won’t show at all.
  • Don’t stack the glass more than 3 layers; it does best at about 6 millimeters thick.  
  • Have a safety talk every single time.
  • Get volunteers- For a class of 25 it is nice to have at least 3 adults involved.
  • Have a place for the work to dry overnight so that the glue it totally dry before moving them.
  • Take a photo of each student’s work on the plate with their name on it before it goes in the kiln.

Discussion Points

  • What is glass? An Amorphous solid.
  • What is it made from? Silica or sand. 
  • Types of glass working: stained glass (cold), fused glass & molded glass (warm), blown glass & poured glass (hot).
    • Where have they seen different types of glass in their surroundings?
    • Windows, stained glass windows
    • Glass cups, plates or mugs
    • Reading glasses
    • Glass sculpture
  • What is fusing? Melting two pieces of the same material together.
  • Types of fusing – full, partial, tack.
  • What does that glass do in the kiln? Melt, expand, cool, contract.
  • What do we call the rate at which it does its expanding and contracting?  Coefficient of Expansion.
  • Historical use of glass in art is vast, global and fun to look at. We have all seen it but maybe don’t realize what it is.  Everyday examples: stained glass in windows, kitchen dishes and art glass we see at museums or shops.

Reflection Point (Assessment of Learning Objectives)

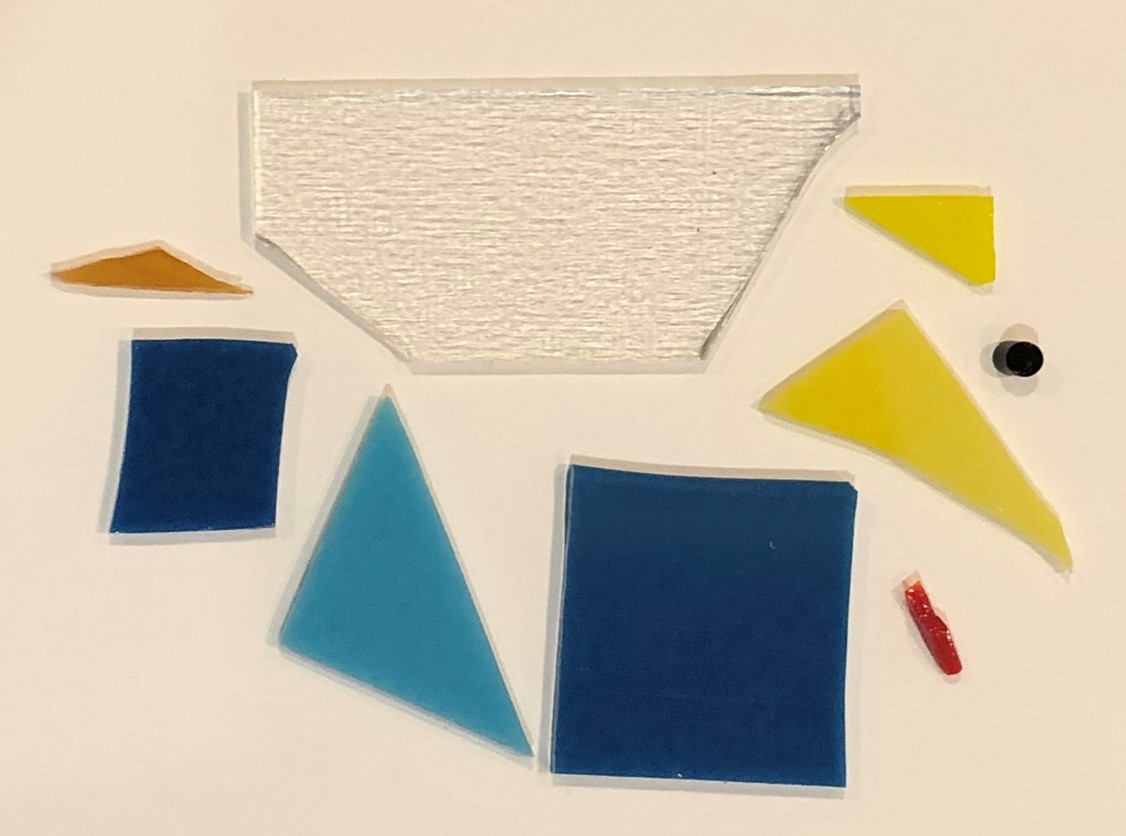
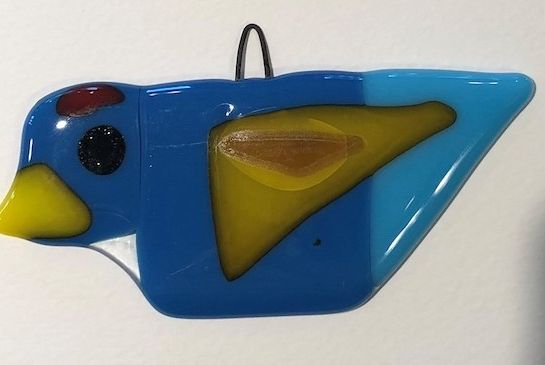
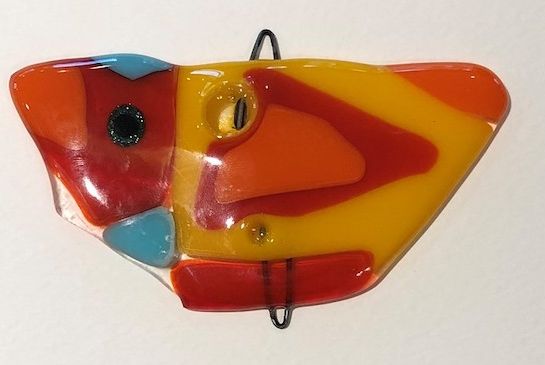
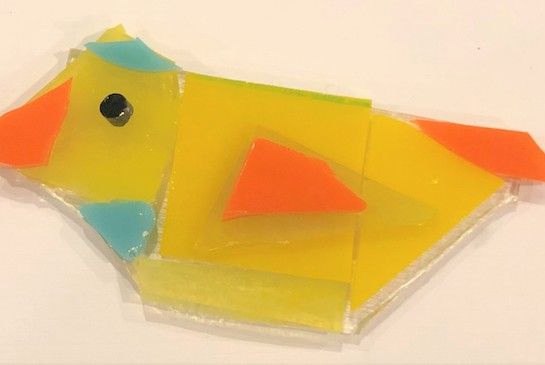
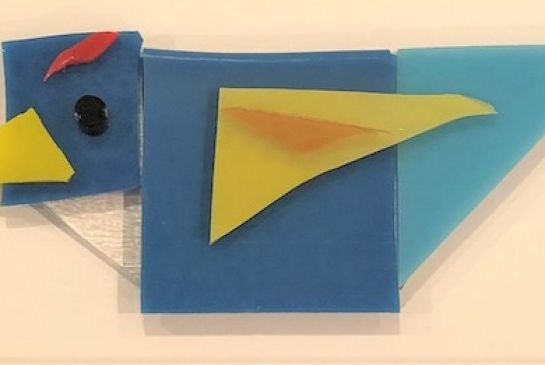
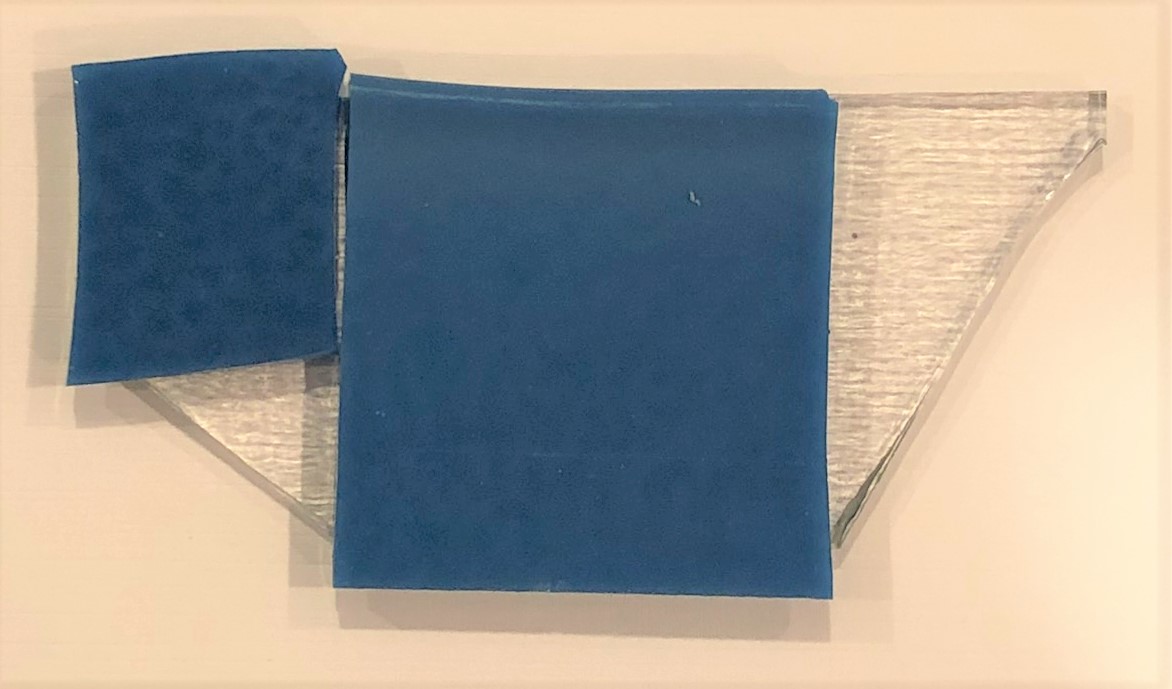
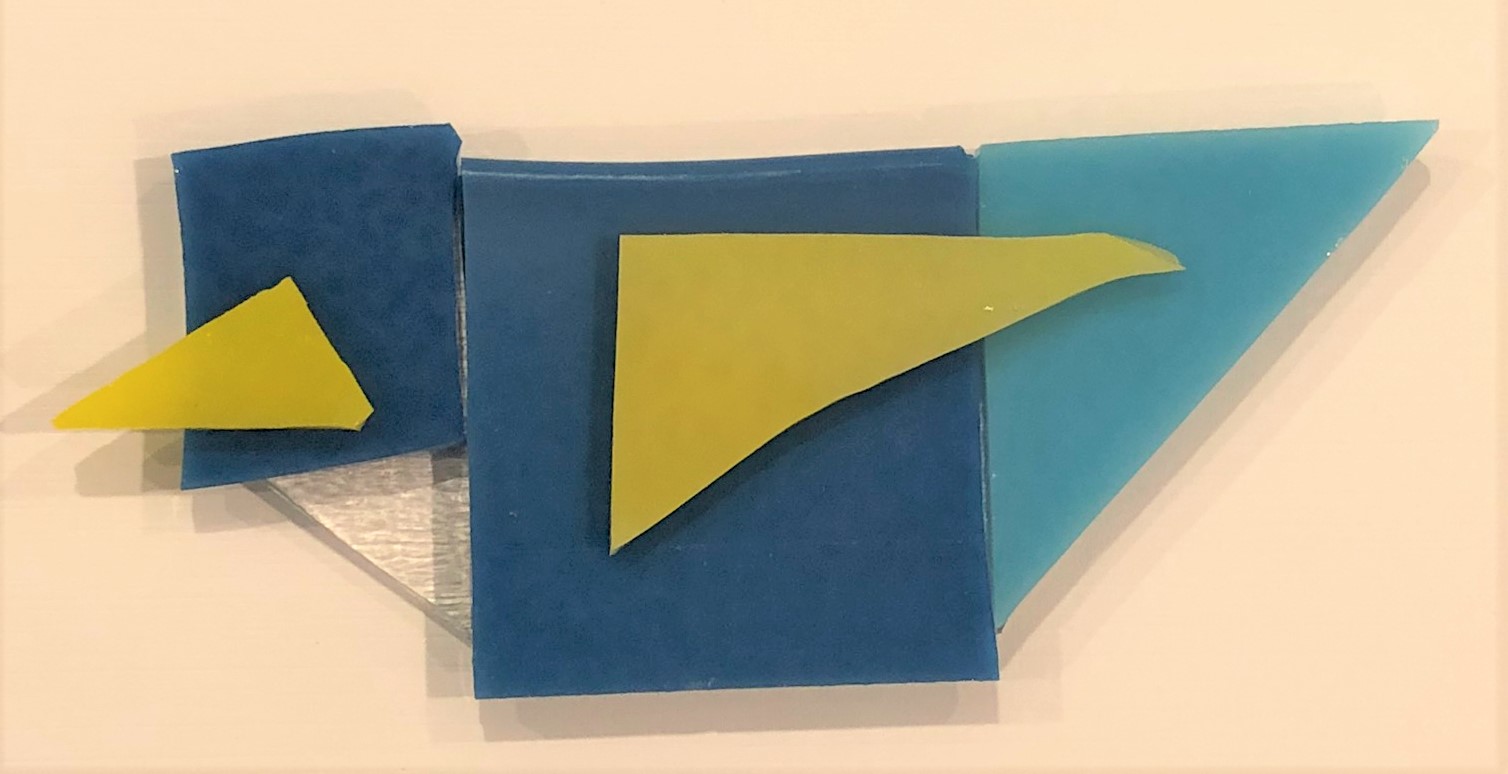
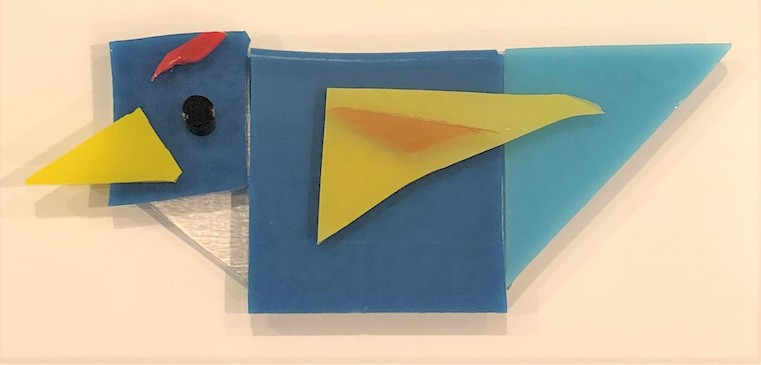
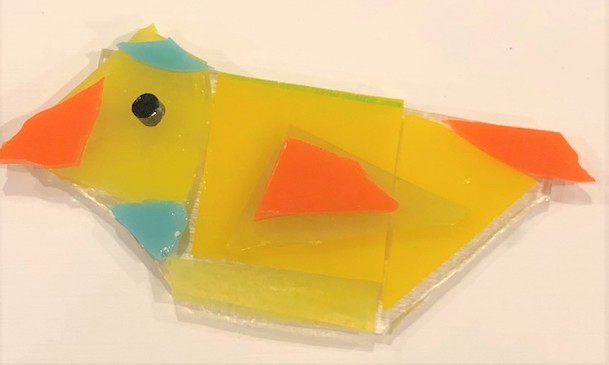
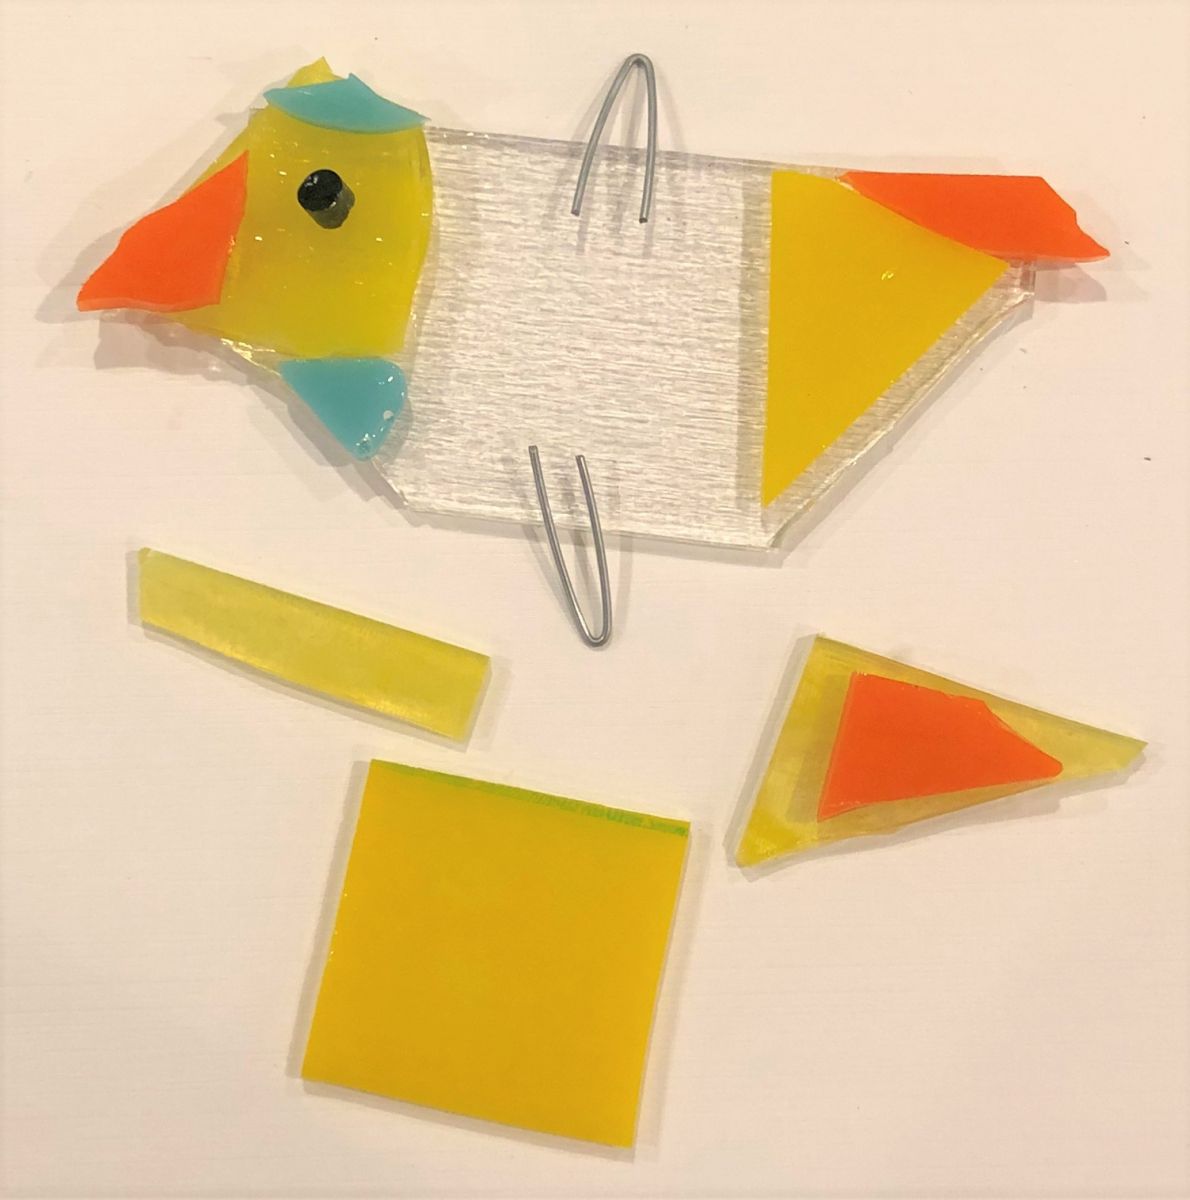
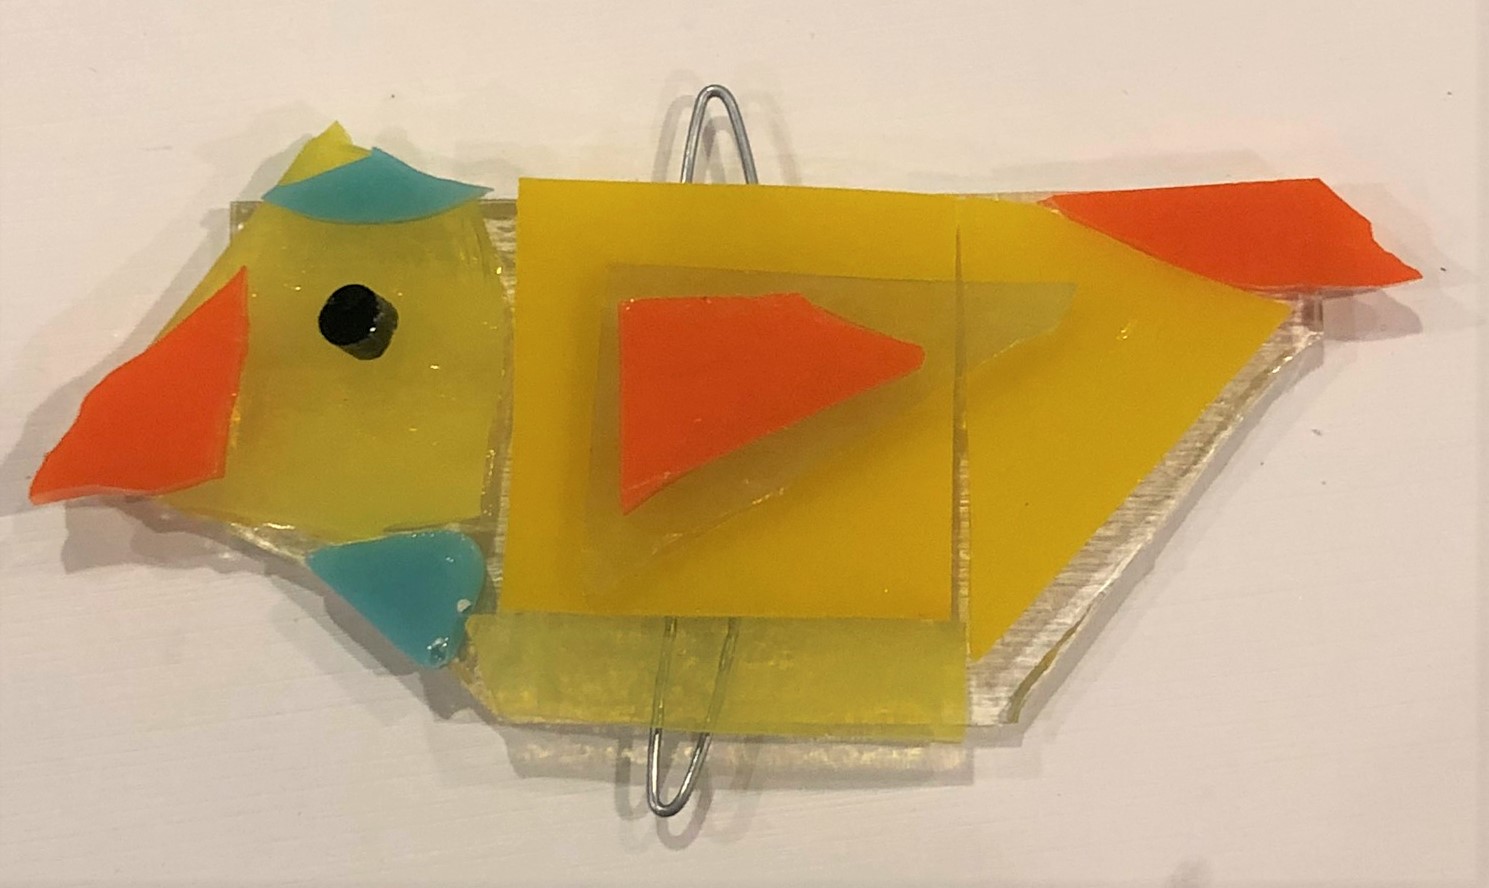
Students will create one or two fused glass birds using precut pieces and glass scrap and personalize it with scrap to add accents to their bird. They will use art vocabulary related to this lesson.

Instructions for Lesson

Additional Advanced Preparation – Just before the lesson

Artists and famous glass work pictures are easy to find. Print and share during the lesson.  

Plan enough time to set up the space you will teach in.  30 minutes is good if you had a chance to pre-prep most of it.  Set up should not include cutting the glass with the exception of some small custom nips done by the adults onlyThis should be done prior to the day of the lesson. Ask your volunteers to come help set up.

Find images of birds up-close, to show students interesting markings.

 To set up the project for the lesson:

  • Have base pieces ready to put on each child’s plate once you finish talking.
  • Squares and triangles should be in a separate container for them to choose from.
  • Have small bins ready to put on the tables with glass bits in a large assortment of colors, shapes and sizes. Use shallow bins, moving glass around using pencils to avoid digging for the pieces they want with their hands.  

Put out the images of birds for students to refer to.

  1. Before students sit down have a fairly serious safety talk about handling the glass.
    I always say how lucky we are to get to use adult art supplies and how I know they can be super careful and safe with them, I trust them …wink. They love it.
  2.  Note the importance of:  
    1. only touching one piece at a time, never holding a handful or more the one piece. 
    2. Hold the glass with the pads of the fingers on the flat part of the glass only, not the sides of the glass.  It is nice to have a few pairs of gloves for them if they are worried about touching broken glass. Use the school’s glass gloves. 
    3. Students must stay in their seats and not walk around for more glass.  
    4. Instruct them to be very careful to not drop or spread the glass on to the floors or non-project surfaces and if something does drop tell an adult asap. 
  3. Hold up pieces of glass to the light to demonstrate opaque and transparent glass.  
    1. What happens when 2 pieces of transparent glass are layered? Their colors blend.
    2. What happens when an opaque piece is on top of a transparent piece? It covers the transparent piece’s color.
    3. What happens when a transparent piece is put on top of an opaque piece? It shows the opaque piece’s color.
    4. How about two opaque pieces? Their colors don’t blend.
  4. Demonstrate using a pencil to move the glass around in the bins until they find the piece that they want.  Pick it up carefully holding it on the flat sides.  
  5. Demonstrate for them how this bird will be constructed.  
    a) Starting pieces
    b) Place large square in center and small square on top left of base.
    c) Place large rectangle on top right for tail and small rectangles for wing and beak.
    d) Add scraps and dot for accents and eye.
      
      
  6. Have them write their names on the plates with marker. Tell them to keep the work on this for the entire project because it makes it easier to make sure they get their own work back.  
  7. Hand out the bases
  8. Have students choose squares and triangles for their base bird, then add small triangles and scrap for accents.  Give them several minutes with this step.
  9. As you walk around check to see that they are handling the glass safely.
  10. Now after they kind of know what they want they can you the GlasTac (glass glue) to secure the small glass bits onto the squares and big triangle.  (Do not glue the big square to the base, you will need to remove it later to add the hanger.)

    Once the students are finished:
  11. Take a picture that shows each student’s piece and their name for identification after firing.  This makes it much easier getting them back to students.  
  12. Insert (sandwich) hooks between bottom clear glass and top colored glass bird body, if the work is to be hung up. Glue with GlasTac.
      
  13. If students made two birds to be hung together, remember to put two hangers in the top bird.
  14. Do not move the pieces before they dry!  They will all slide apart.  Allow the glass pieces to dry for 4 hours or more.  GlasTac will dry quite hard.  
  15. Load all work into the kiln using Thinfire or other shelf protectant paper.
  16. Using appropriate ramp and hold program, fully or partially fuse their work. 
  17. Put them back on the appropriate plates after they have been fused, cooled and removed from cleaned out of the kiln.

References and Attributions

Lesson written by Juliette Ripley-Dunkelberger, from her Glass 101 class.

Notes for Educators

21st Century Thinking Skills
Goal setting, observing, making connections, visualizing, sequencing, comparing/contrasting, finding evidence, problem solving, cause and effect, decision making, evaluating.

WA State Learning Standards
(VA:Cr1.1.3) a. Elaborate on an imaginative idea.
(VA:Cr2.2.3) a. Demonstrate an understanding of the safe and proficient use of materials, tools, and equipment for a variety of artistic processes. 
(VA:Re7.1.3) a. Speculate about processes an artist uses to create a work of art. 
(VA:Re7.2.3) a. Determine messages communicated by an image:  This happens if you talk about the meaning of the heart image.
(VA:Re9.1.3) a. Evaluate an artwork based on given criteria.
(VA:Cn11.1.3) a. Recognize that responses to art change depending on knowledge of the time and place in which it was made.

Arts Integration Opportunities
Materials science, color/light theory, life sciences.

Please note:  These lesson plans are intended for non-profit use only. Use of these plans for commercial purposes should give attribution to the Issaquah Schools Foundation and be accompanied by a nominal donation at www.isfdn.org/donate. Thank you.

Donate Now

Artistic Support Reference Materials

Loading...
Loading

Fueling Success for Every Student, Every School