loading Skip to Main Content

Printmaking with Contour Lines

After observing how line is used in Op Art to suggest optical illusions, students will draw contour lines around their hands and make a styrofoam master block for printing. Recommended for 5th Graders.

Elements of Art

Line: the flat path of a dot through space used by artists to control the viewer’s eye movement; a long narrow mark or stroke made on or in a surface; a thin mark made by a pencil, pen, or brush. The repetition of lines (and/or shapes) is used to create texture, pattern, and gradations of value. A Contour line defines a form or the edge of an object’s outline.
Space: the illusion of depth or space on a flat surface. Positive space is the actual space taken up by the line, shape, or form. Negative space is the empty space surrounding a shape, figure, or form in a two- or three-dimensional artwork .

Principles of Design

Contrastuse of differing elements to create interest. In this lesson, contrast is demonstrated in color with the use of white (lines created when printmaking) and the ink color and with lines in the difference between the straight and curved lines.
Pattern: the repetition of line throughout the work of art.

Additional Vocabulary

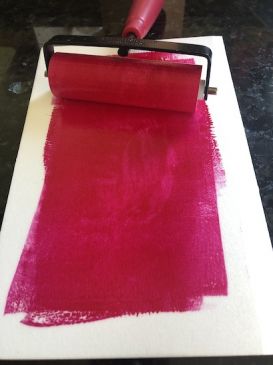
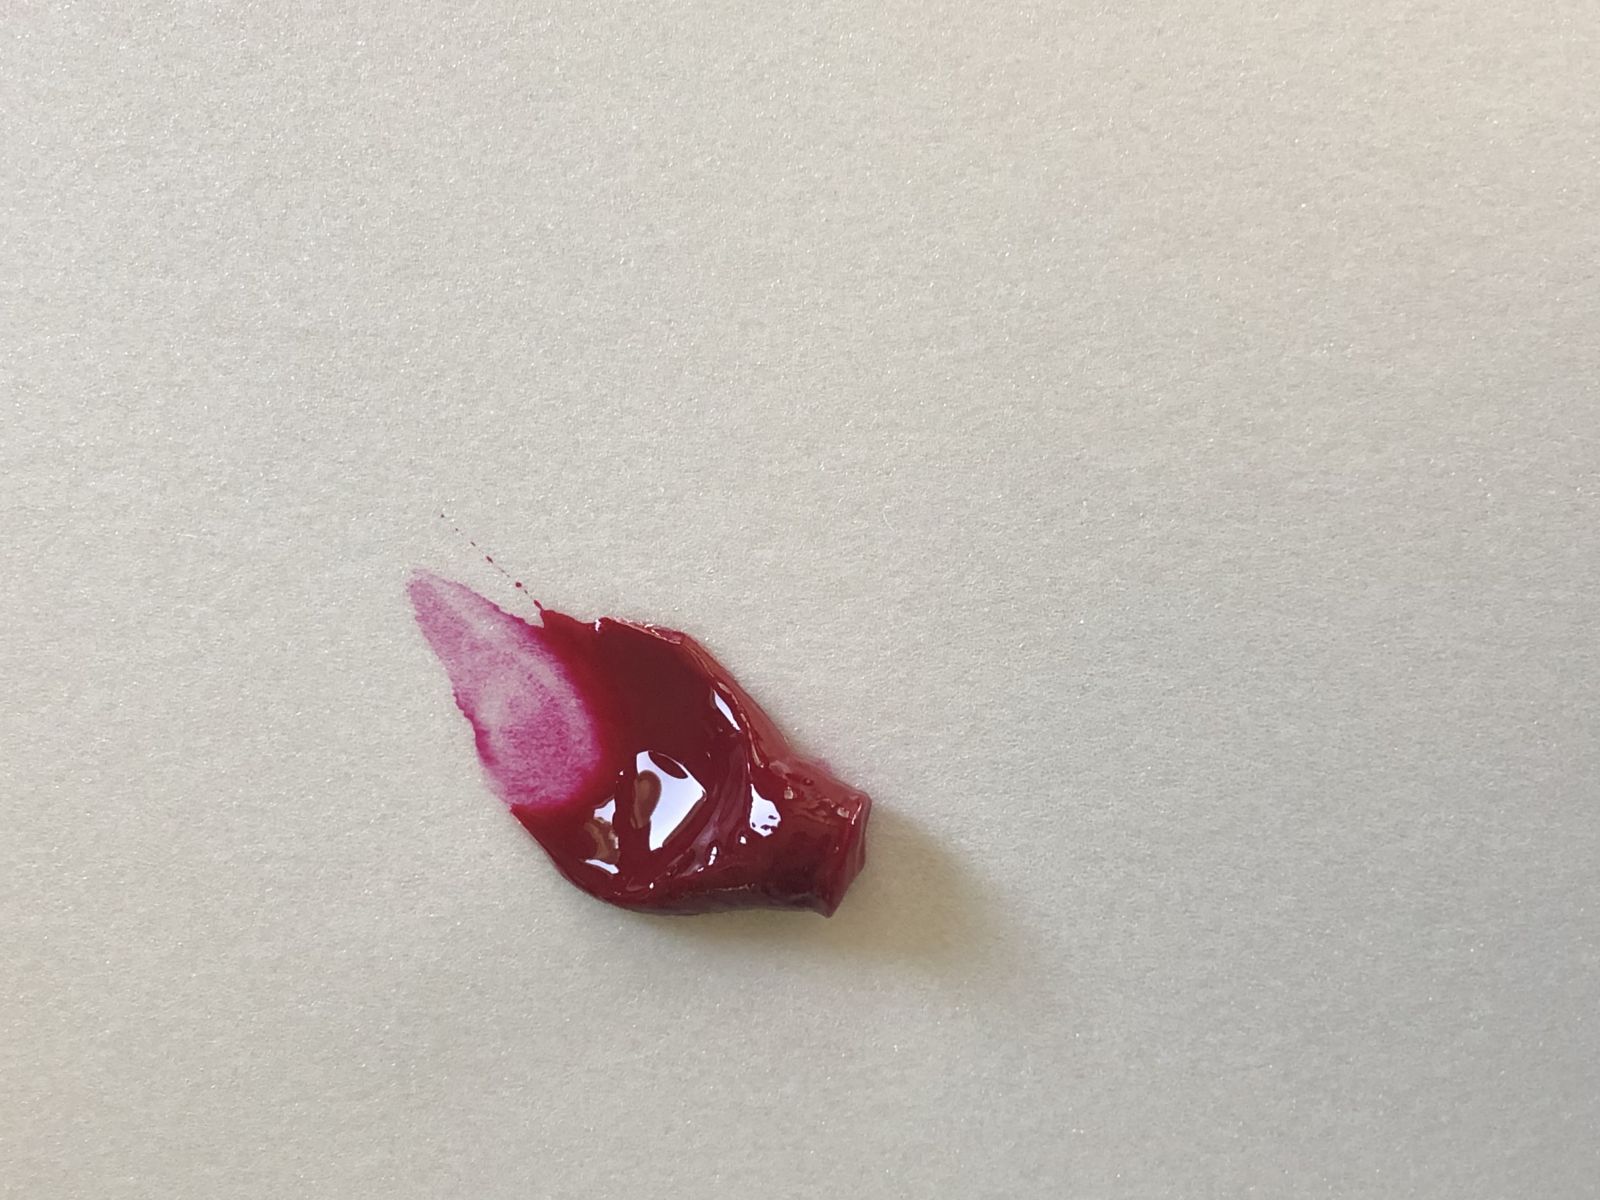
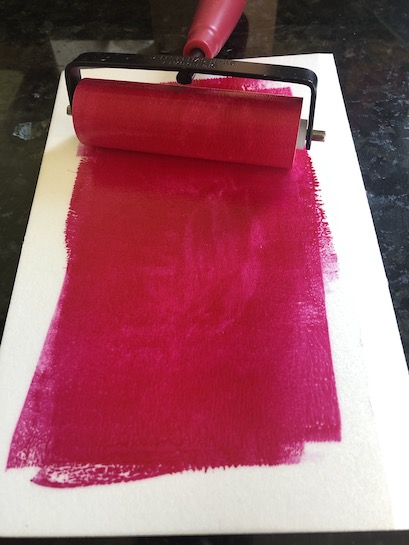
Brayer: a hand tool used in printmaking to spread ink.
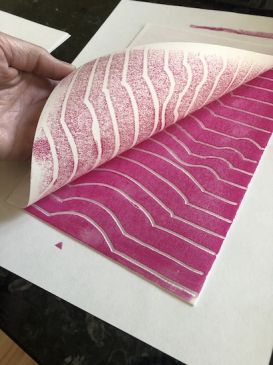
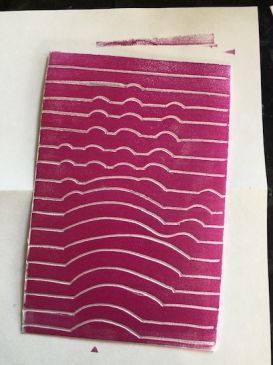
Printing Plate: the surface that is carved or etched to create the image that will be printed.

Materials & Supplies

  • Class set or more of white drawing paper, 8.5”x5.5”         
  • Class set or more of Scratch-foam board 8.5”x11’, cut in half
  • Class set of rulers
  • Class set of black permanent markers
  • Class set or less of thick acrylic sheets, wide enough to accommodate a brayer
  • Class set of pencils, erasers
  • Tubes of water-based block printing ink: black or blue
  • Images of Op Art that use contour lines in 3-dimensional designs
  • Class set (or less) of brayers

Context (History and/or Artists)

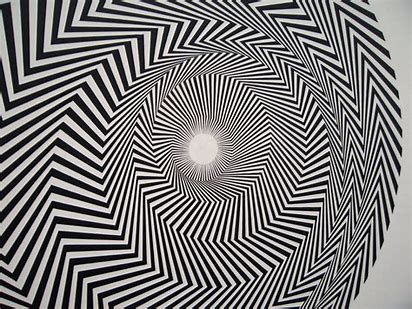
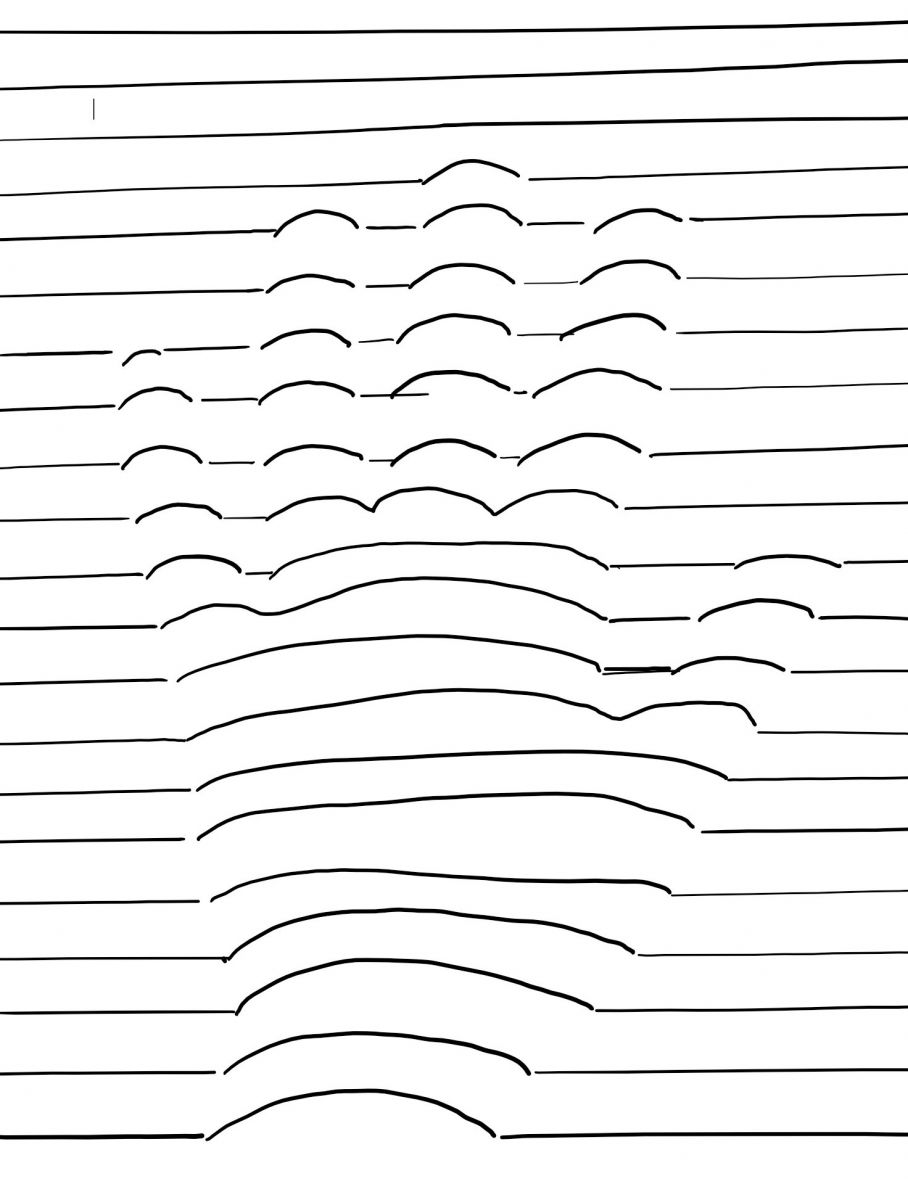
Op Art is an abstract style that uses optical illusions often comprised of geometric patterns of line & shape, contour lines implying movement which suggested a 3-dimensional surface. Op Art is short for ‘optical art’.  The word optical is used to describe how our eyes see things.
Born in England in 1931, Bridget Riley aspired to be an artist. She attended the Royal College of Art. After teaching children briefly, her style changed from impressionist painting to an evolved style exploring the dynamic potentialities of optical phenomena, which produce a disorienting physical effect on the eye. She became very successful as a painter. Others adopted this style, Op Art, during the artistic revolution of the 1960s. She currently lives and works in England and France.
Bridget Riley   Bridget Riley Op Art

Advanced Preparation

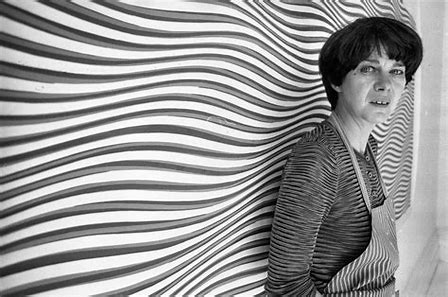
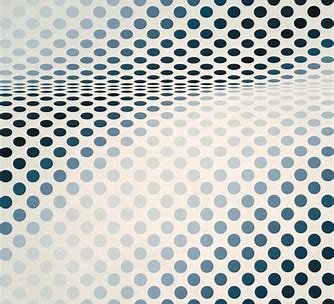
Find images of Op Art that manipulate space using lines (the work of artist Bridget Riley, specifically “The Emergence of Color,” can be viewed at the Op-art website), to show students.
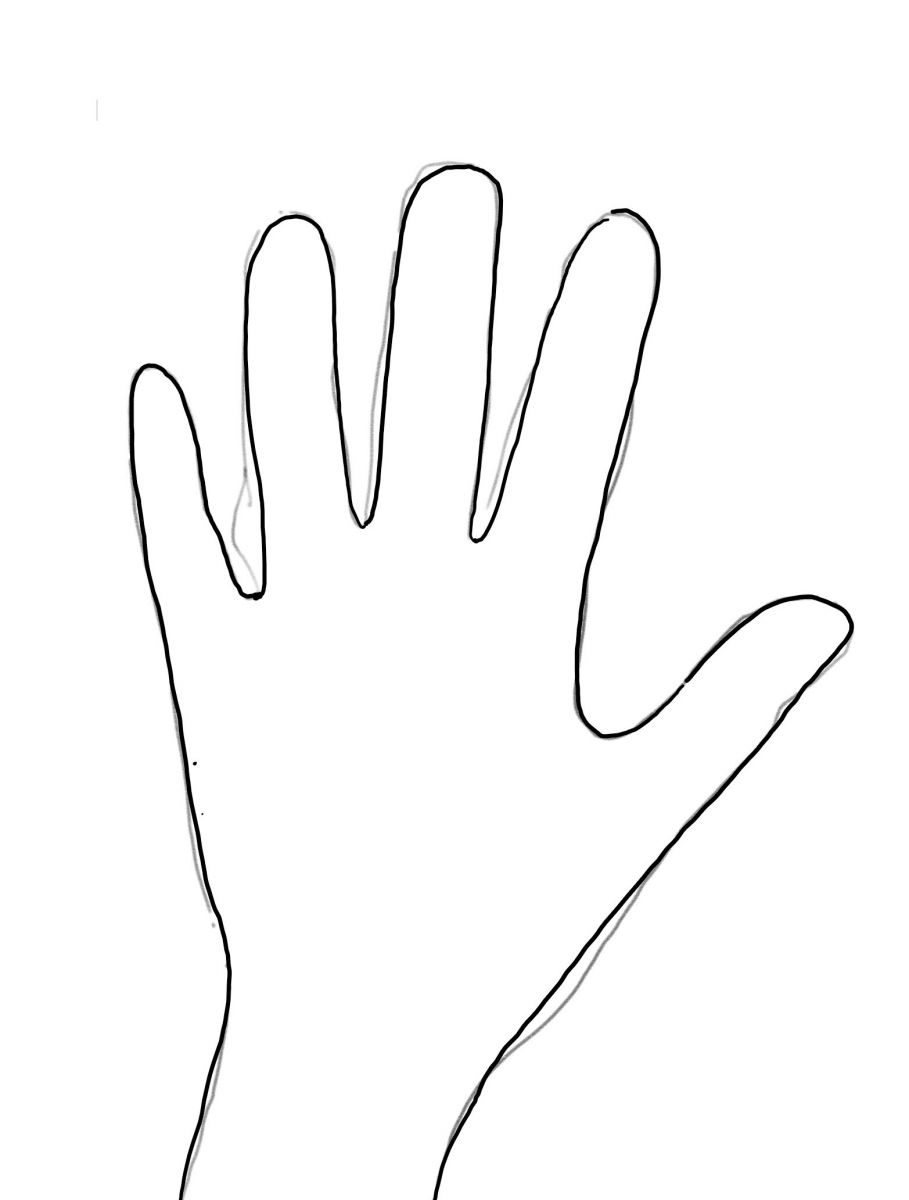
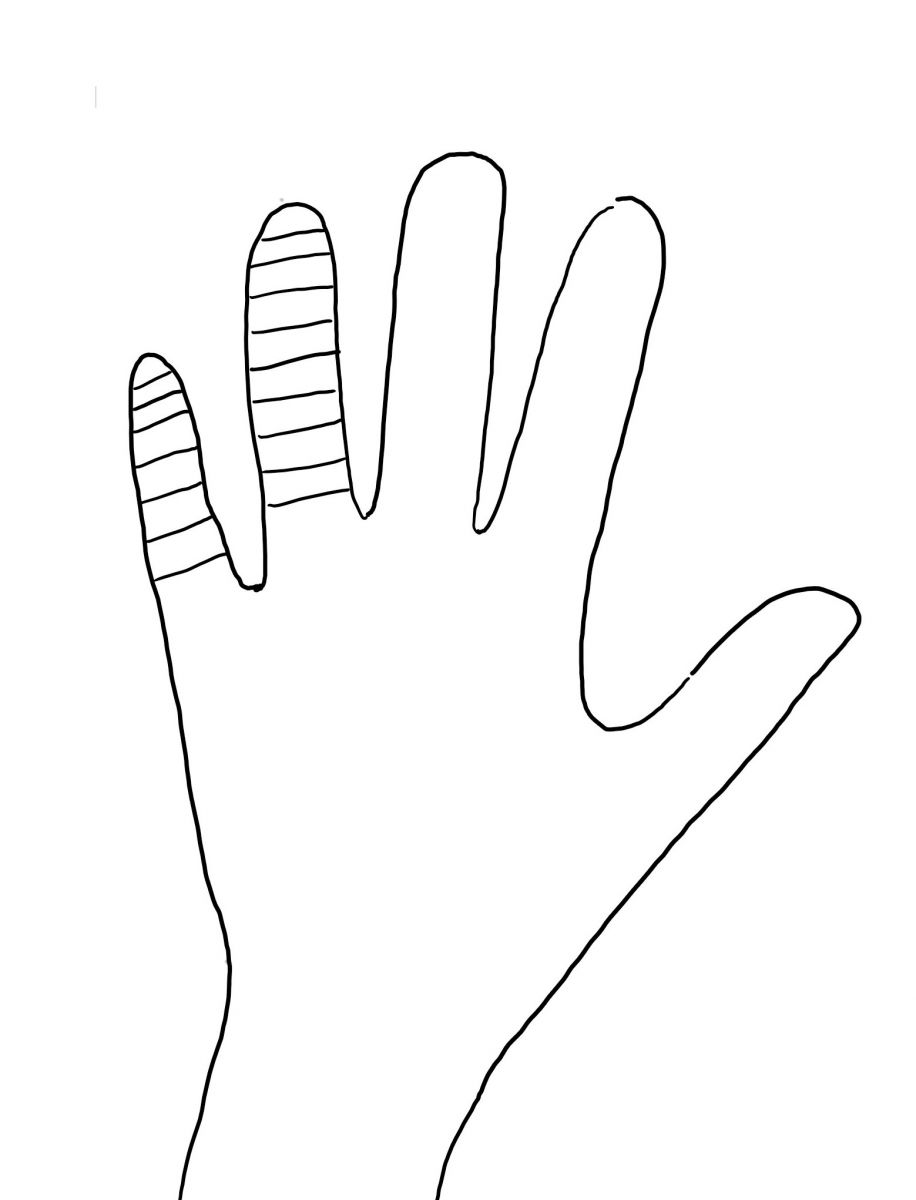
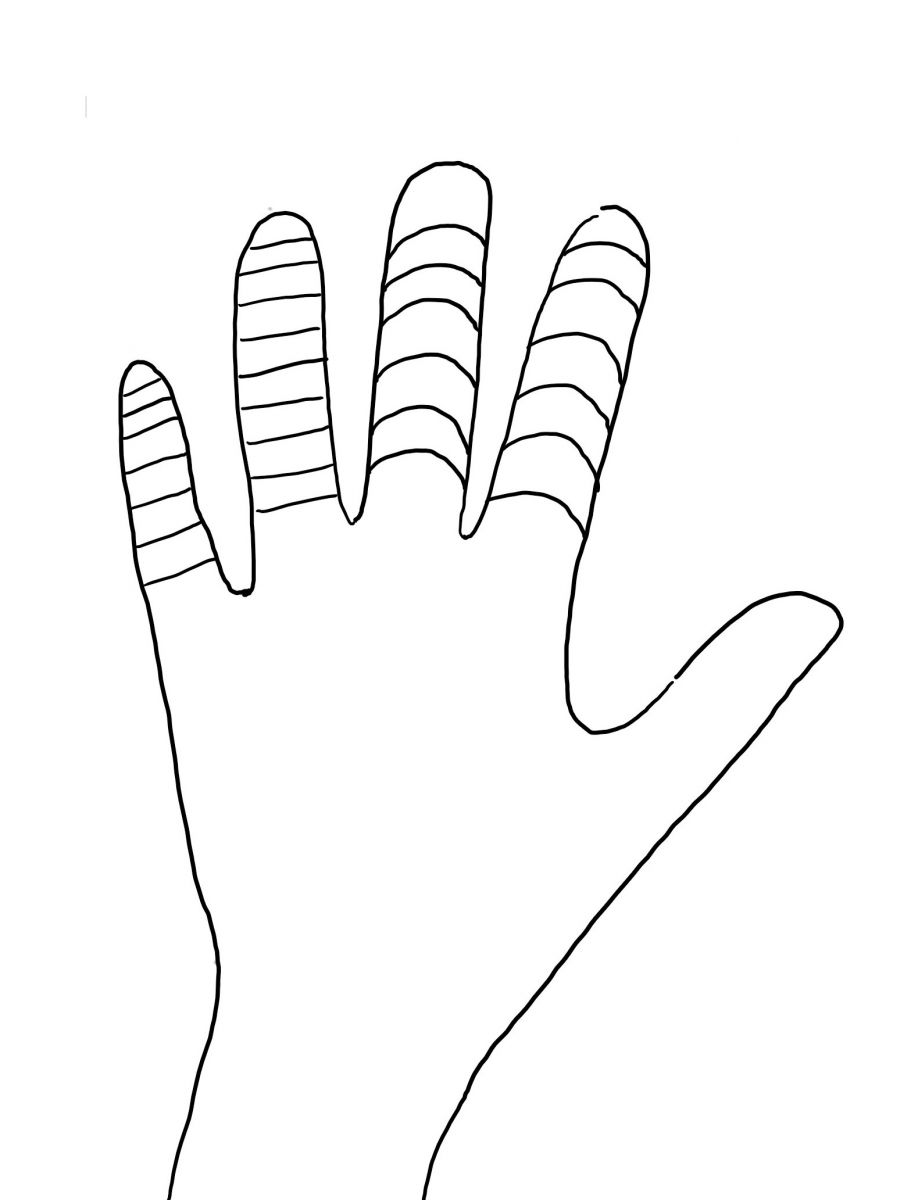
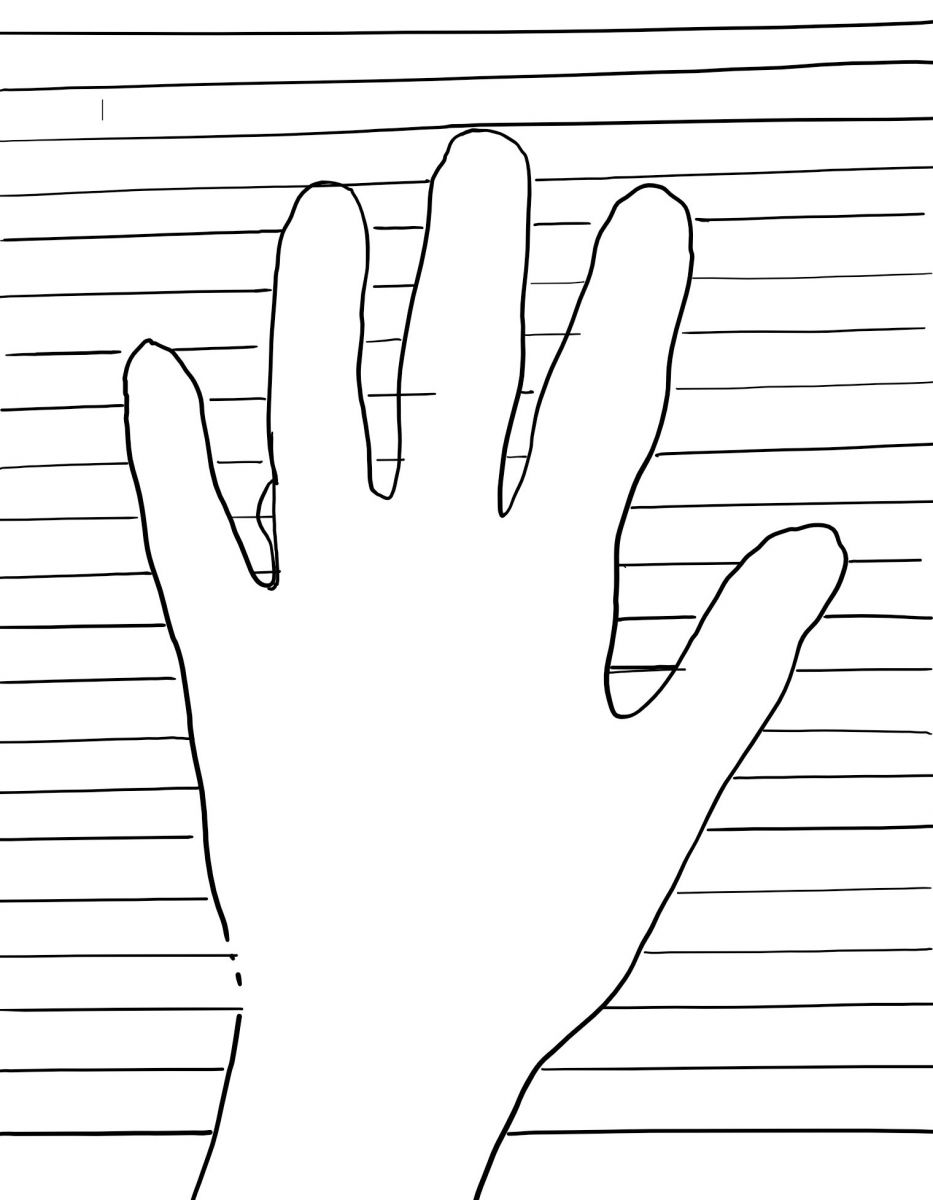
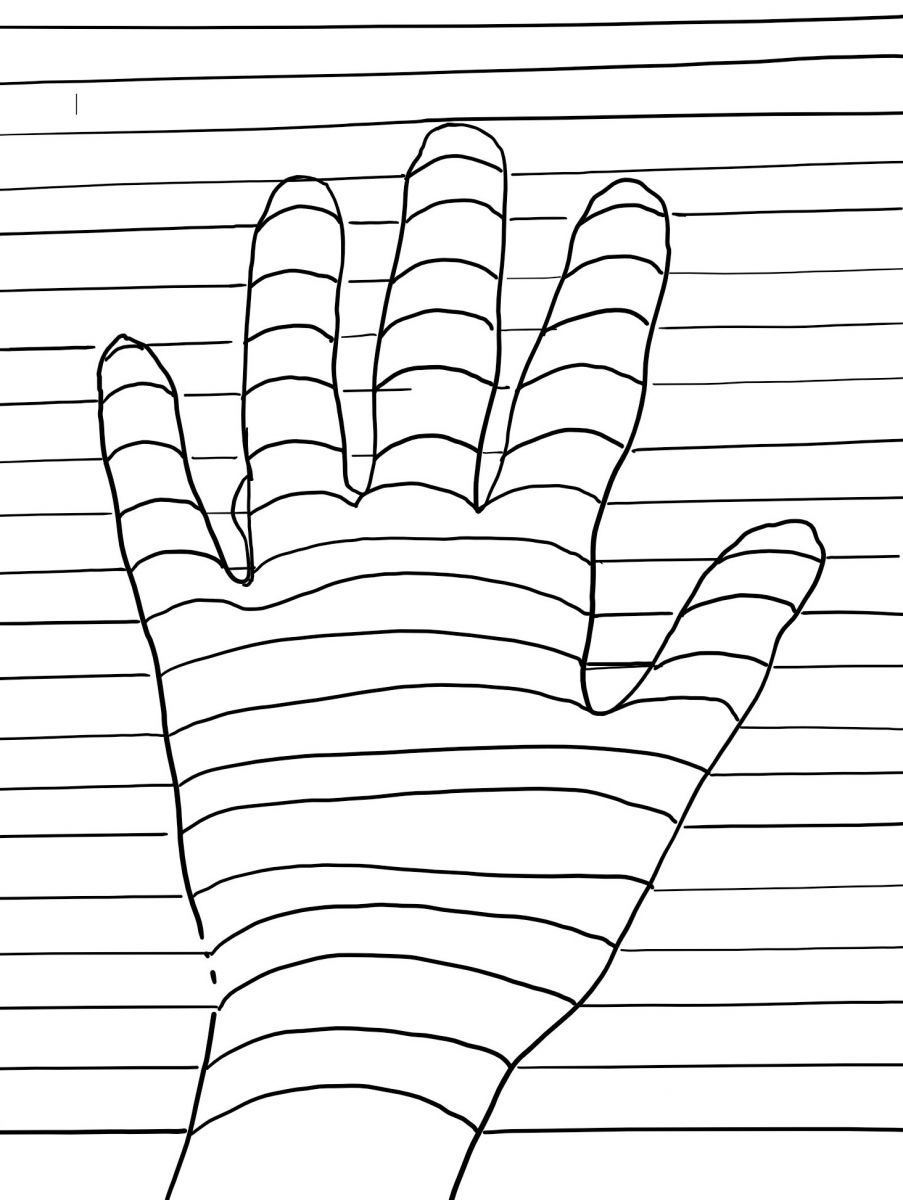
Draw around your hand onto a large piece of paper to prepare for the contour line demonstration.
If possible, it’s a good idea to create a finished example before teaching this lesson (this provides an example to show students and also  allows you to get a better feel for small details that might be helpful to point out to students as they are working).

Tips & Tricks

  • When not using the brayer, turn it upside down to conserve ink & keep the table clean.
  • Remind students that marker lines won’t print. They are to guide the “carving” i.e. drawing using a dull pencil or stylus.
  • Don’t substitute tempera paint for printer’s ink. It dries too quickly.
  • Don’t allow students to squirt their own ink. They usually overdo it.
  • You’ll know you have too much ink on the Plexiglas if it has ripples on the surface. You’ll know you don’t have enough if it’s difficult to coat the sheet of Styrofoam.
  • Even if students share brayers & acrylic sheets, they may need a fresh shot of ink for each print.
  • Printer’s ink isn’t waterproof, even after it dries. If you mount these prints on construction paper, don’t use liquid glue which can soak through & cause the ink to run. Staples or glue sticks work best.
  • For fun, you can make the student’s first print with black ink & squirt blue ink directly into the remaining black ink when making the 2nd print. This changes the colors slightly.

Discussion Points

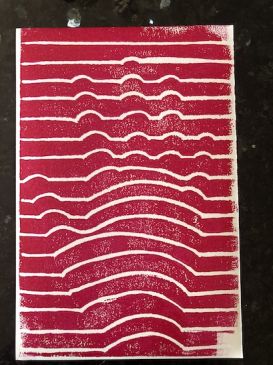
Using examples of Bridget Riley's work, other Op-art and/or the example created for this lesson, point out how the lines curve or angle to suggest a 3-dimensional surface. Point out how repetition of lines creates movement that allows the eye to travel across the suggested surface.

Reflection Point (Assessment of Learning Objectives)

Students will draw their hands using only contour lines. They will carve/draw/transfer this drawing into the Styrofoam scratch foam sheet to create a master block. They will make prints from the masters, using appropriate tools to do it. They will view examples of Op Art similar to the prints they will create.

Instructions for Lesson

  1. Using the information above and online resources, discuss Bridget Riley and OP art with class. 
  2. Show a finished example of this lesson, pointing out how the curved lines give the hand a sense of volume even though the edges of the hand are not drawn around.
  3. Using your traced hand example, demonstrate making straight lines on a couple fingers.  How did that work?  What would work better? (Taking the time to do this step is important because making the fingers look right can be harder than you might think!)
    hand  Hand with straight lines  Hand with contour lines
  4. Demonstrate drawing contour lines, as though they are going around an object and see how it looks compared to straight lines. 
  5. Discuss what worked better and why. 
  6. Have the students trace their hands onto their paper and stop them to show the next steps.
  7. Using a ruler, draw horizontal lines with the pencil that cross the background “behind” the hand drawing. These lines can be spaced 1- 1.5 cm apart but should be consistent. You can line up the ruler along the last horizontal line drawn to make it easier, if students don’t have much time or experience with a ruler. See video link.
    Hand horizontal lines behind hand horizontal lines and contour lines on hand
  8. Using the pencil, connect the horizontal lines on either side of the hand with slightly curved lines that simulate the shallow curve of the back of the hand & individual fingers.  
  9. Once most of them have completed their horizontal and contour lines demonstrate putting the paper on top of the Scratch-Foam sheet and firmly tracing the horizontal line, then contour of the hand and the horizontal line on the other side. 
  10. DO NOT trace an outline of the hand into the Scratch-foam sheet.
  11. Press into these lines with the dull pencil, correcting any flatter marker lines with a better curve. This may take some pushing as this foam is dense.
  12. Move your demonstration to a table with students gathered around. Squirt a ‘slug’ (about 2” long) of printer’s ink onto the center of the acrylic sheet. 
  13. Explain that in printmaking the raised areas on our “plate” will grab ink and make a print.  The recessed areas, our hand lines, will not grab ink and will leave a white line where no ink is transferred. 
    a.) The positive and negative space become switched from the paper version of their hand to the printed version of their hand.
  14. As you roll the brayer vertically & horizontally to spread the ink in an even layer, remind students:
    a.) You are loading the brayer with a layer of ink, not trying to paint the acrylic sheet.
    b.) Keep the brayer from getting too close to the edges of the acrylic sheet.
    slug of printing ink  brayer spreading ink
  15. With the brayer fully inked, roll it across your Scratch-foam sheet. Carefully lay white paper over the sheet & smooth every part of it in a rubbing motion. Do Not move the paper once it’s been laid on the sheet.
        
  16. Peel it back to show the print. Have students examine the print with you for evidence of good pressure.
    a.) Not enough pressure (paper won’t absorb ink). (Middle example above could be not enough pressure or not enough ink.)
    b.) Too much ink, the lines will be filled up.
    c.) Ink distributed unevenly at edge of paper, pressure not distributed evenly out to edge of page (example above at right).
    c.) Remind them that no print is perfect & a printmakers typically makes multiple prints to get the best ones.
  17. Have students return to their desks with a few sheets of white paper. When they are ready for ink have them hold up 1 finger (if it’s the first print) to signal they need ink on their acrylic sheet. Be sure everyone has made 1 print before you squirt for a 2nd print (they will hold up 2 fingers when ready to do another).
  18. Make as many prints as you have time or ink to make. Have students choose their best 2 or 3 prints. (They dry quickly.)
  19. Clean up: have students drop used acrylic sheet & brayers into the sink or an empty bucket. They rinse off easily in water, even after they dry.

References and Attributions

Lesson written by Cynthia Moring. YouTube instructional video: https://www.youtube.com/watch?v=oMgLiU-hWUo, additional websites offering examples of Bridget Riley’s artwork and background: www.op-art.co.uk/bridget-riley/,https://www.artnet.com/artists/bridget-riley

Notes for Educators

21st Century Thinking Skills
Persisting, Creating, Reflecting, Observing, Making Connections, Sequencing, Contrasting, Finding Evidence, Analyzing.

WA State Learning Standards
(VA: Cr2.1.4) a. Explore and invent art-making techniques and approaches.   This happens when learning the block printing method.
(VA: Cr2.2.5) a. Demonstrate quality craftsmanship through care for and use of materials, tools, and equipment. 
(VA: Cr3.1.4) a. Revise artwork in progress on the basis of insights gained through peer discussion. This is achieved as you analyze how effectively the ink is transferred to the print.
(VA: Re7.1.5) a. Compare one's own interpretation of a work of art with the interpretation of others. This happens when students’ prints are displayed.
(VA: Re9.1.4) a. Apply one set of criteria to evaluate more than one work of art. This happens when you assess whether students learned the objectives of the lesson.
(VA: Re9.1.5) a. Recognize differences in criteria used to evaluate works of art depending on styles, genres, and media as well as historical and cultural contexts. This happens when Op Art is compared to more realistic styles of art & yet still retains cultural value to its era. (Modern, clean lines, innovative, optical illusions).
(VA: Cn10.1.4) a. Create works of art that reflect community cultural traditions. This happens if the community and culture of the 1960s (Op Art’s genesis) is revealed in detail.

Arts Integration Opportunities
Vocabulary words can be included in spelling lists.
Good procedural writing prompt.

Please note:  These lesson plans are intended for non-profit use only. Use of these plans for commercial purposes should give attribution to the Issaquah Schools Foundation and be accompanied by a nominal donation at www.isfdn.org/donate. Thank you.

Donate Now

Artistic Support Reference Materials

Loading...
Loading

Fueling Success for Every Student, Every School