loading Skip to Main Content

Mouse Shapes

Using paper geometric shapes, students will “build” an image of mice. Recommended for Kindergarten.

Elements of Art

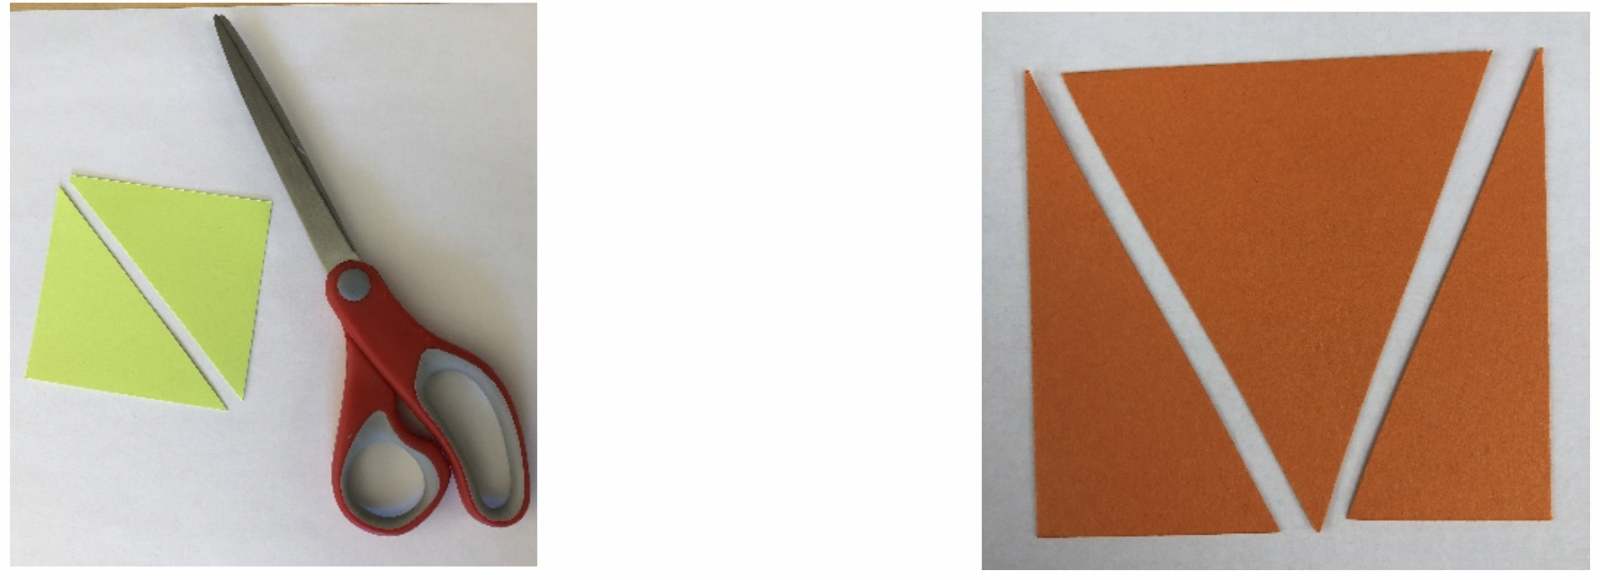
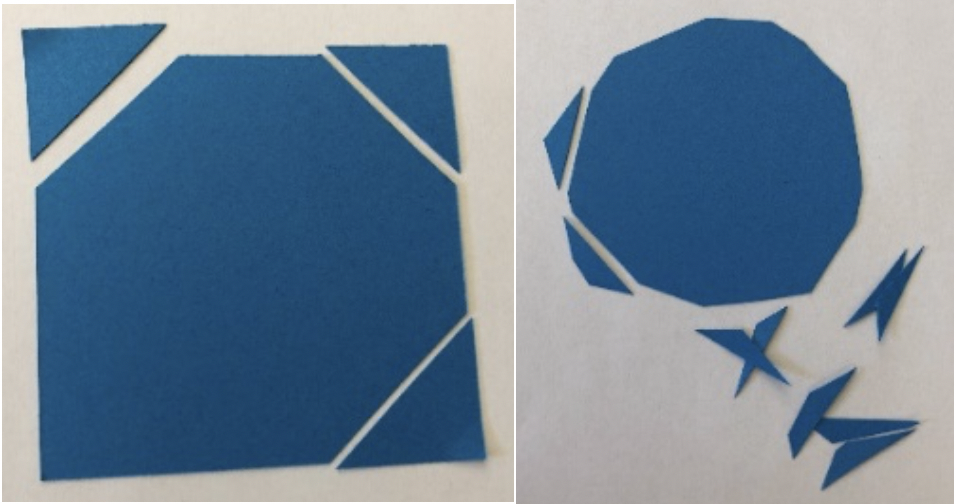
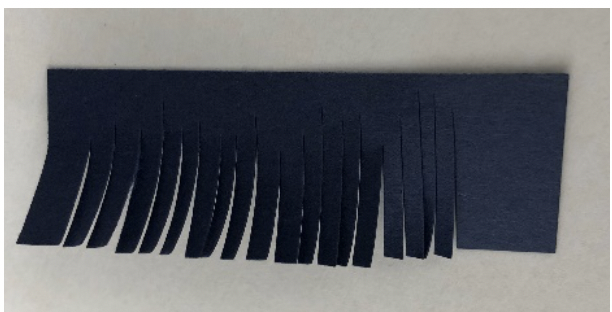
Shape: a flat figure created within joined lines. Geometric shapes are used in this lesson: symmetrical, composed of straight lines and/or curved arcs. Organic shapes are asymmetrical and irregular, based on nature. In this lesson torn paper creates organic edges and shapes.

Principles of Design

Focal Point: the parts of the picture we look at first. In this lesson, it’s the image we ‘build’.

Additional Vocabulary

Background: The part of the picture that’s around (behind) the image.
Circle: a round figure with the perimeter the same distance from the center.
Rectangle: a four-sided straight-line figure with opposite sides the same length.
Square: a four-sided straight-line figure with sides all the same length.
Triangle: a three-sided straight-line figure. 

Materials & Supplies

  • Construction paper –light colored 4.5” x 9” or 9”x 12”: 1 per student.  Precut shapes and small squares to cut other shapes from
  • Scissors
  • Glue Sticks
  • White construction paper  

Context (History and/or Artists)

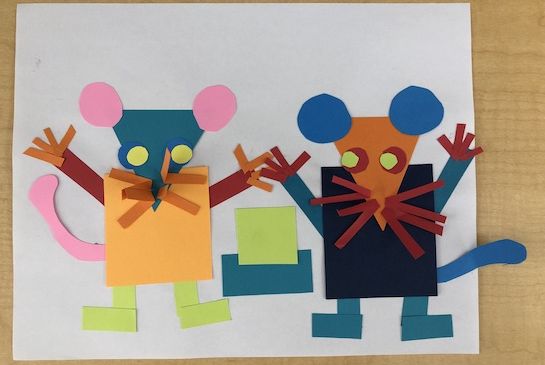
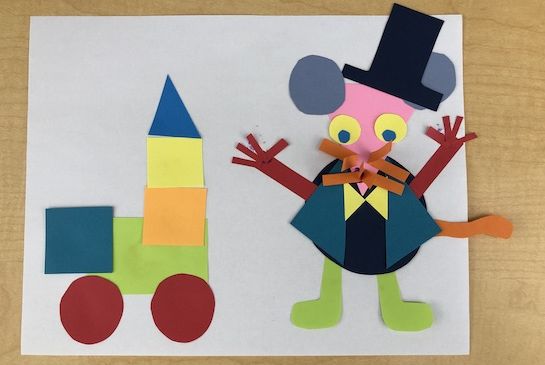
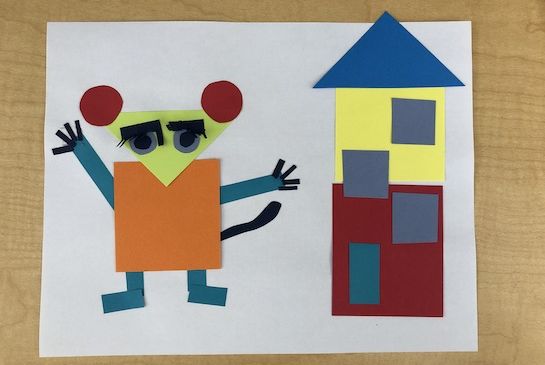
Ellen Stoll Walsh is the writer & illustrator of the books Mouse Shapes and Mouse Paint. She uses cut shapes and torn pieces to create the images.

Advanced Preparation

  • Check out Mouse Shapes by Ellen Stoll Walsh from the school library.
  • Make a simple example of this lesson, something they could also make, not too detailed or intimidating.
  • Precut shapes in various sizes and simple shapes(circles, squares, rectangles, triangles).  Students can cut their own later, but to start with they need a few of each.

Tips & Tricks

  • In general, kindergarteners have about a 30 minute+ attention span for this work. If you want to extend it longer, take a break after 30 minutes and revisit it to add details or more images.
  • Passing the background paper at an angle forces the student to decide on a portrait (tall) or landscape (wide) orientation.
  • Cutting triangles – cut a square or rectangle in half diagonally or cut from the center point of one side to the corner of the opposite side (twice).  Cut off corners.
  • Cutting circles – start with a square, cut off the corners at a diagonal, keep cutting off the corners until it is rounded enough.
  • Cutting two of the same thing – fold a piece of paper over and cut the shape through both layers (much easier than holding two pieces of paper together).
  • Cutting eyelashes or whiskers - use a rectangle and cut to just short of the opposite side. Make multiple cuts close together and gently fold the lashes up.

Reflection Point (Assessment of Learning Objectives)

Students will:

  • use geometric shapes to “build” an image
  • use good craftsmanship
  • use art vocabulary

Instructions for Lesson

Hold up the geometric shapes and identify each type. Look for these shapes around the room. Once you have identified them all, put two different shapes side by side, overlapping or one above the other and ask students to suggest the new shape they’ve made. For example, a triangle over a rectangle may look like a boat. A triangle over a square may look like a house. Let them brainstorm a little with this.

  1. Read Mouse Shapes by Ellen Stoll Walsh. As you read point out how geometric shapes were used to ‘build’ the picture. Point out the smaller shapes are the details and are added after the big shapes.
  2. While reading the story, have a helper place background paper and shapes on the desks. 
  3. Demonstrate ‘building a picture on a piece of background paper. A simple mouse will give them a start, but don’t focus on that option. Quickly put together more than one picture without gluing, so students can feel free to try different combinations before they glue.
  4. Before students return to their desks, ask them to think, without talking, about what sort of images they can create with shapes like Ellen Stoll Walsh did.
  5. When students are seated, have them hold up individual shapes that are on the desks: square, rectangle, circle and triangle.
  6. Demonstrate cutting extra shapes from the square papers they have: rectangles, triangles & circles. Use the overhead projector.
  7. Students may now use shapes to create their picture. Remind them it’s NOT ok to trim the precut shapes, but to use them like ‘building blocks.’ Suggest they try more than one combination before they glue.
  8. When they have a basic image ready, they can glue it down.
  9. Visit and talk to each student about how they’re using the shapes. Suggest simple details they can add. 
  10. Verbalize for the class what you see and share any unique or inventive combinations.
  11. Encourage them to build more than one image on the background.
  12. Record the students’ description of the image by writing it as the ‘title’ on the edge or back of the picture.
  13. If there’s extra time, share while sitting with the group or under the overhead projector, while they finish up at their desks. Verbalize which shapes built which images. Look for a unique compliment for each picture, including what good craftsmanship looks like. Recognize even the sloppiest picture’s successes though. For example, “this student built a picture using the shapes.”

References and Attributions

Lesson written by Juliette Ripley-Dunkelberger. Books: Walsh, Ellen Stoll, Mouse shapes, Orlando: Harcourt, Inc., 2007. Print. Ehlert, Lois, Oodles of Animals and Color Farm.

Notes for Educators

21st Century Thinking Skills
Thinking flexibly, creating, innovation, taking responsible risks, reflecting.

WA State Learning Standards
(VA:Cr1.2.K) a. Engage collaboratively in creative art-making in response to an artistic problem.
(VA:Cr2.1.K) a. Through experimentation, build skills in various media and approaches to art-making.
(VA:Cr2.2.K) a. Identify safe and non-toxic art materials, tools, and equipment.
(VA:Cr2.3.K) a. Create art that represents natural and constructed environments.
(VA:Cr3.1.K) a. Explain the process of making art while creating. This happens if the instructor verbalizes what students are ‘building’ with their geometric shapes.
(VA:Re7.2.K) a. Describe what an image represents. This happens if the student decides on the title of the picture.
(VA:Re8.1.K) a. Interpret art by identifying subject matter and describing relevant details.

Arts Integration Opportunities
Writing – story prompt about their picture, or a title sentence the student dictates.
Math: simple fraction concept of 2 halves.

Please note:  These lesson plans are intended for non-profit use only. Use of these plans for commercial purposes should give attribution to the Issaquah Schools Foundation and be accompanied by a nominal donation at www.isfdn.org/donate. Thank you.

Donate Now

Artistic Support Reference Materials

Loading...
Loading

Fueling Success for Every Student, Every School