loading Skip to Main Content

Focal Point Fish

Students will observe the art of Paul Klee then create a work of art in a similar style, using a fish as a focal point. Recommended for 3rd Graders.

Elements of Art 

Shape2-d figure created within joined lines. They can be irregular with curving edges (organic) or symmetrical with straight edges (geometric).
TextureTactile Texture – The way a surface feels to the touch. Visual Texture – The illusion of how an object would feel if it could be touched.

Principles of Design

Emphasis (Focal point): the place the eye naturally travels to in a composition. Also described as the center of interest. It can be created using a contrasting element. 
Pattern: repetition of elements in an organized way. This creates unity.
Unity: the connection of parts to create a sense of completeness. Unity and variety are important, balanced components of an interesting composition. Too much unity is boring and too much variety is chaotic.

Materials & Supplies

  • 9x12” Watercolor Paper (class set +a few extra)
  • Round watercolor wash brushes 
  • Green and Blue Liquid Watercolors
  • Salt
  • "How to Draw a Salmon" PDF
  • Bright colored permanent markers (not water based)
  • Heavy Duty Aluminum Foil
  • Texture Plates for each student
  • Paper towel

Context (History and/or Artists)

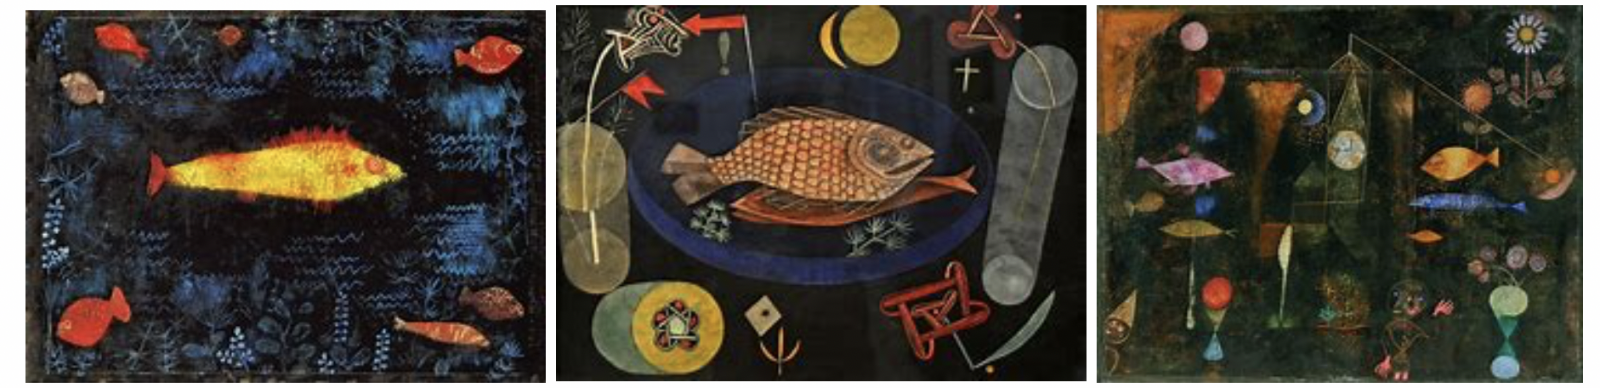
Paul Klee (1879-1940):  Paul Klee was born in 1879 to a German father and Swiss mother.  Both parents were musicians.  He grew up playing the violin and drawing.  As a teenager he decided he liked drawing more than violin.  He attended the Academy of Fine Arts in Munich, Germany.  His early works were mostly colorless drawings and etchings.  He viewed color as more of a decoration.  This changed after a visit to the country Tunisia.  He was fascinated by the light and color there and it changed his artwork and style forever.  After that his paintings were usually very colorful.  His artwork is a blend of Cubism, Surrealism and Expressionism.  He taught art in Germany until he was forced to leave by the Nazi party.  He finished over 9000 pieces of art in his lifetime.

Advanced Preparation

Find the images: The Goldfish (1925), Around The Fish (1926), or Fish Magic (1925) by Paul Klee to show the class.

Gather materials.
Post elements, principles and vocabulary words listed above.
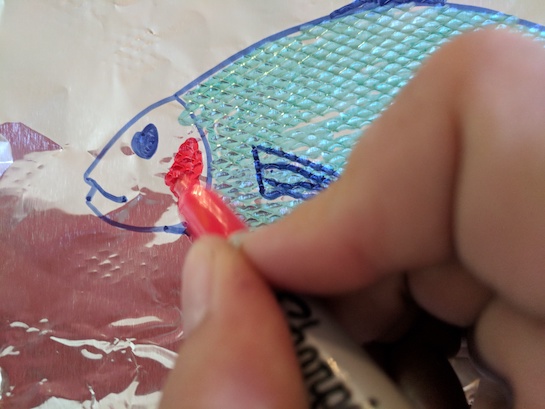
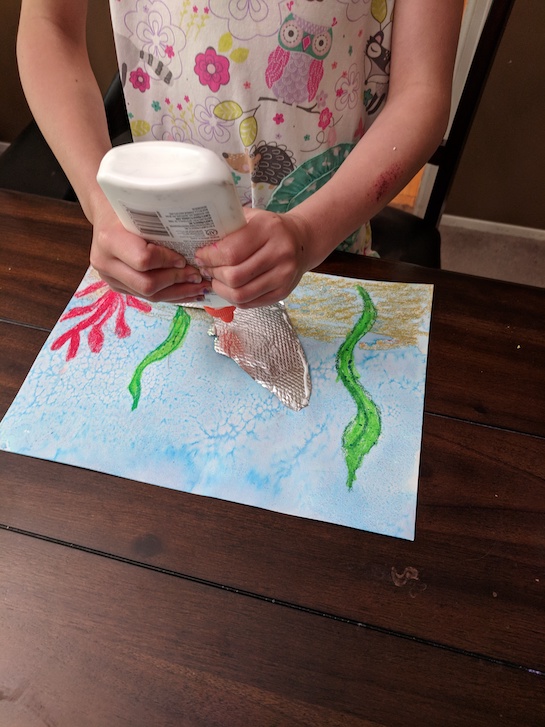
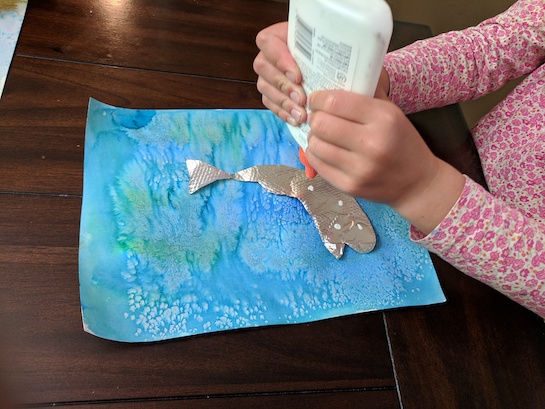
Print out “How to draw a salmon” PDF or copy onto a whiteboard to display steps for students.

Tips & Tricks

  • If there are no texture plates available, make your own by taping vegetable mesh around tag board or rectangles cut from cereal boxes.
  • The aluminum foil can be delicate to cut.  Have the students be gentle and remind them if it tears, they can glue it together when they add it to their ocean.
  • If time permits, students can add oil pastel accents (seaweed, small fish, coral, etc.) to their ocean before they paint it with watercolors. 

Discussion Points

How can you find the focal point (emphasis) in a composition?  
What affects where your eye goes first? Size, contrasting color, shape or texture? There can be multiple correct answers.  
How did Klee create emphasis?

Reflection Point (Assessment of Learning Objectives)

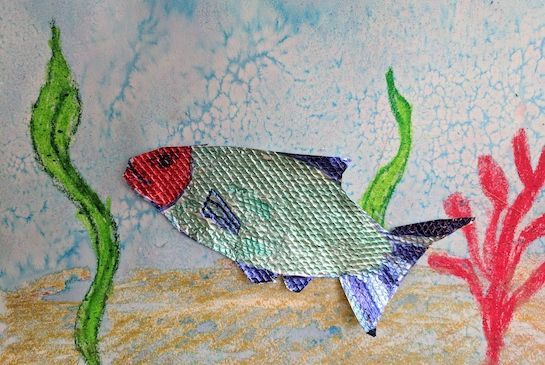
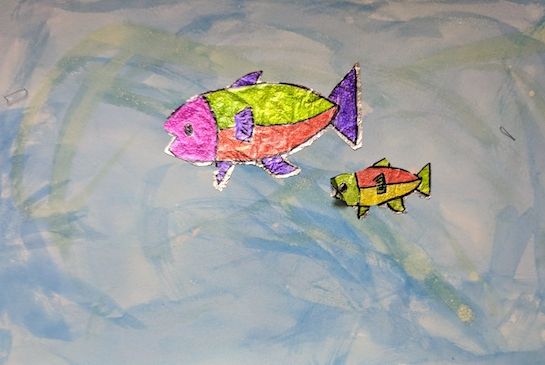
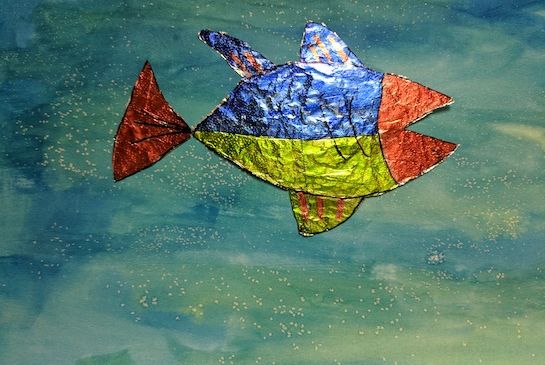
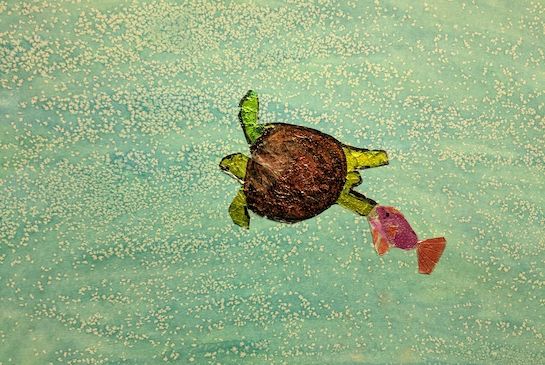
They will make a work of art similar to The Goldfish (1925) by Paul Klee, demonstrating fish as the focal point.
Students will use good craftsmanship.

Instructions for Lesson

  1. While discussing the life of Paul Klee, show his painting, The Goldfish.
  2. Ask students which fish stands out the most? What makes it stand out?  (Contrast of its color with the dark background, the patterned eyes, textured body, the size, the placement on the page, etc.)
  3. Go over the elements, principles and vocabulary words. Using Klee’s art, look for evidence of his use of these things.
  4. Tell students that they will be making their own fish that will be the focal point of their composition.
  5. Pass out the watercolor paper and have the students write their names on the back. Write it small in case they need to start over on the other side.
  6. Optional: Other ocean elements may be added (with foil, permanent markers, oil pastel, foam sticky paper, etc.) as desired and as time permits if the original foil fish remains the focal point. The oil pastel should be drawn before the painting is done.
  7. The students will then use the liquid watercolors to paint the entire background paper.
  8. Demonstrate first by “wetting” the entire painting with clean water: no puddles, just to make it damp. Do this by putting your brush in clean water, getting rid of the excess by pulling it across the top of your water containers edge.  Your brush shouldn’t be dripping at all.  This ensures an even application. 
  9. Let students decide if it should be light, dark or a mixture or green and blue. The darker or more intensely colored the background the more the fish will stand out, try to create contrast.  More water lightens, more paint makes the colors more intense. Paper towels can blot excess water.  Students can now apply watercolor to make background as desired.
  10. Demonstrate sprinkling salt on the painting while it’s still wet. Let them do this, circulate to assist.  
  11. Set the background page aside to dry.  
  12. Pass a texture plate to each student and a piece of tinfoil.
  13. Demonstrate and then direct students to draw a salmon on their foil. If necessary, walk them through this, one shape at a time.
  14. Have the students place their salmon on the texture plate and color it with permanent markers (while it is on the texture plate).   The texture should show through the foil.
      
  15.  The students will then carefully cut out their fish.  Make sure the children treat them gently as foil tends to tear. Demonstrate cutting slightly outside the outlines and then trimming closer when the outer piece of foil is cut off.
  16. Carefully dab small dots of white glue on the foil fish and add it to the watercolor background.  Too much glue or too large of a dot will show up on the other side as texture. Place the fish in the center of the background so that it becomes the focal point for the eye.
     

References and Attributions

Lesson written by Rachelle Roberts, “How to Draw a Salmon” illustration created by Rachelle Roberts, used by permission. “Paul Klee.” Art Smarts 4 Kids; James. “10 Paul Klee Facts.” Primary Facts, 27 Sept. 2016, .

Notes for Educators 

21st Century Thinking Skills
Observing, making connections, visualizing, sequencing, determining main idea, finding evidence, cause and effect, decision making, evaluating.

WA State Learning Standards
(VA:Cr1.2.3) a. Apply knowledge of available resources, tools, and technologies to investigate personal ideas through the artmaking process.
(VA:Cr2.1.3) a. Create personally satisfying artwork, using a variety of artistic processes and materials.
(VA:Cr2.2.3) a. Demonstrate an understanding of the safe and proficient use of materials, tools, and equipment for a variety of artistic processes.
(VA:Cr3.1.3) a. Elaborate visual information by adding details in an artwork to enhance emerging meaning.
(VA:Re8.1.3) a. Interpret art by analyzing use of media to create subject matter, characteristics of form, and mood.
(VA:Re9.1.3) a. Evaluate an artwork based on given criteria.
(VA:Cn11.1.3) a. Recognize that responses to art change depending on knowledge of the time and place in which it was made.

Please note:  These lesson plans are intended for non-profit use only. Use of these plans for commercial purposes should give attribution to the Issaquah Schools Foundation and be accompanied by a nominal donation at www.isfdn.org/donate. Thank you.

Donate Now

Artistic Support Reference Materials

Loading...
Loading

Fueling Success for Every Student, Every School